Introduction
Dimdim app is very advanced App Source Script having many advanced features like Live streaming, One to One Video calls, Text chats, Host login and much more. This package contains android project having 30+ beautifully designed and developed screens. Using this template, developers can create high quality dating and livestreaming app easily and can save 100s of hours.
Here is the easy documentation to set the app and ready to launch. Please follow all the instructions carefully and don’t skip any step. Feel free to contact us if you face any problem while set-up.
Prerequisites
-
PHP 8.0 or Above and it will work on any kind of hosting packages
-
Hosting with cPanel (Strictly Recommended) (We have created this project on cPanel, So we can solve server issues only with cPanel)
-
memory_limit should be 120M
-
upload_max_filesize should be 256M
Now You can start following the documentation carefully.
Extracting the project and settings up database
-
Extract the folder you have downloaded from codecanyon and open the folder
-
Open it and find the database.sql file
-
Then open your cPanel provided by your web hosting provider.
-
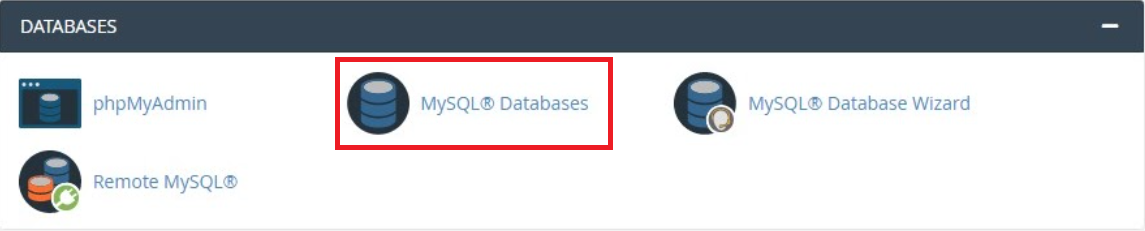
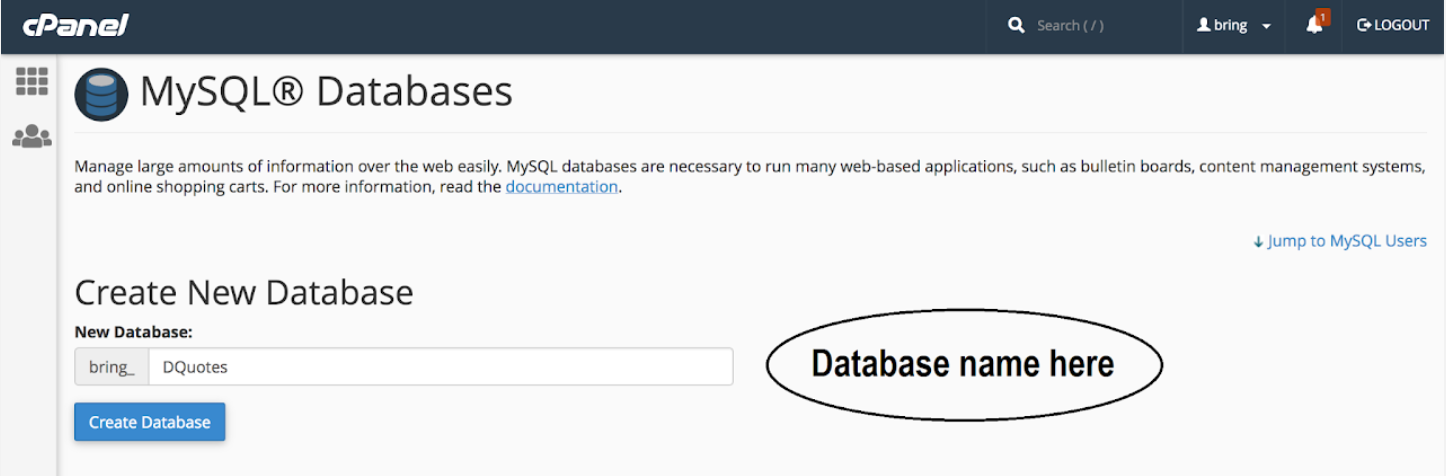
Click the MySQLDatabase option under DATABASES section and create database for your app as shown in the images below.
-
Add database name and click on create database.
-
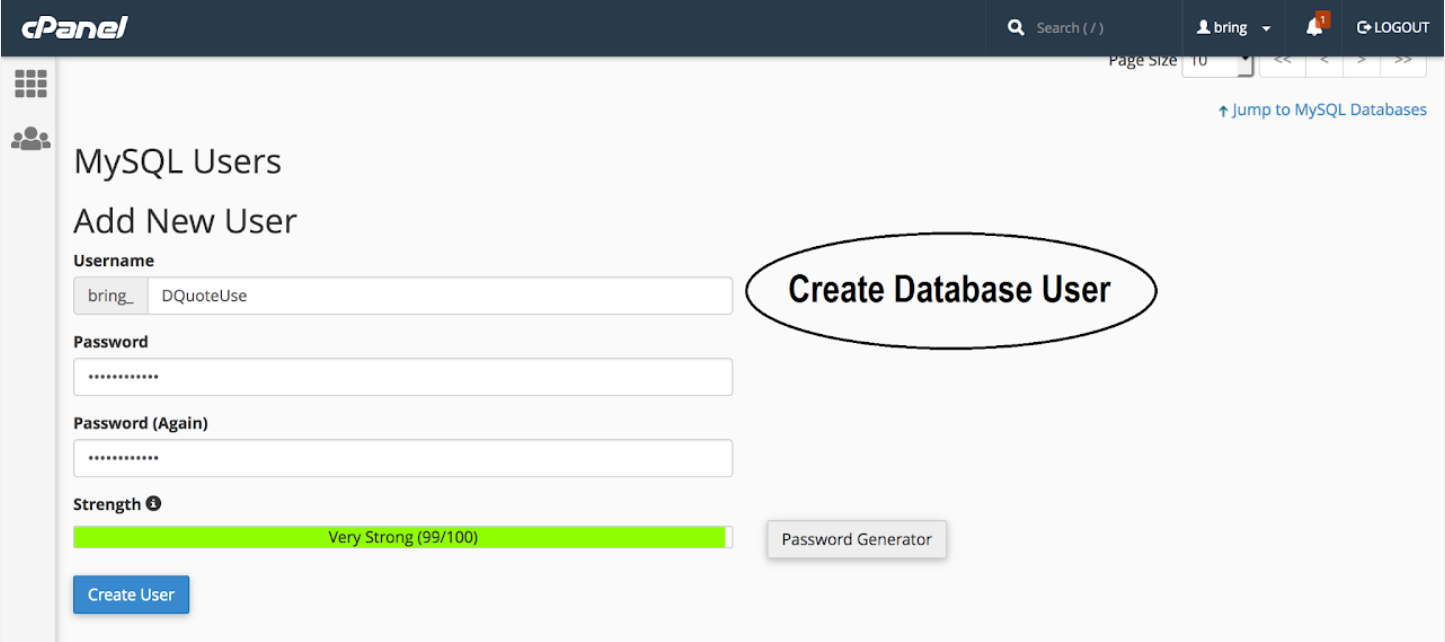
Now we will create a user to access the database
-
Like as shown in the image, enter username and password (save it to use later)
-
Click on create user and user will be created
-
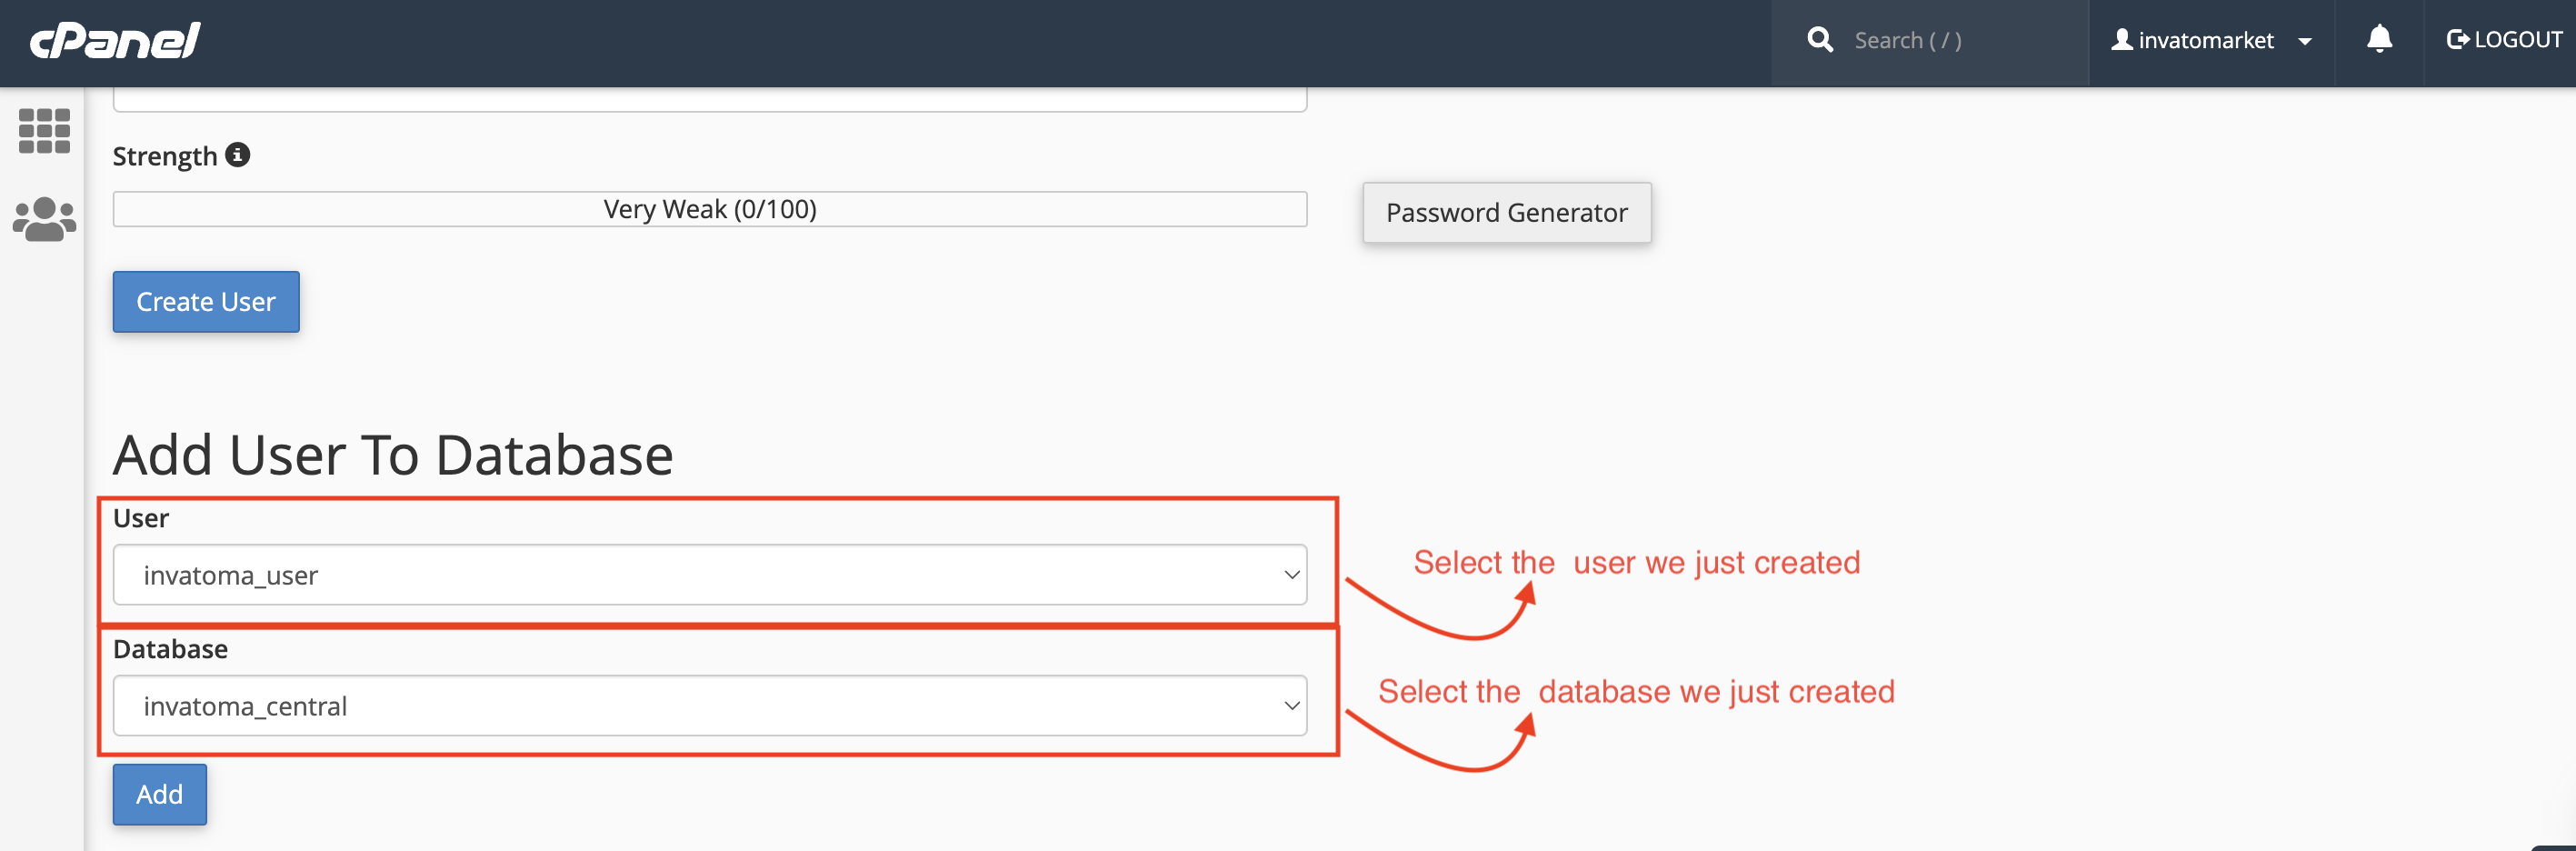
Now we have to add that created user to database. so scroll down and you can see like image below
-
Select the user from the list and select the database, and click on add button below
-
After clicking on add button you will see like below.
-
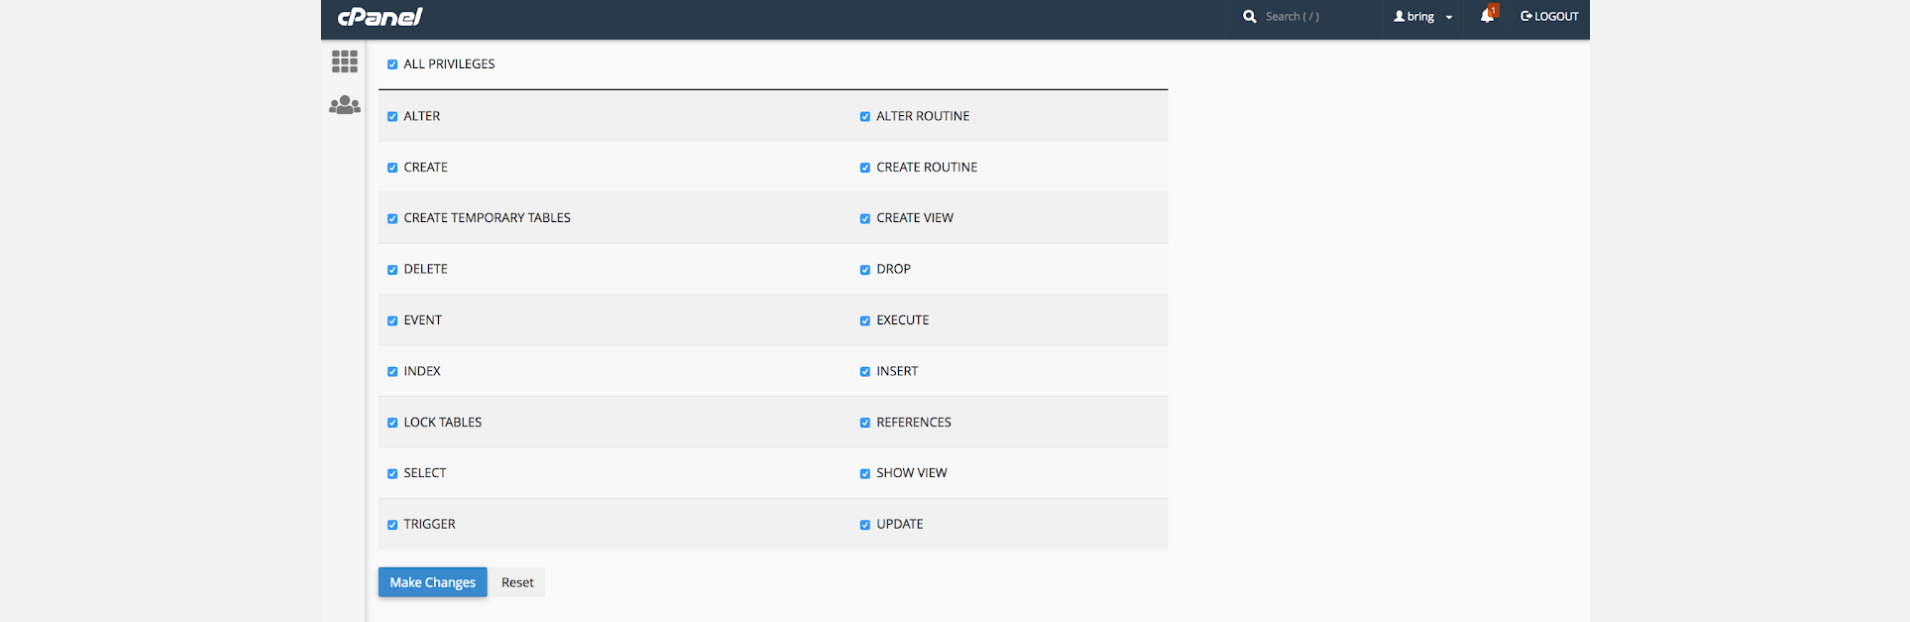
There you can see ALL PRIVILEGES option, check the box before that
-
This will tick all the boxes shown below (Check the image below). Click on make changes and you are done.
-
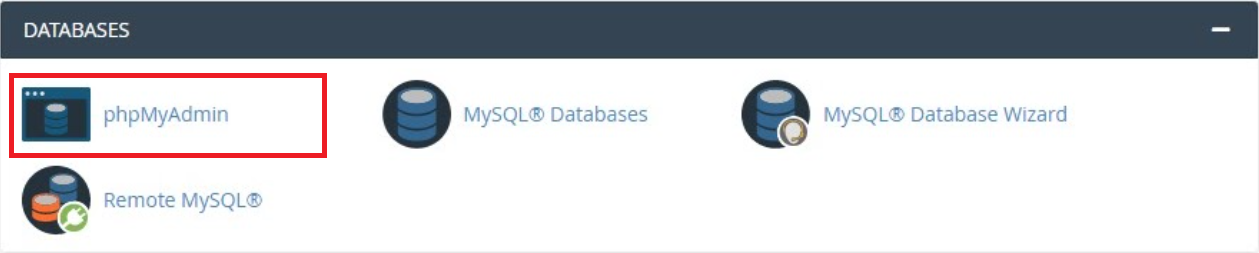
Now we have to import the database file. Search for phpMyAdmin and click on it.
-
Then system will redirect you to the phpMyAdmin where you will be able to find the database we just created
-
Click on that database
-
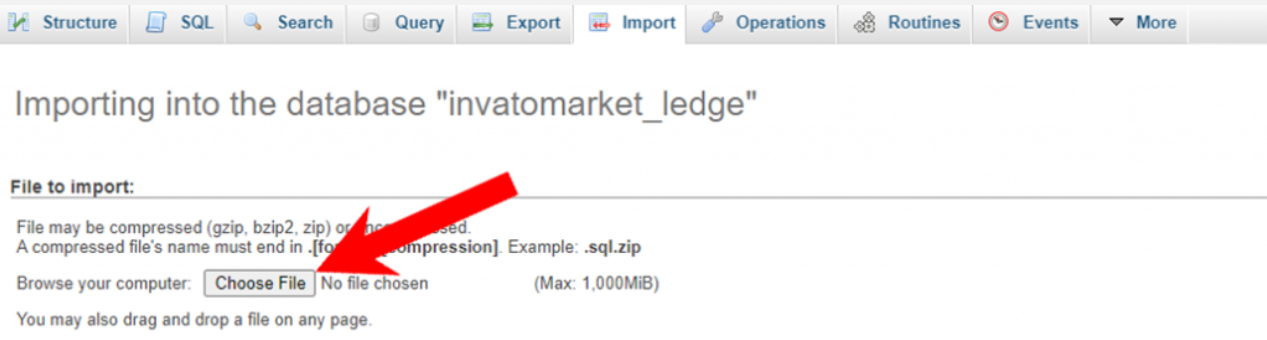
Then find the import button on the Top bar and click on it
-
It will open the page like below
-
Click on Choose File button and load the database.sql file which will be there in the folder you have extracted.
-
Click on import button at the bottom of the page.
-
Now database is ready to use.

Setting Up Database credentials to the project
-
Now come back to the project folder and then extract dimdim_backend.zip file
-
In that folder, find the .env file, open it with any text editor and make the changes as below
-
There in the APP_URL Replace the https://yourdomain.com/ to Your Domain
-
Change Database Configuration, as shown in the example below
-
And save the file by pressing Ctrl + s
-
Now Go to public/asset/script/env.js and open that file
-
Make the changes like below in that file

DB_DATABASE = database_name
DB_USERNAME = database_username
DB_PASSWORD = "database_password"
var domainUrl = "http://yourdomain.com/"
Setup Notification (FCM)
-
Follow This guide and setup project at firebase and collect Server key.
-
Go to .env file of the backend project again and make the changes like below.
-
Once this gets completed, Please subscribe to the Pay as you go Plan of Firebase, it is required for Chat to use a real-time database for more than 100 users. If you don't do that, app will stop working for chats and some other features once it reaches more than 100 users.
FCMKEY =”Your Firebase Server Key”
Configure Firebase
-
Go to the firebase project you might created while following backend documentation.
-
If you don't have, follow the steps below and create one project.
-
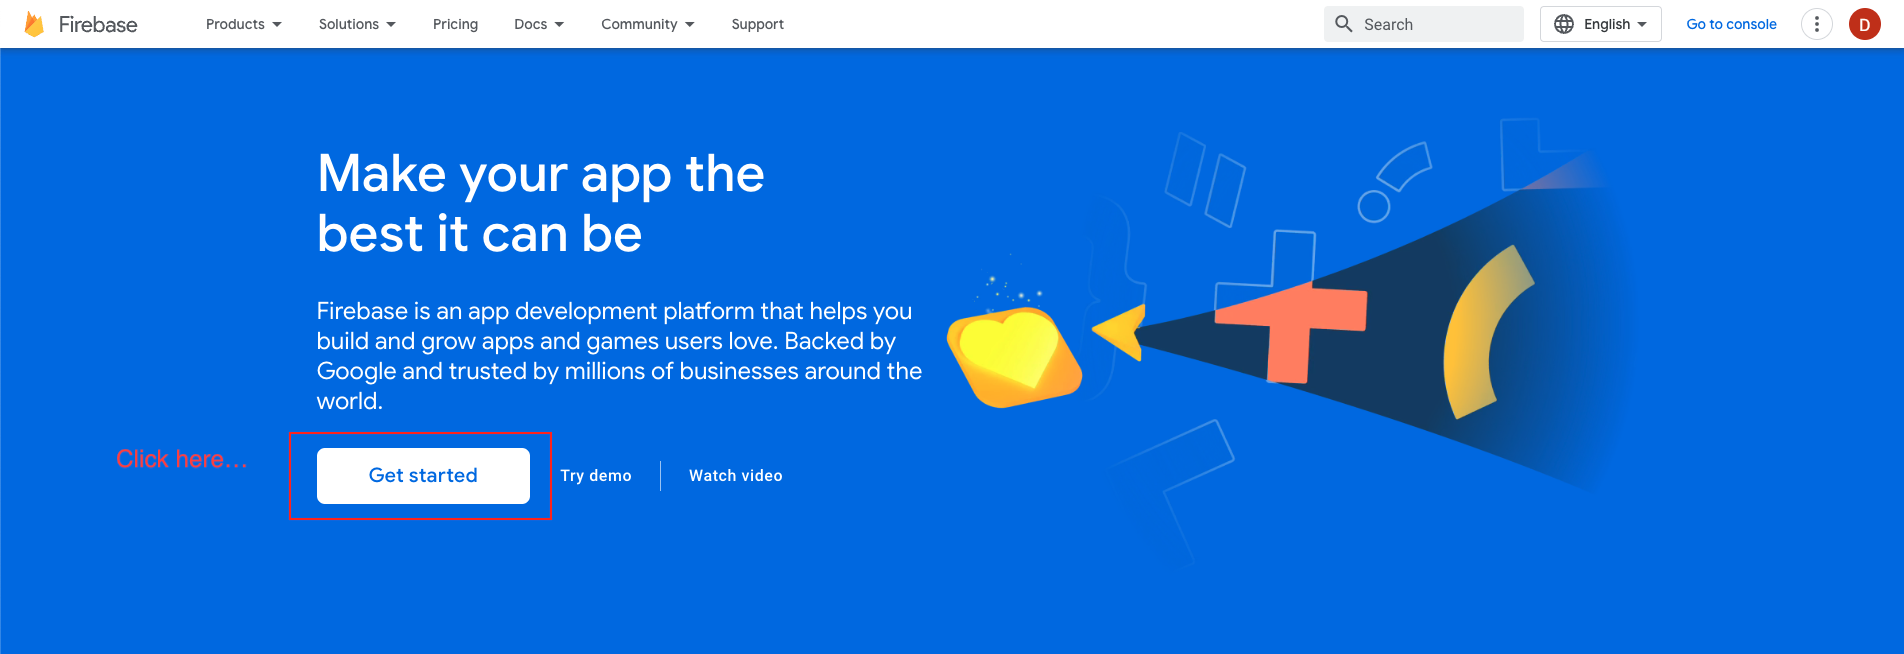
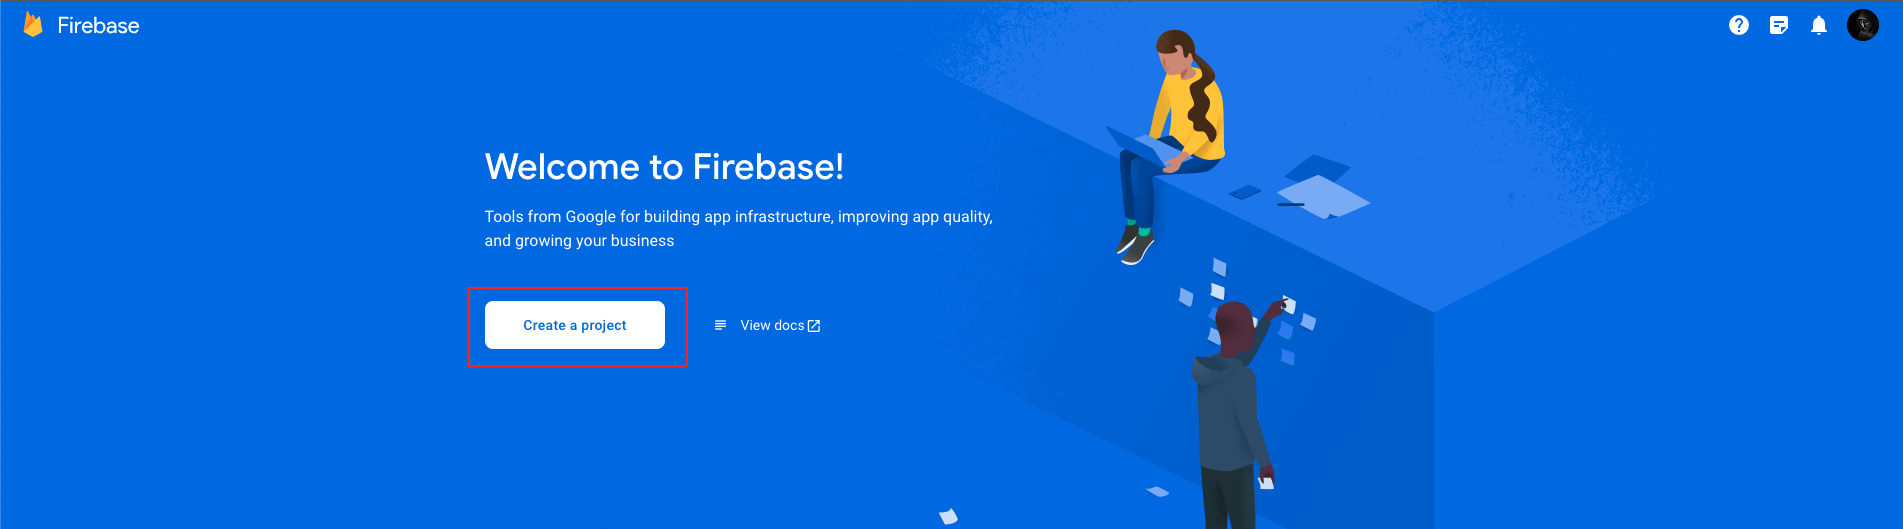
At first, follow this link https://firebase.google.com/
-
Now, we first have to create a Firebase project. Firebase project will go through and describe what it is. This allows us to add an app to that project. It can have many projects inside of Firebase.
-
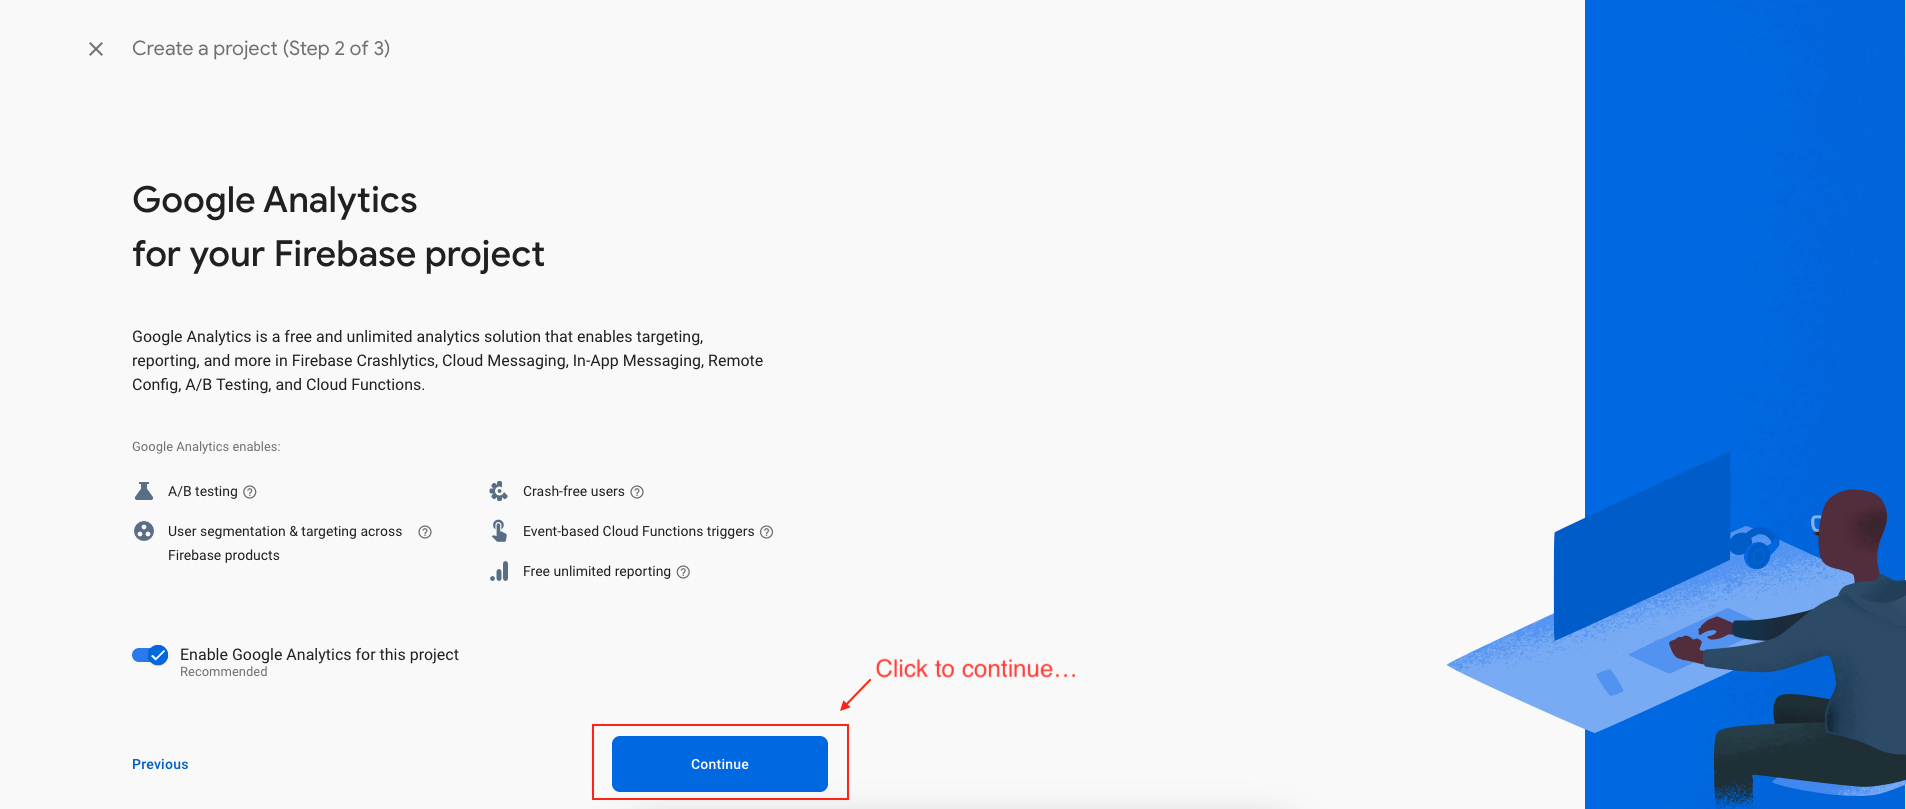
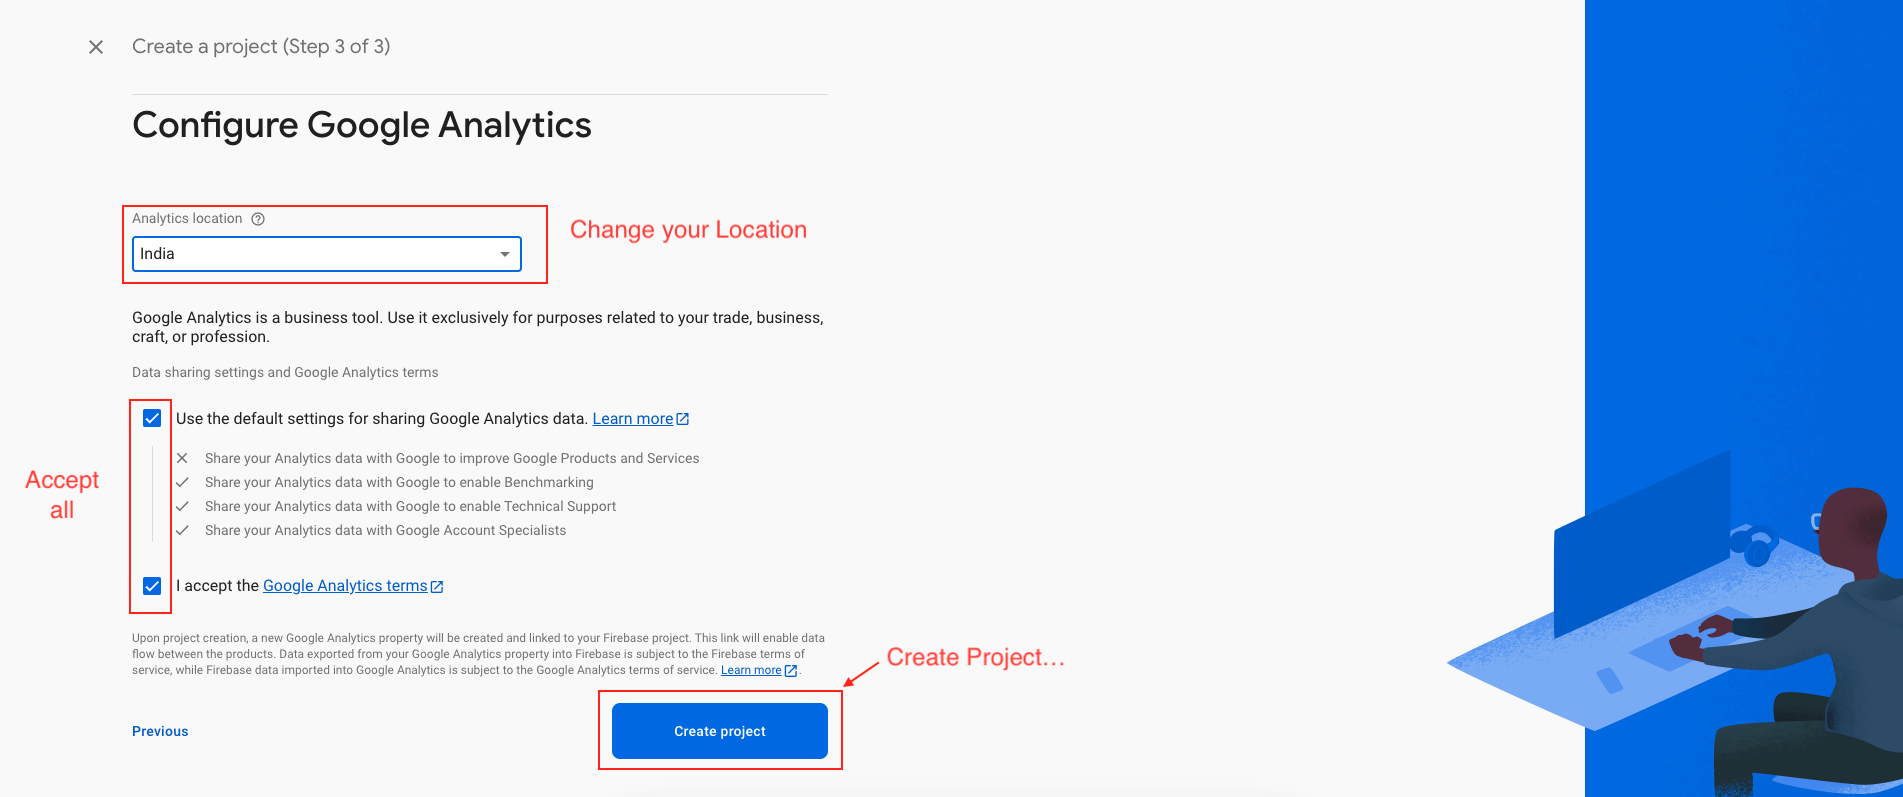
Now, we have to give a name and id to the project, enable Google Analytics for the project, set an analytics location, and accept all the terms and conditions. Firebase console automatically creates a unique id for the project.
-
Step 1 : Giving a name to the project
-
Step 2 : Enable Google analytics for the project
-
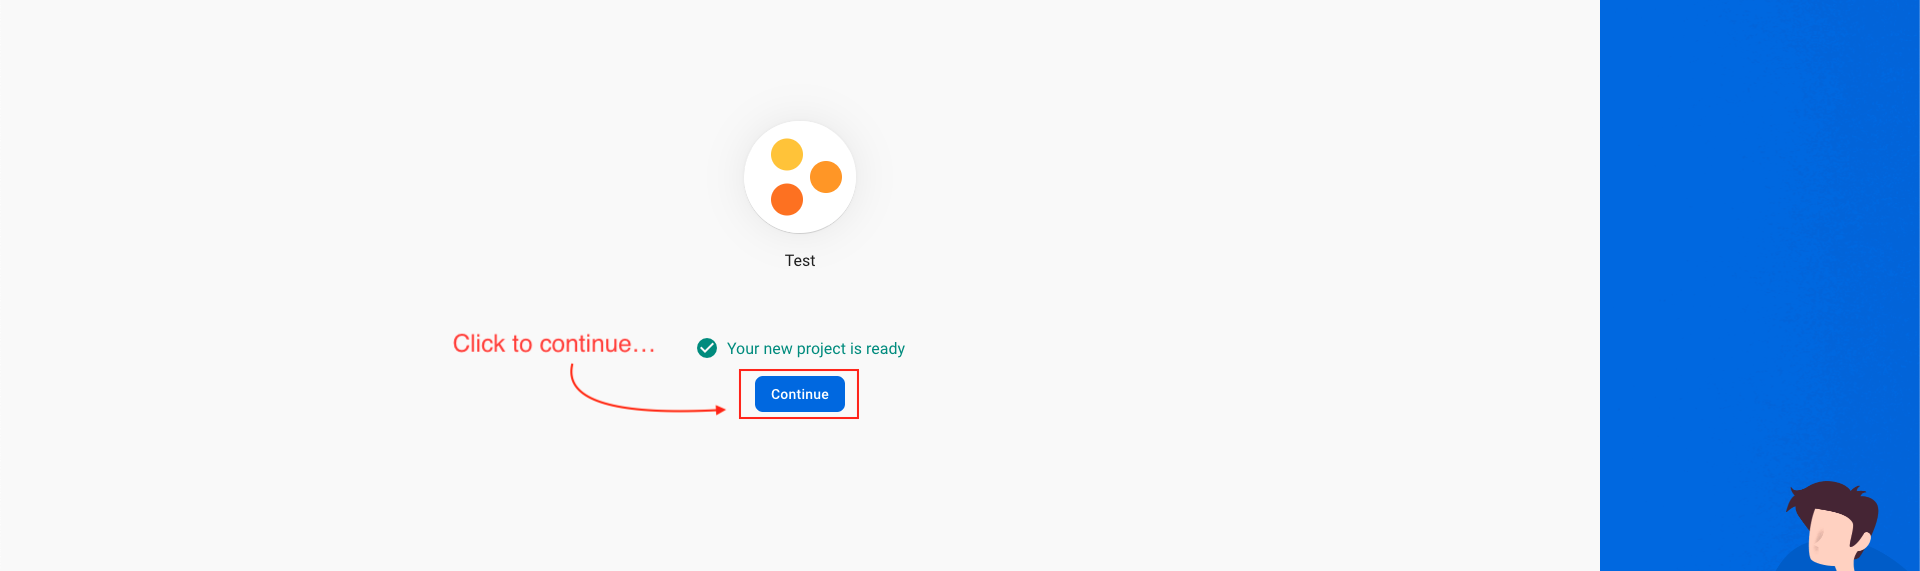
Step 3 : First Choose default Firebase account and then create project

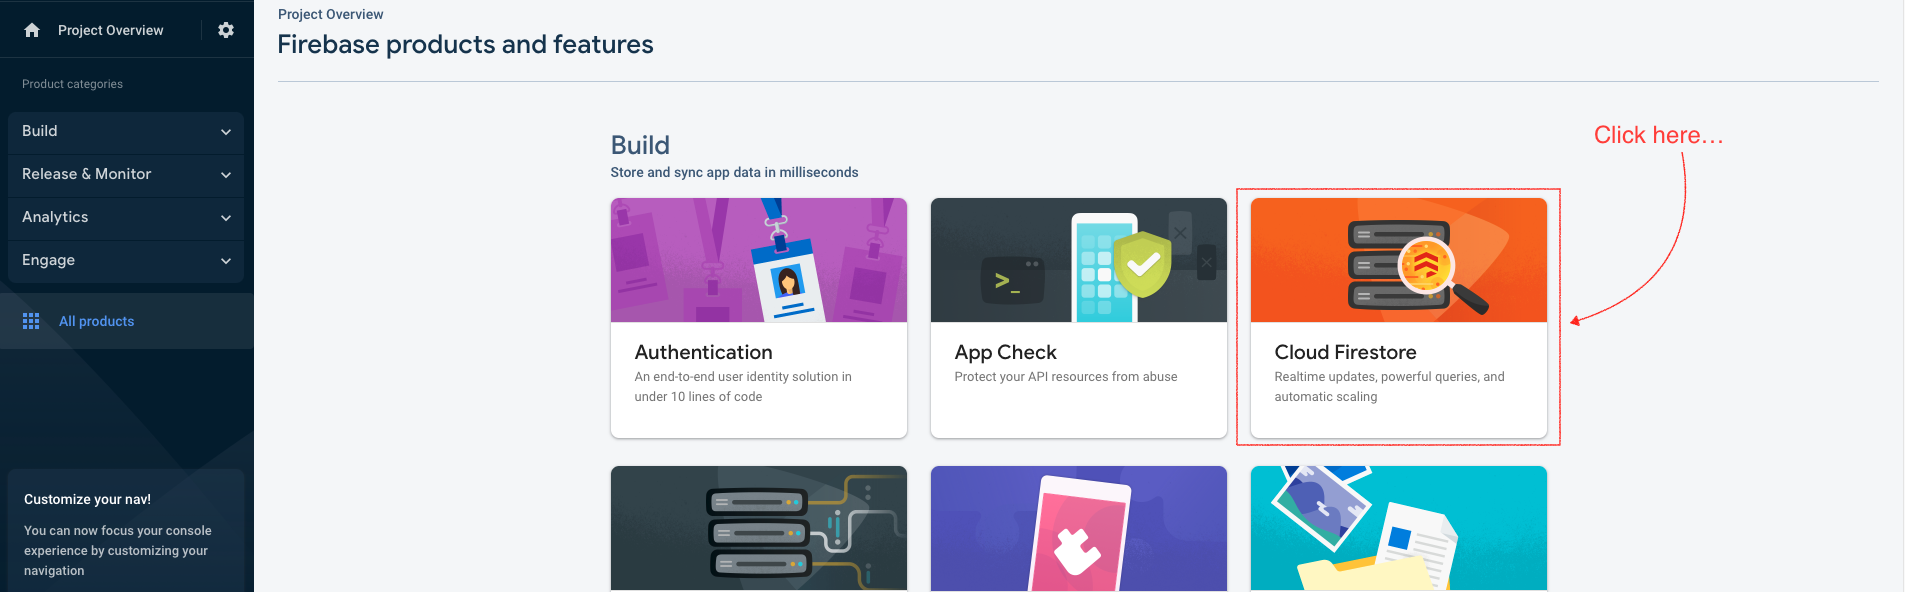
Enable firestore
-
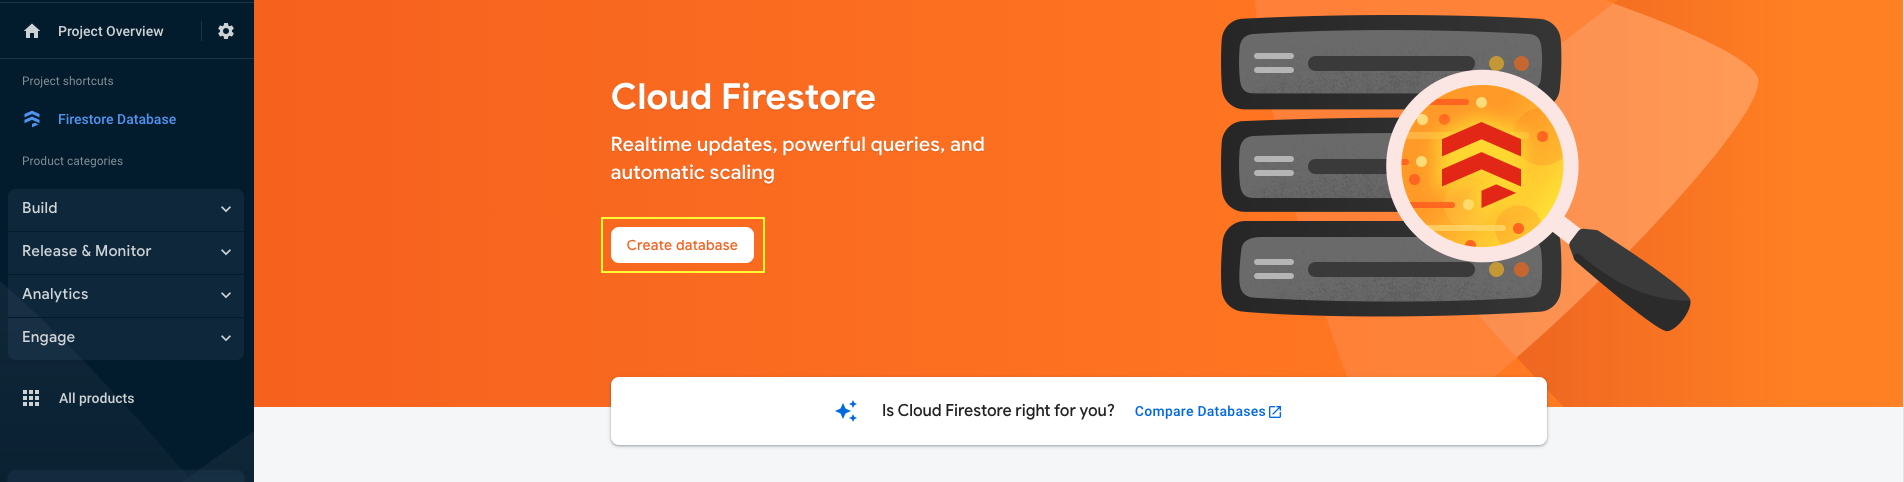
Step 1 : Click on Firestore Database and Create database.
-
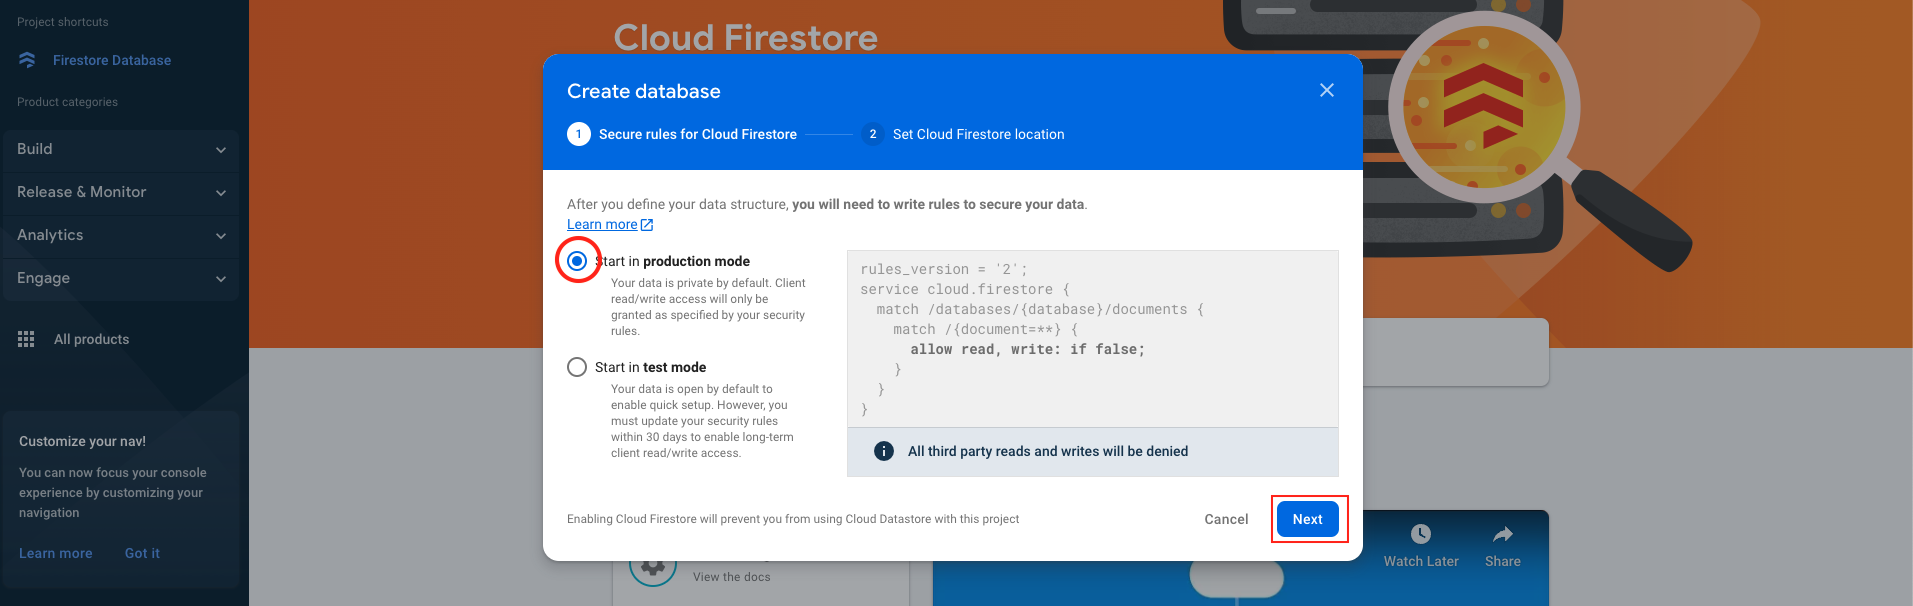
Step 2 : Model will be open click on Next.
-
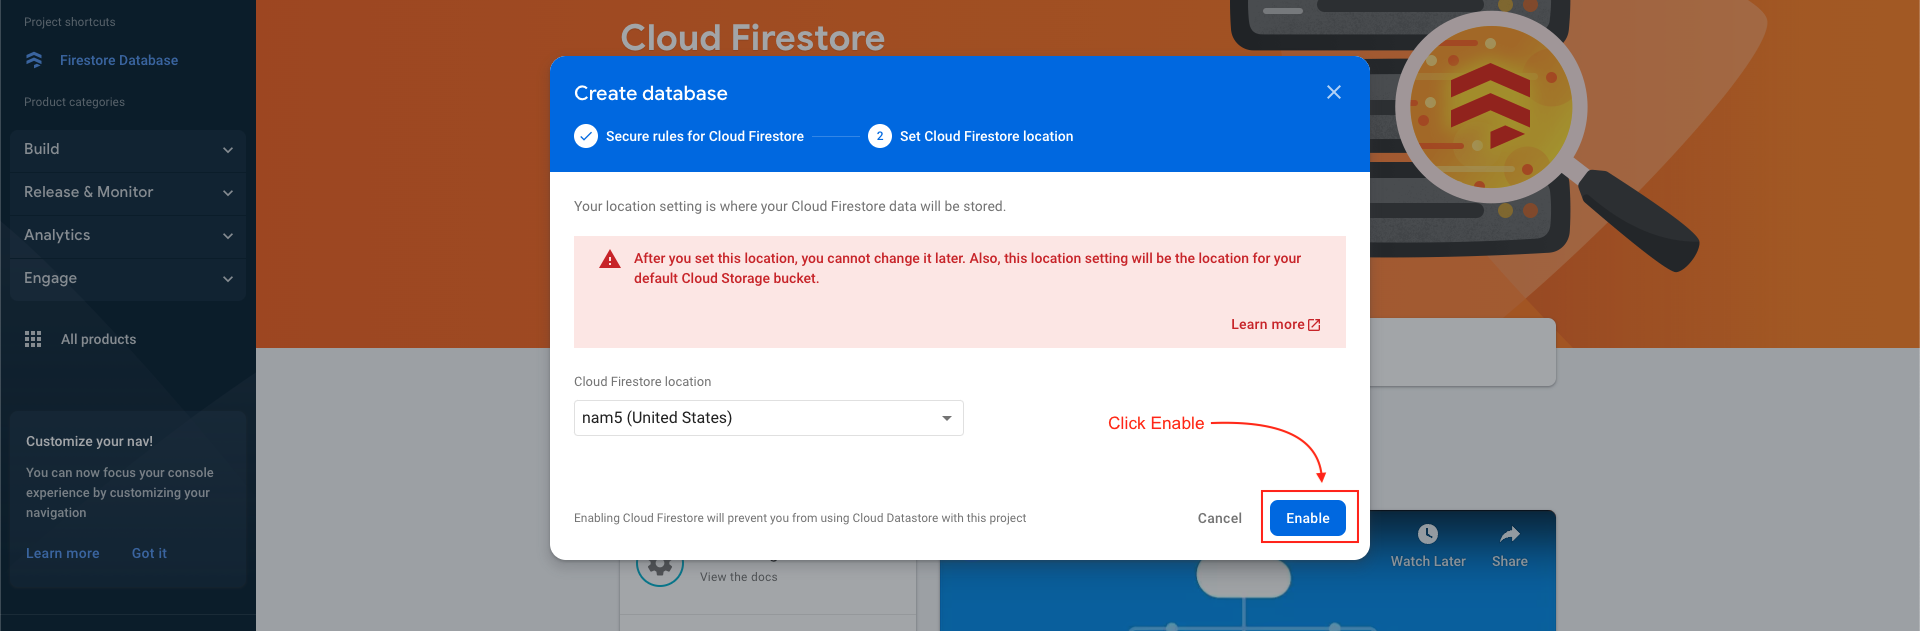
Step 3 : Then click Enable button
-
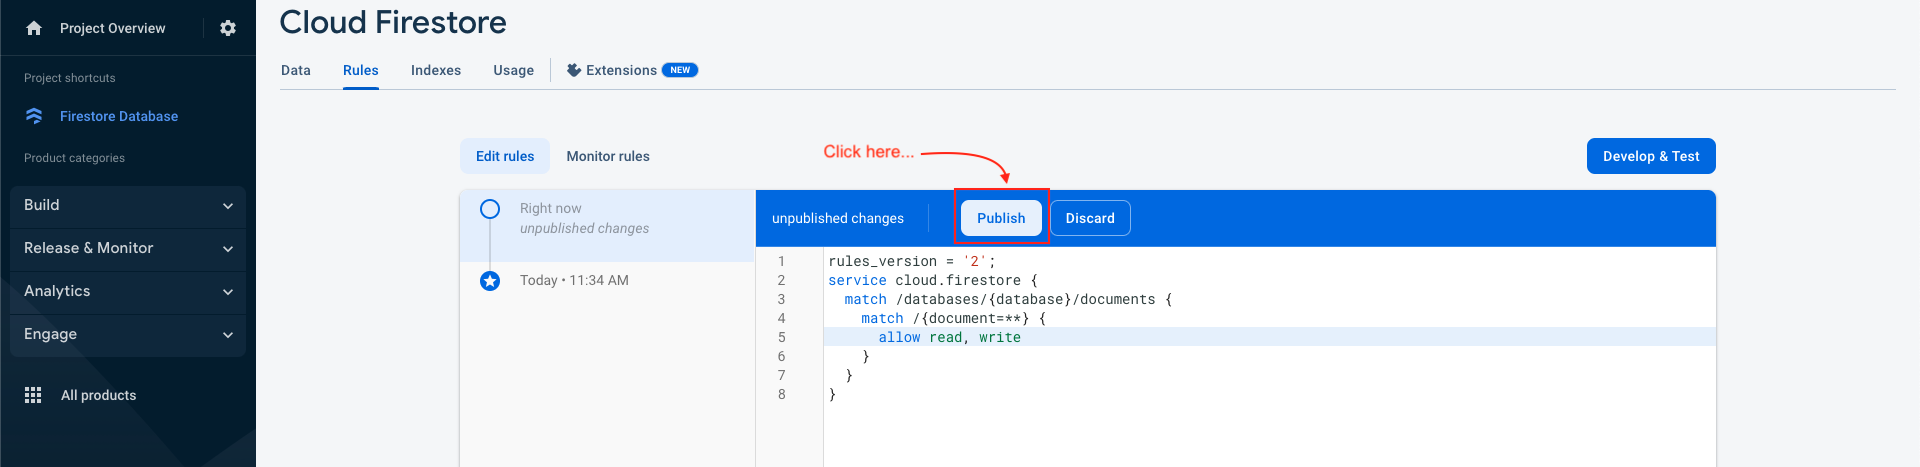
Step 4 : After create Database, You have to change rules of database then click publish button. Follow step, shown below.
-
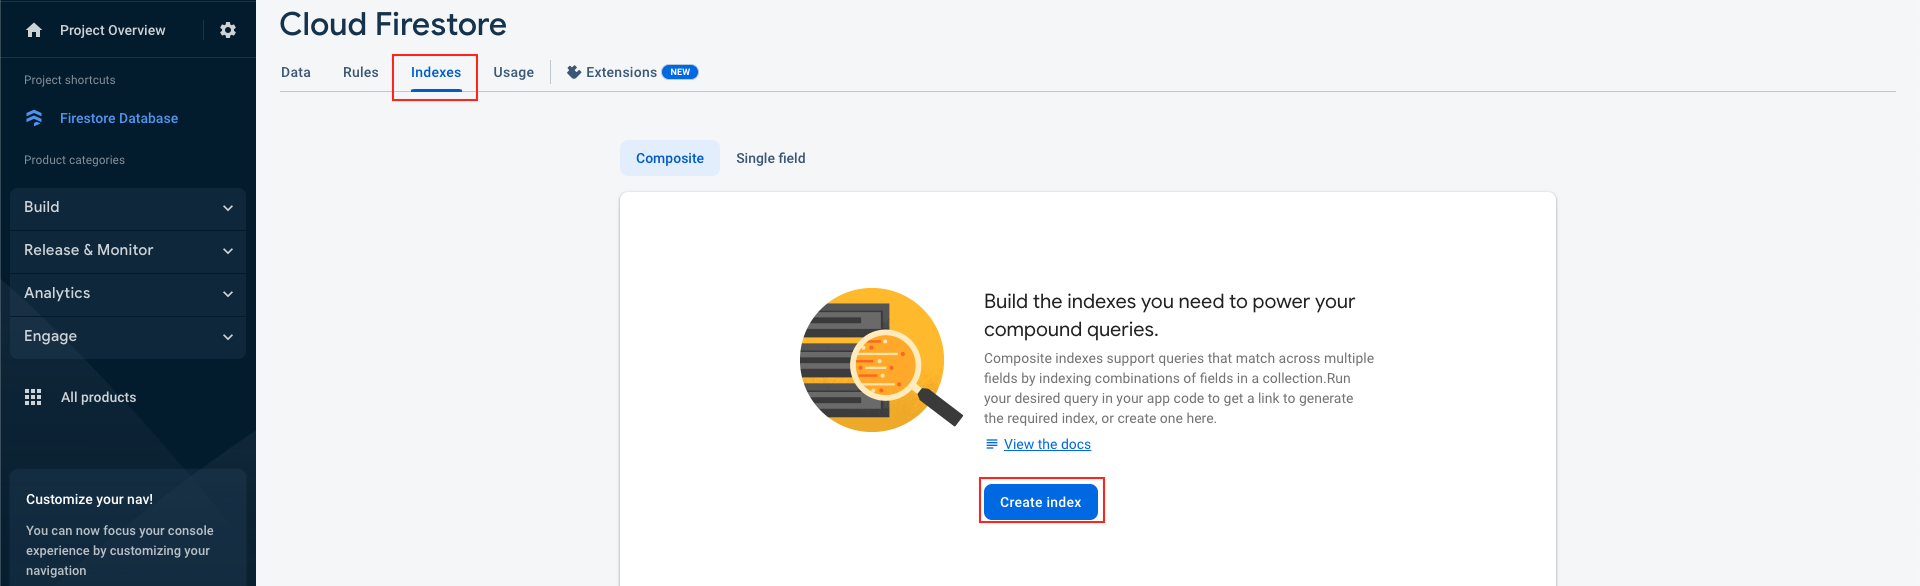
Step 5 : Create 2 indexes in firestore.
-
Step 6 : Watch video and follow steps.

Host backend project on server
-
Create a zip of the dimdim_backend folder
-
Upload that folder to your domain-targeted directory on your cPanel provided by your hosting provider. and extract the zip file.
-
Make sure that your targeted directory has the project files directly, and not wrapped in a folder
-
Cheers! Now try accessing your domain, the admin panel should be live there on your domain
Setting up agora
-
Follow This guide and setup project at agora and collect App id and App Certificate
-
Add that App id and App Certificate to the .env file as show below.
-
Save the file by pressing Ctrl + s

Misc
-
Admob
-
The app offers rewarded videos ads by Admob. Users can earn coins by watching complete video ads. In that case you need the rewarded ad unit by Admob: https://admob.google.com/home/
-
Follow this guide: https://support.google.com/admob/answer/7311747?hl=en and create your Admob rewarded ad unit for android and iOS apps and copy them.
-
Go to your admin panel, Go to settings, Ads, And paste those ad units into android and iOS sections accordingly. And then hit "Submit" button.
-
The Admob settings has been completed.
-
Privacy Policy & Terms & Conditions
-
To add or edit the content for Privacy Policy or Terms & Conditions, Go to Admin Panel.
-
Find the last tow options in navigation bar. (Terms & Conditions , Privacy Policy).
-
Go to appropriate options, add or remove content using editor and Click on "Submit", and content will be updated on Privacy Policy and Terms & Conditions pages.
-
The URLs for Privacy Policy and Terms & Conditions will be like below.
-
Privacy Policy: http://yourdomain.com/privacy_policy
-
Terms & Conditions: http://yourdomain.com/terms_conditions
Getting the credential
Now web setup is completed and let's collect some credentials for the app setup
-
Admin Panel URL : http://yourdomain.com/
-
Admin Panel User Name : admin
-
Admin Panel Password : admin123
-
Baseurl : http://yourdomain.com/api/
-
apiKey : 123
Now save these credentials somewhere and start following the documentation to setup application.
Want to talk with us?
- Telegram (Support Desk) : +91 7990425274
- Email : help.retrytech@gmail.com
- Whatsapp (No Support Here) : +91 7990425274