

Introduction
Hey there, We are happy to see you as our valued customer of the Sphere app. Here is the easy documentation to set up the app and ready to launch. Please follow all the instructions carefully and don't skip any step. Feel free to contact us if you face any problems while set-up.
Get Started
-
Thank you for purchasing our app
-
Please read the documentation carefully , and if you have any question check us.
-
Find the sphere.zip from the folder downloaded from codecanyon and open in in android studio.
Import Android Project
-
Open android project in android studio.
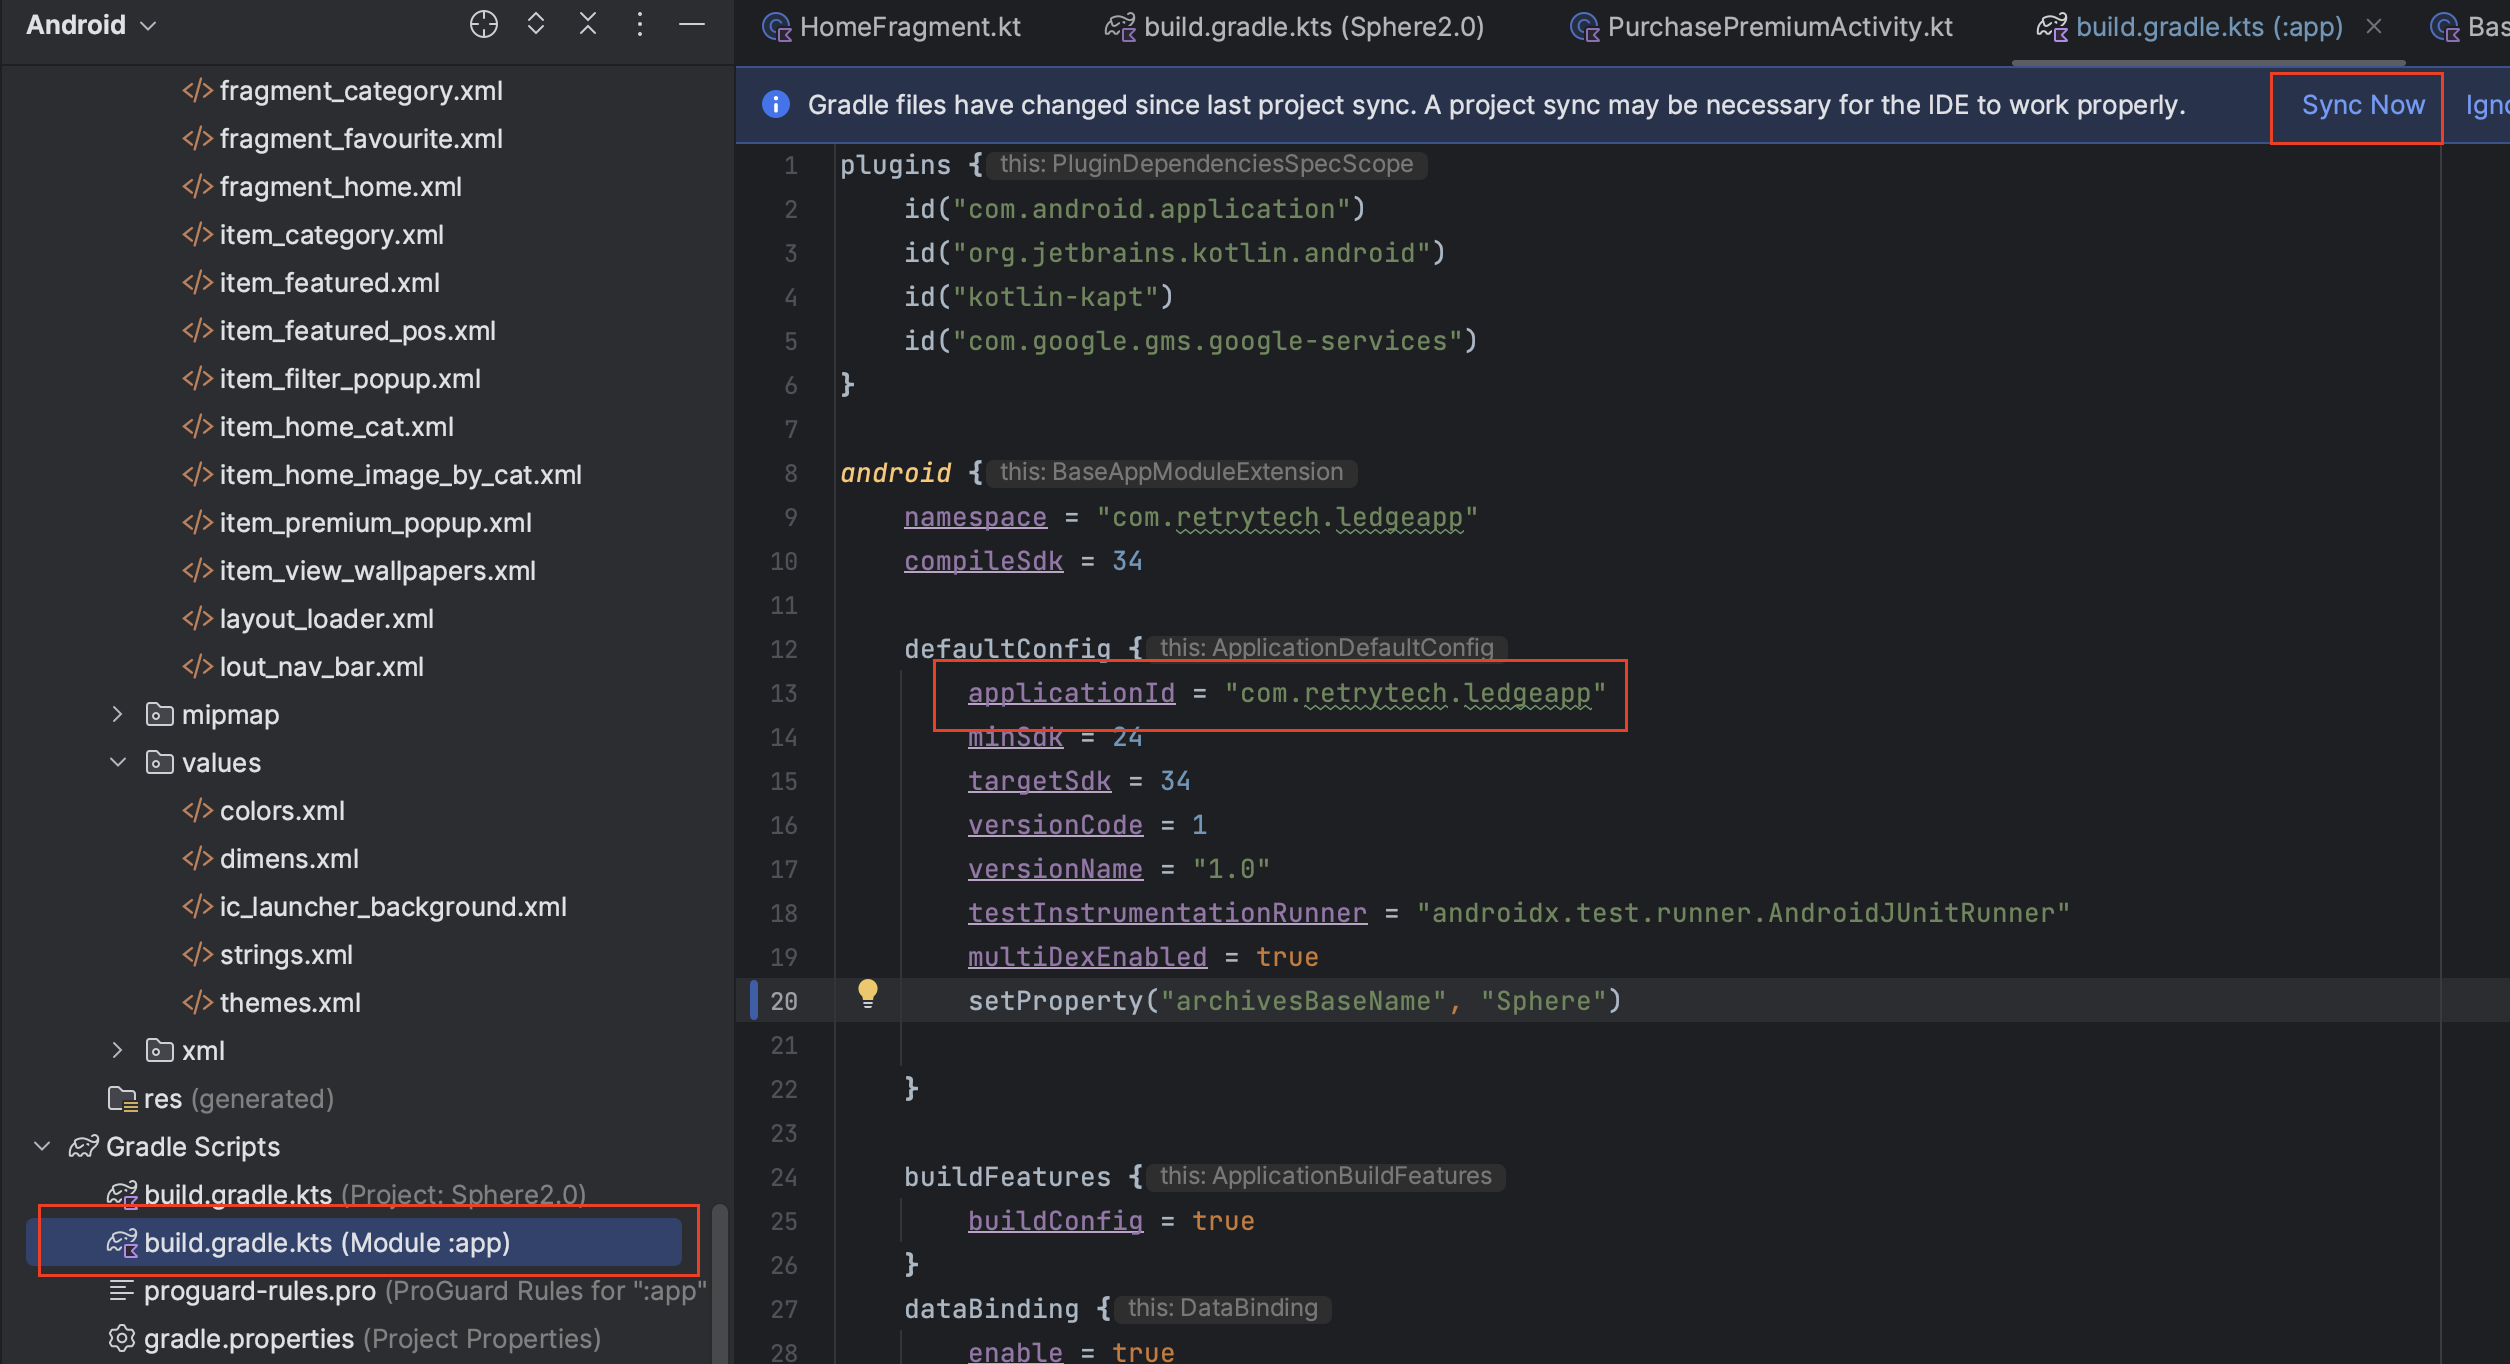
Change package name
-
Open your Gradle Build File (build.gradle - Usually app or mobile). Update the applicationId in the defaultConfig to your new Package Name and click on Sync Now Gradle.
Change App Icon and Name
-
Make sure the project root folder is selected as Android otherwise select Android by clicking on it .
-
Then Right click on app > res tab
-
Find mipmap folder, right click on that and delete this folder.
-
Go to new New > Image Asset
-
In the pop up that appears select the the Foreground layer and choose image as asset type, then click on a folder icon to select your .png image file of icon.
-
You can resize app icon with the scroller shown in to above image.
-
Click on next , a new dialogue will appear like below.
-
Click on finish button, app icon will generate automatically.
-
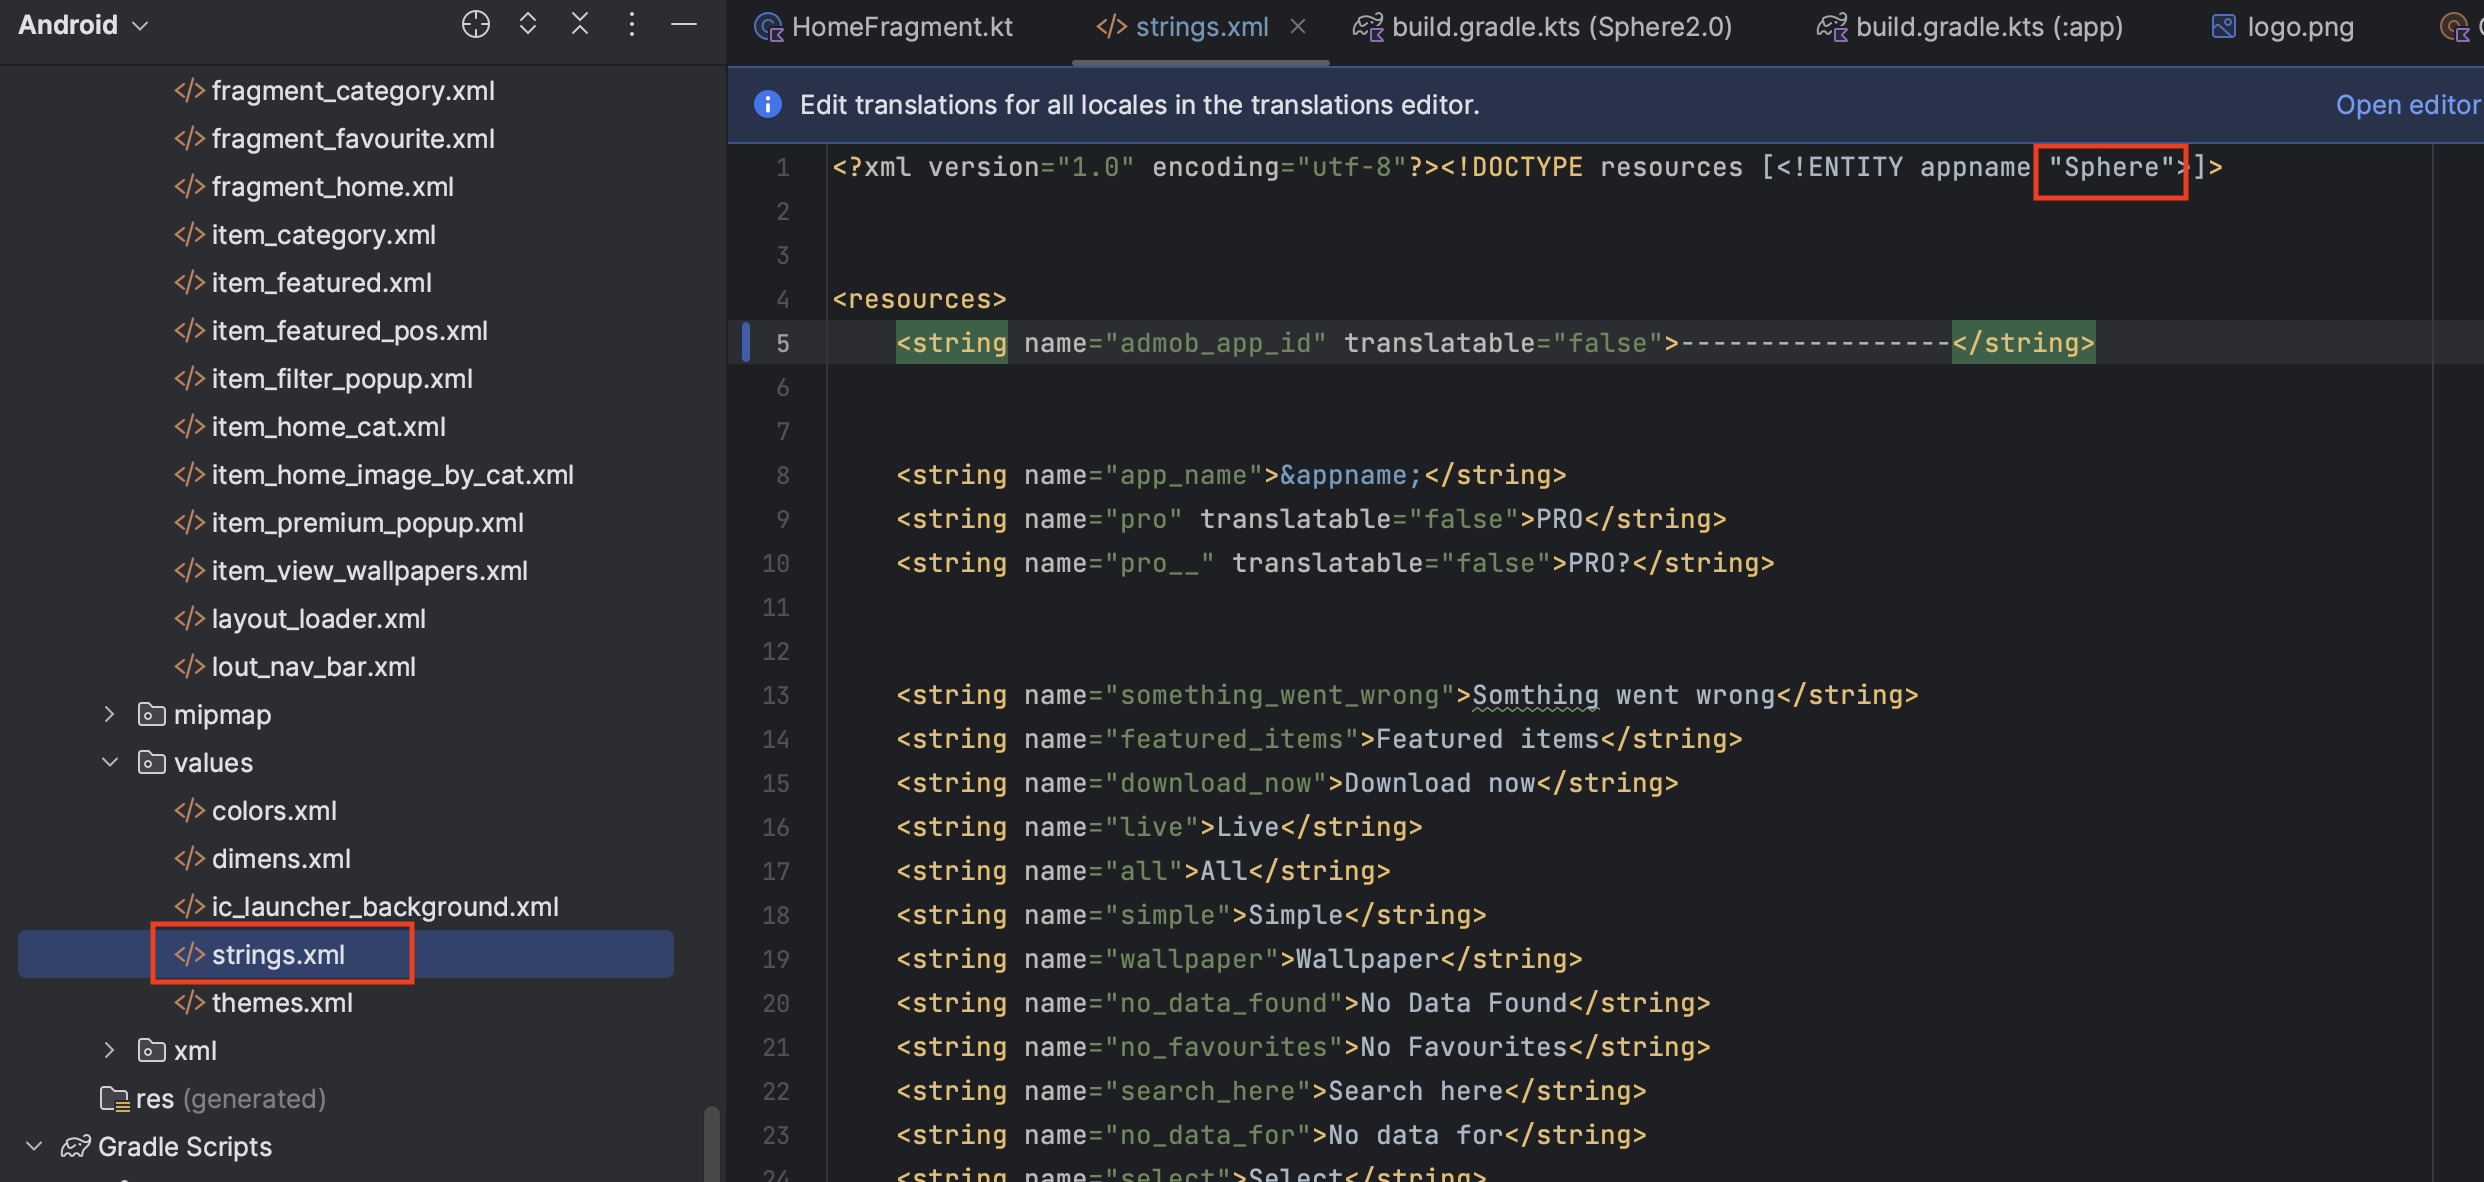
Change name in strings.xml file

Change Logo
-
Click on Android > app > res > drawable folder.
-
Copy your .png file for logo.
-
Paste it on Android studio ( A dialogue will appear like below )
-
Select tab which has /drawable in end like shown in image.
-
Click OK ( A new dialogue will appear like below).
-
Change your file by name > logo.png it will ask you to overwrite a file with same name , click Overwrite .
General style
-
If you want change the theme of ui. change color as your requirment.
-
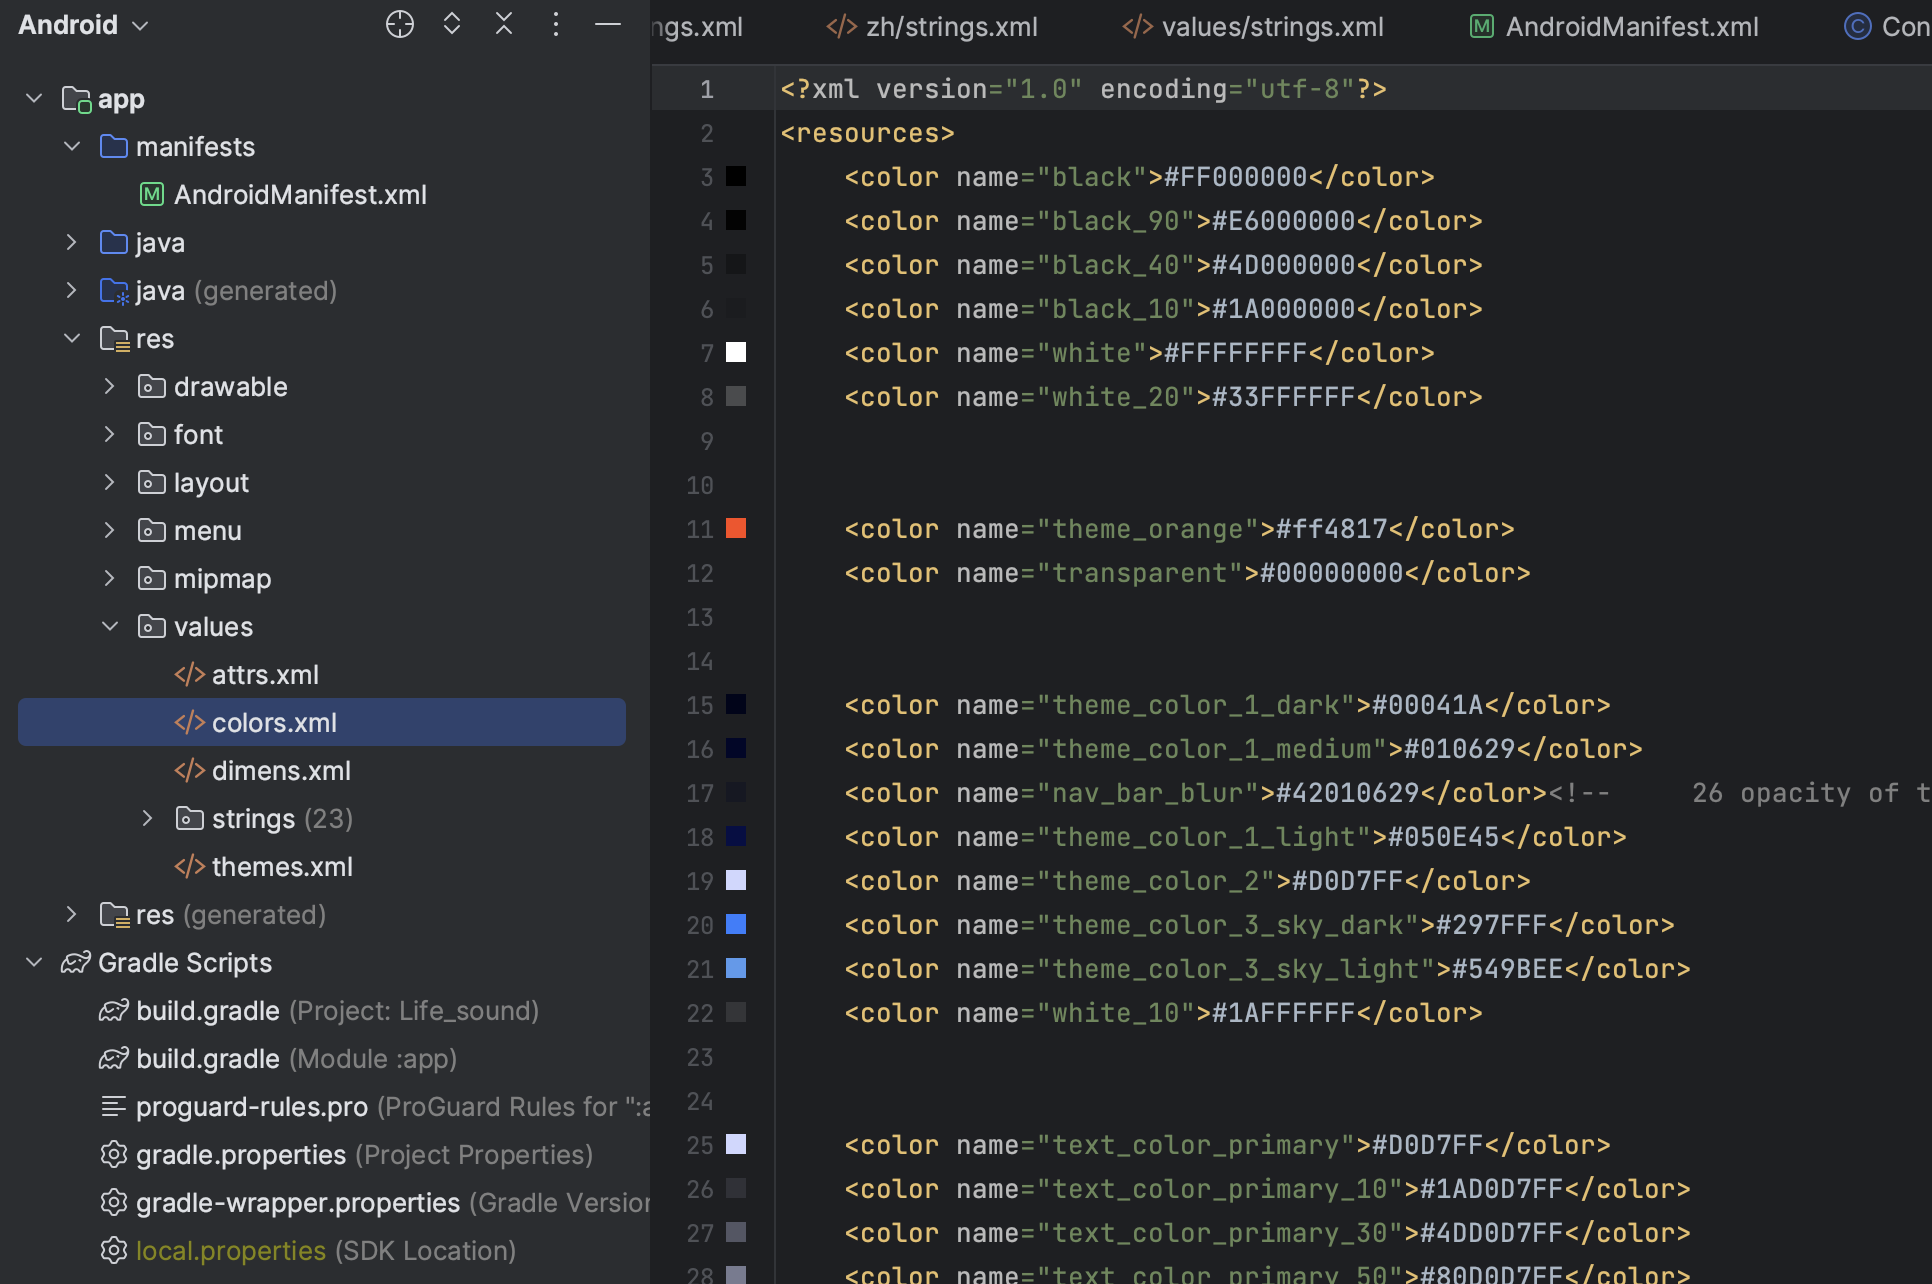
Go to res > values > colors
Configure Firebase
-
Go to the firebase project you might created while following backend documentation.
-
If you don't have, follow the steps below and create one project.
-
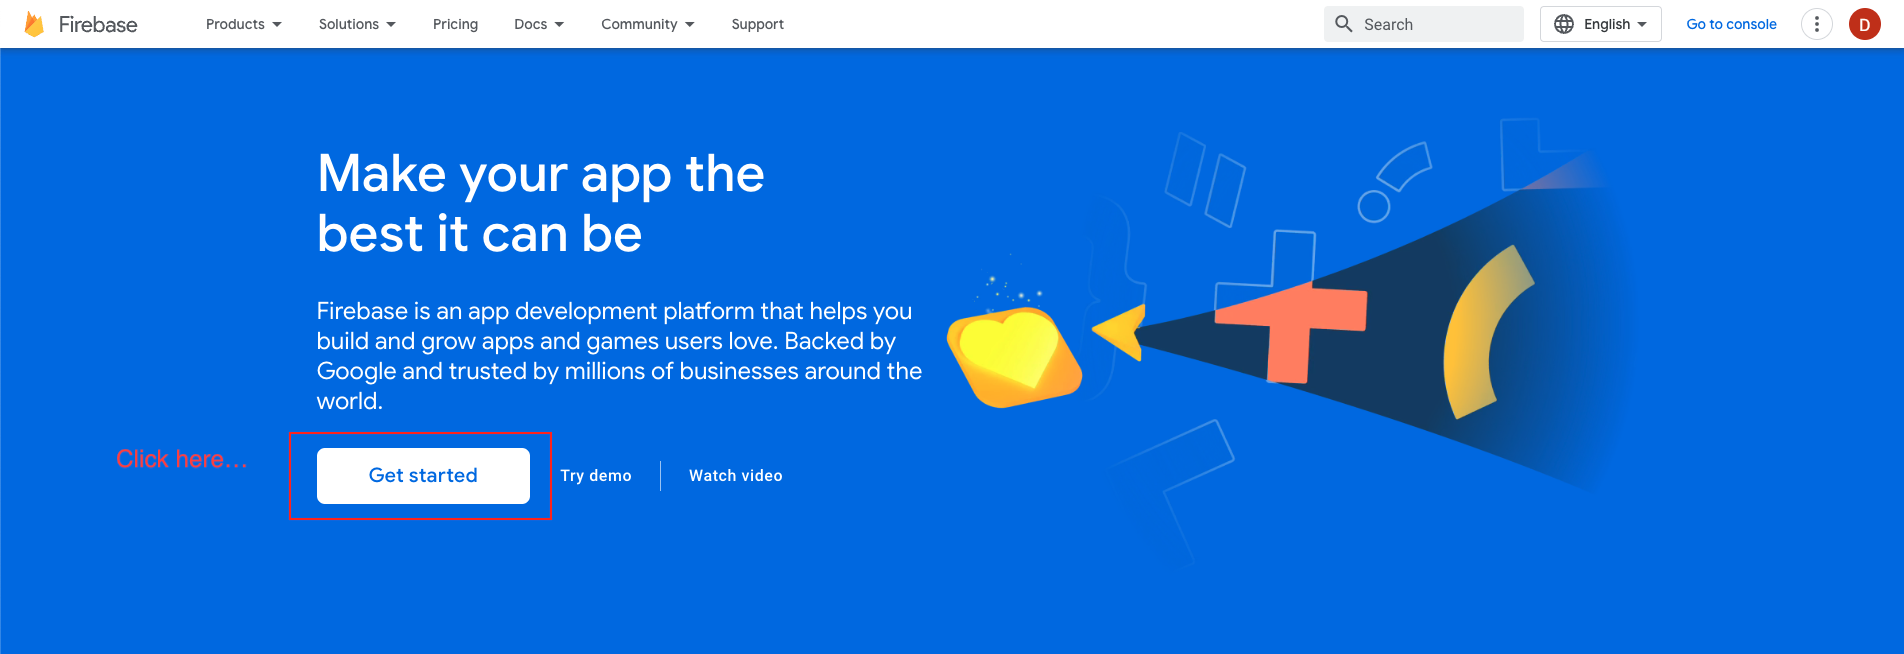
At first, follow this link https://firebase.google.com/
-
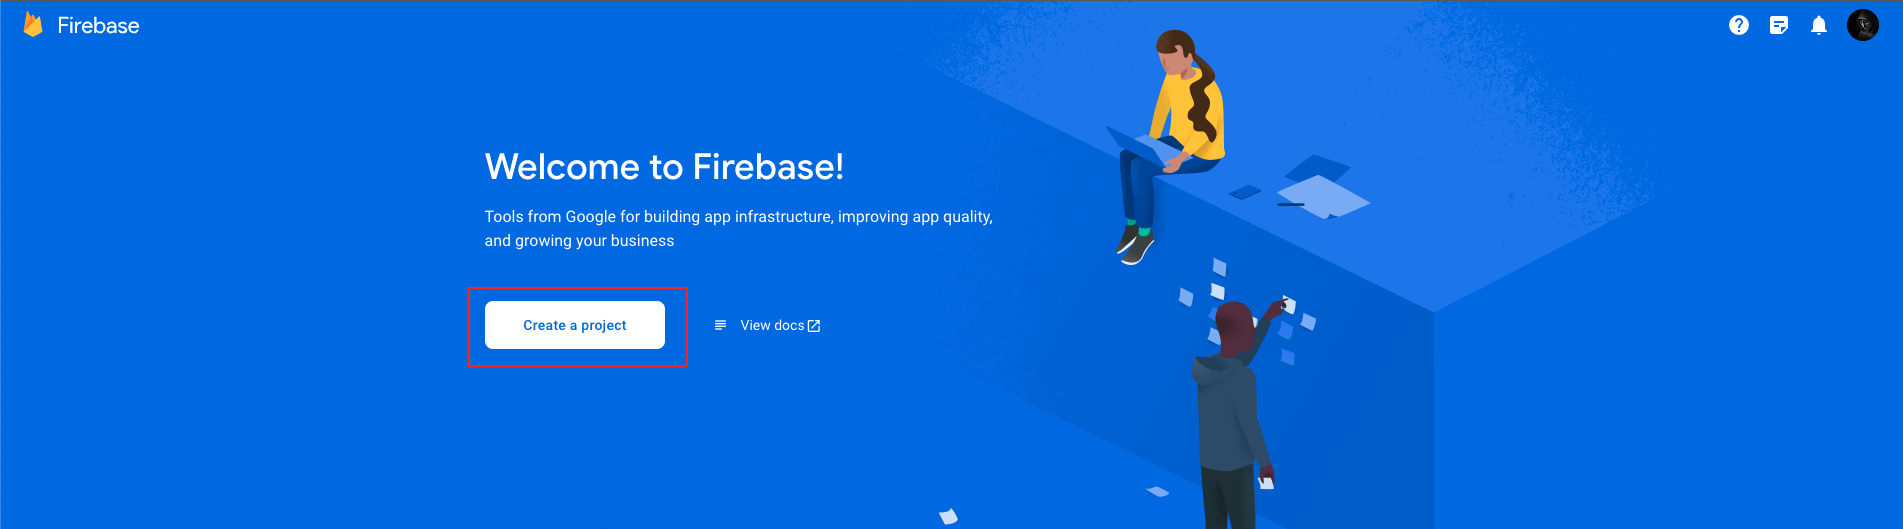
Now, we first have to create a Firebase project. Firebase project will go through and describe what it is. This allows us to add an app to that project. It can have many projects inside of Firebase.
-
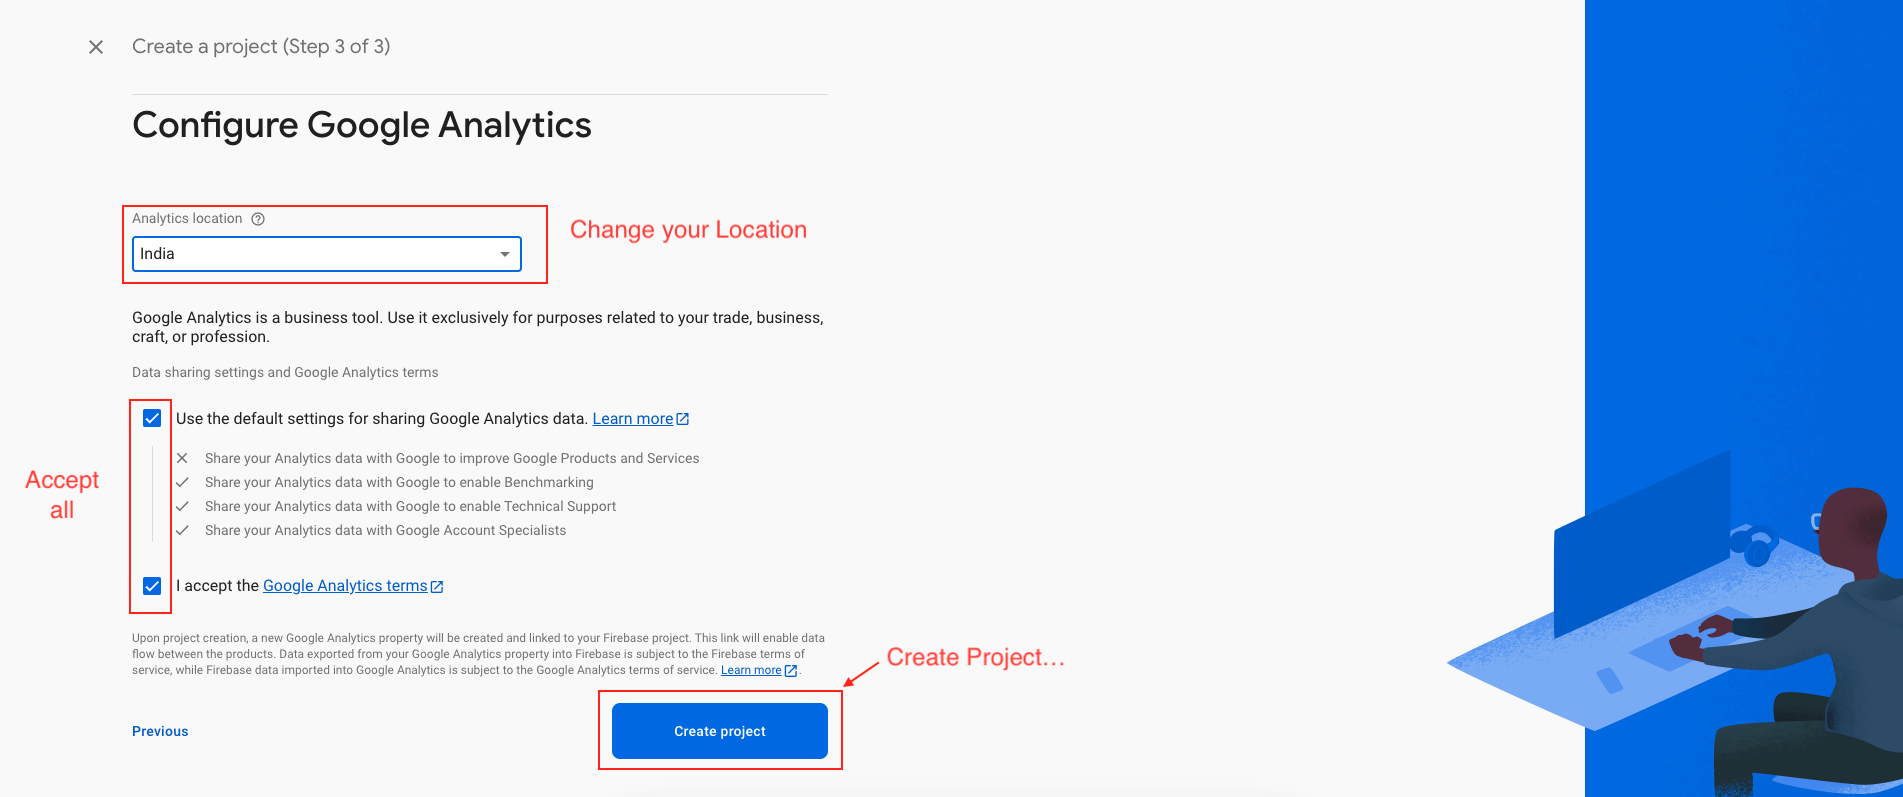
Now, we have to give a name and id to the project, enable Google Analytics for the project, set an analytics location, and accept all the terms and conditions. Firebase console automatically creates a unique id for the project.
-
Step 1 : Giving a name to the project
-
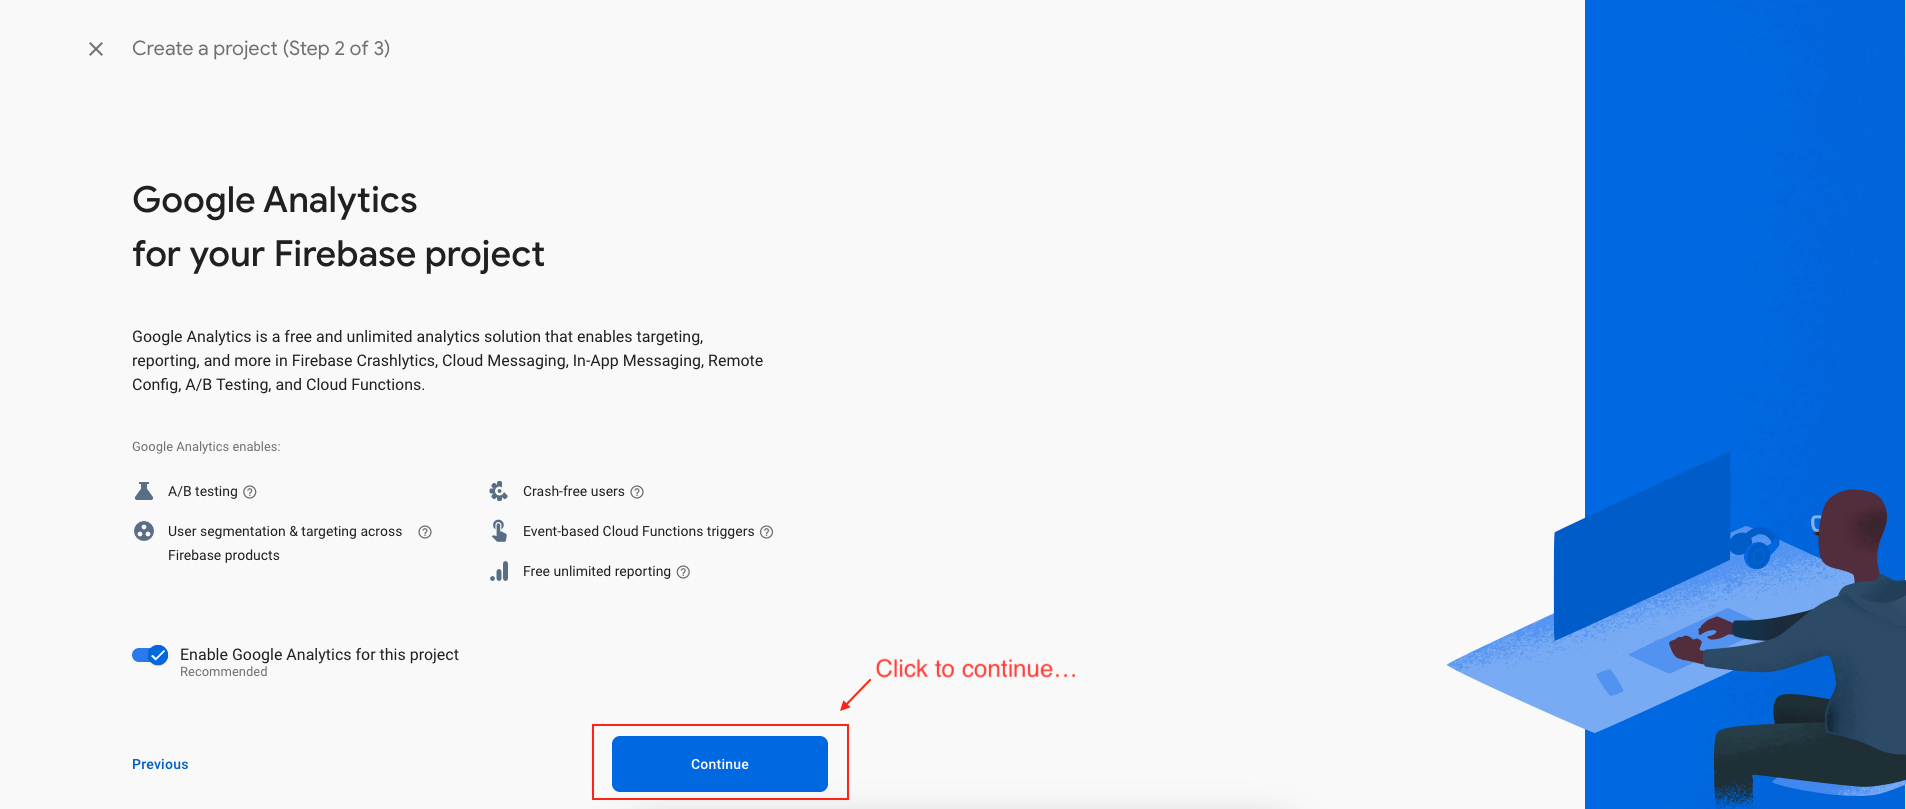
Step 2 : Enable Google analytics for the project
-
Step 3 : First Choose default Firebase account and then create project

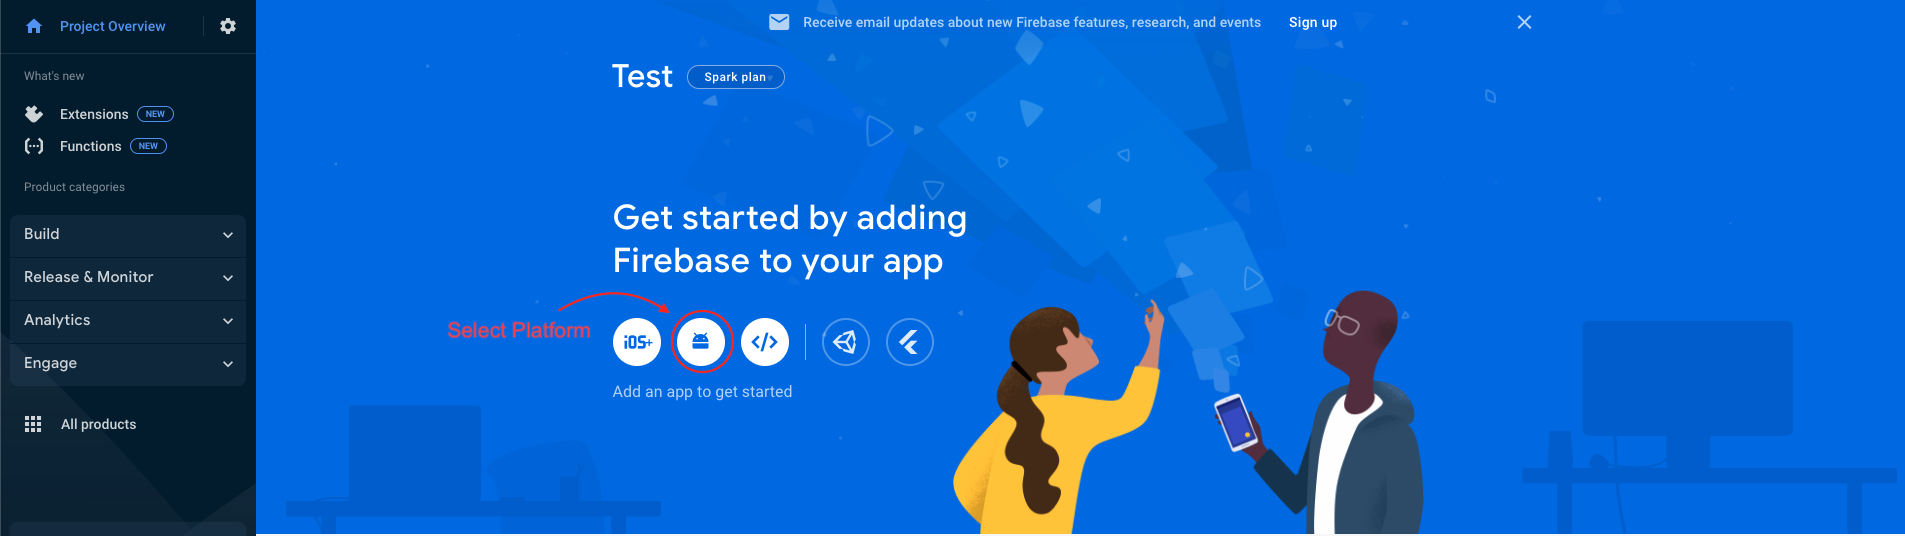
Add Android app to Firebase
-
In the next step, we have to choose the platform to add Firebase to our application. The platform can be Android, iOS, Web etc..
-
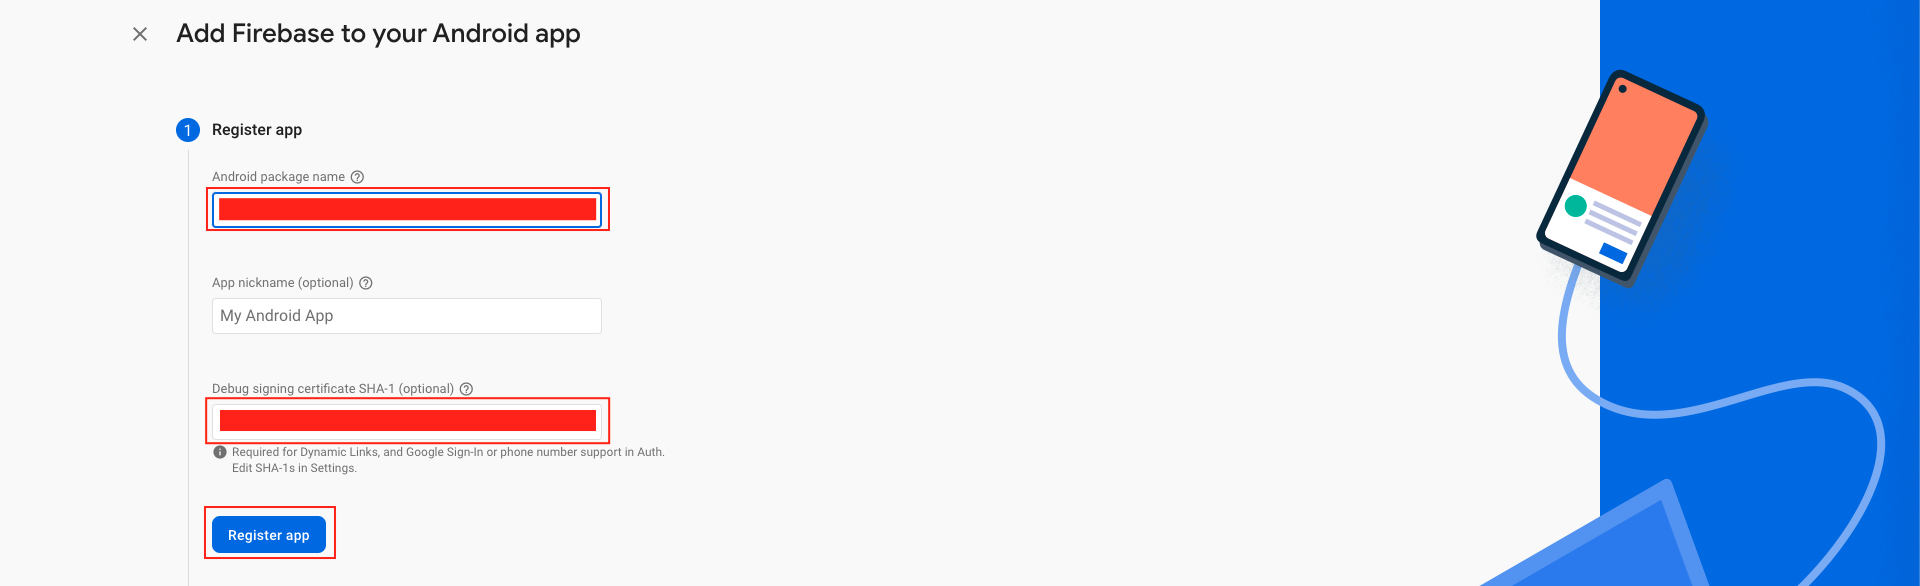
Your package name is generally the applicationId in your build.gradle (app-level) file
-
See this page for information on using keytool to get the SHA-1 hash of your signing certificate
-
Add your applicationid in the first field and SHA-1 to the third field as shown in the image below.
-
Download the google-services.json file & place it in your project's app root directory.
-
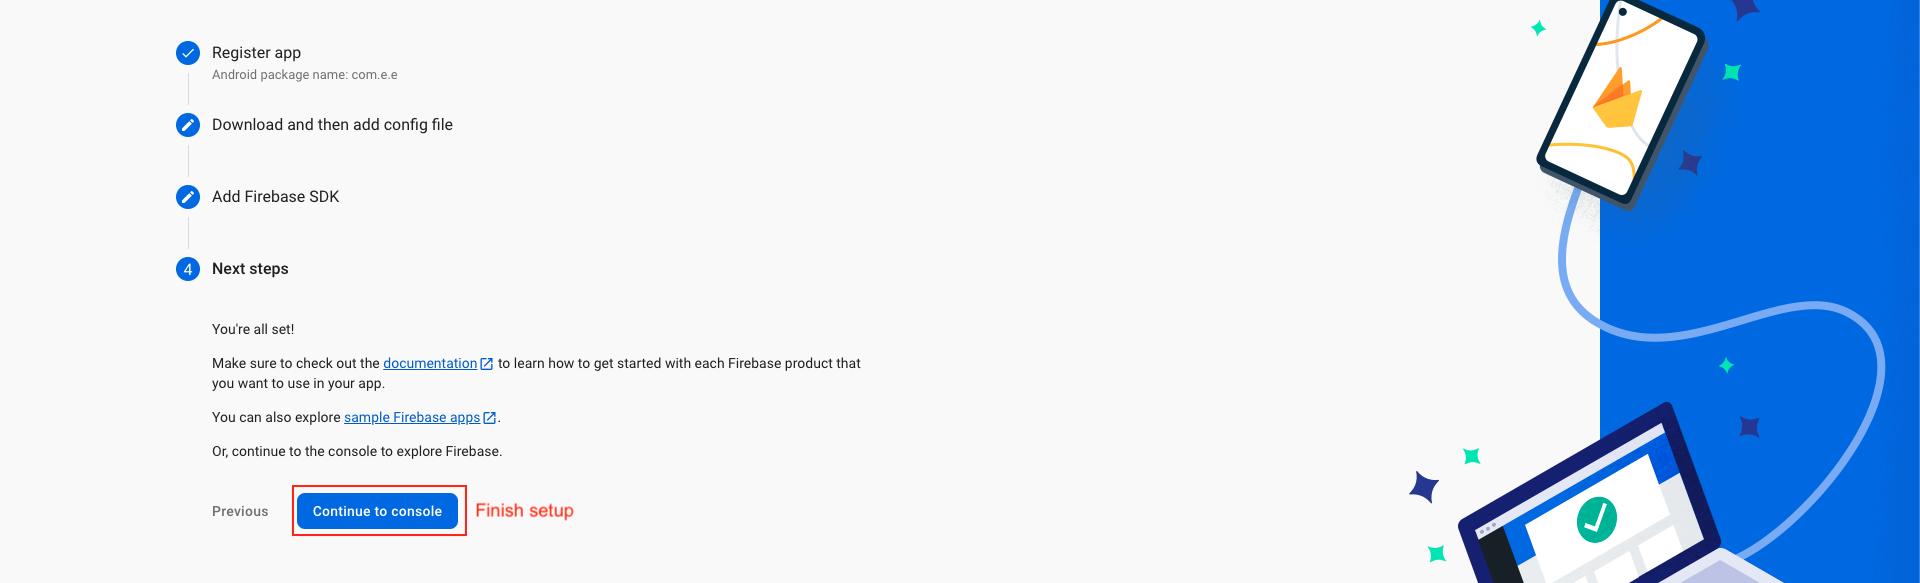
Back in the Firebase console-setup workflow, click Next to skip the remaining steps and then finish and complete

Change Base url, Image Url
-
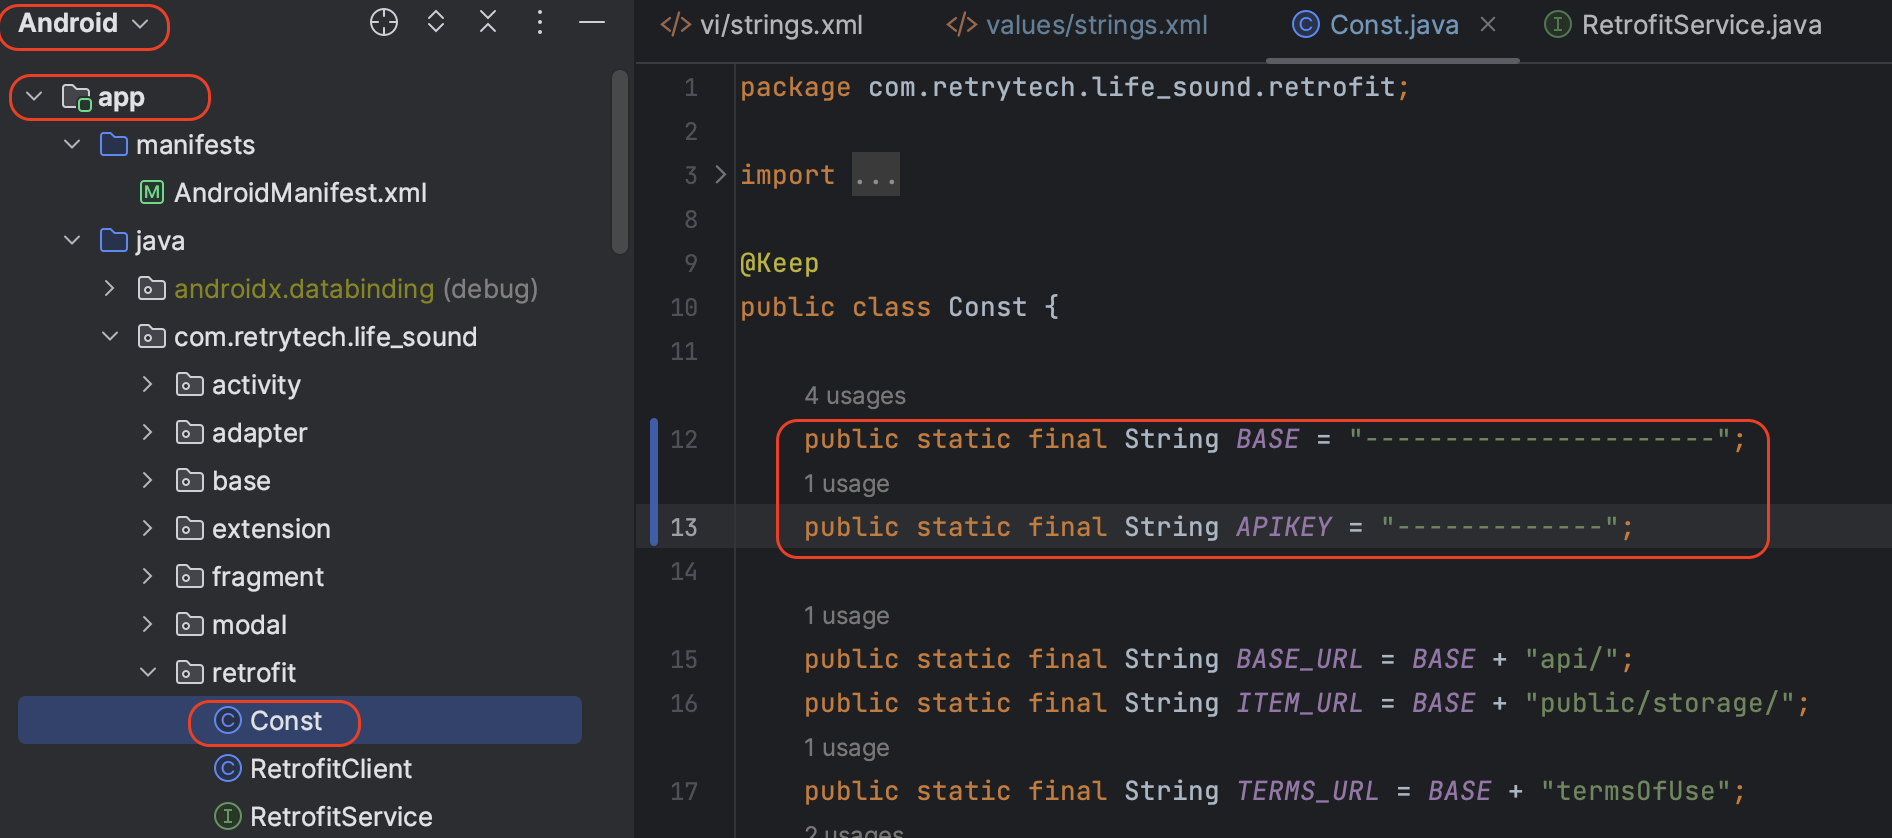
Open Const.java file
-
Replace -------------------- of BASE with your baseURL and -------------------- of APIKEY with your api_key (which you got, when you was setting up backend).
-
These credentials can be available after following the backend documentation. If you have not followed it, please follow it first
Android in App Purchase Setup
-
Play Store subscription setup
-
For configuring subscriptions on Google Play Console, follow the steps below:
-
Go to Google Play Console . Log in with your developer account.
-
Select the app in which you want to add subscriptions.
-
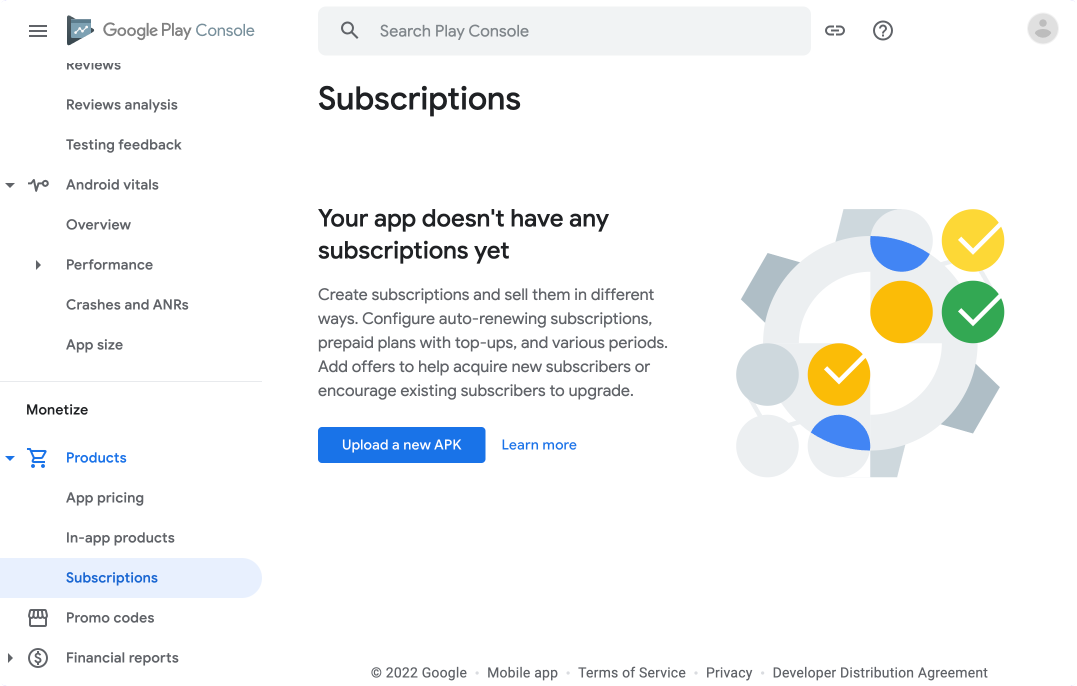
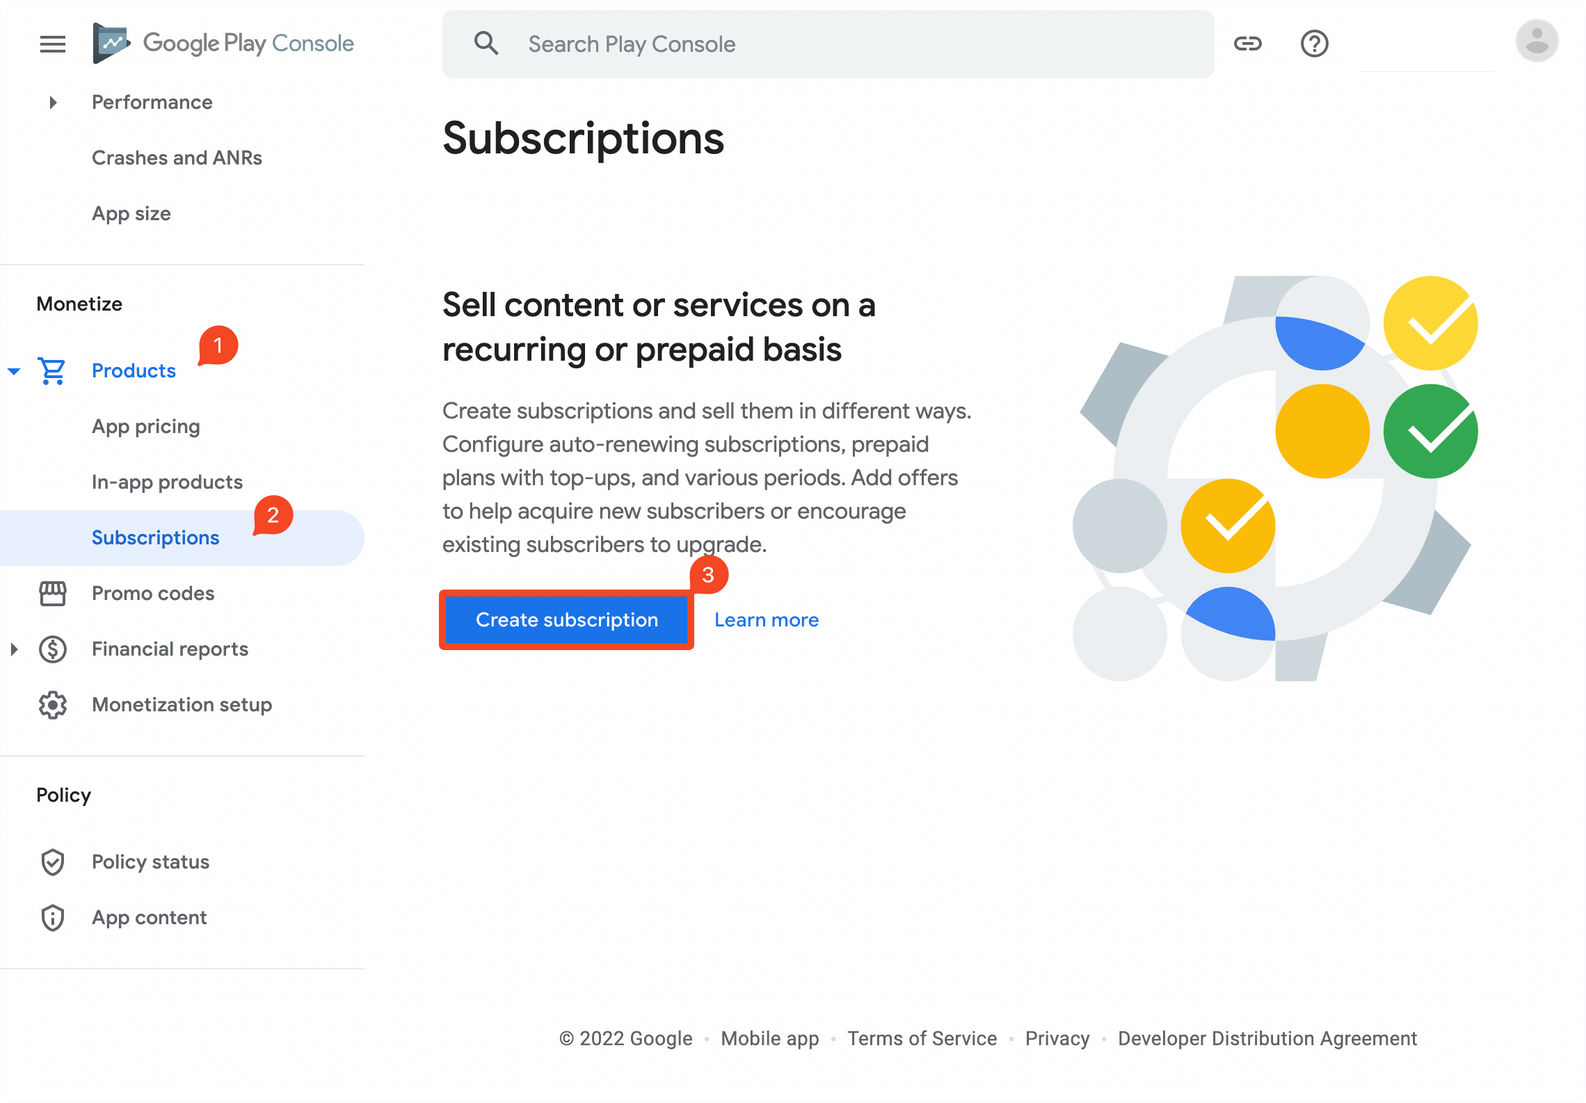
From the left menu, under the Monetize section, expand the Products category. Select Subscriptions.
-
Let's start creating the subscriptions:
-
From the Monetize > Products > Subscriptions page, click Create subscription.
-
Select the app in which you want to add subscriptions.
-
From the left menu, under the Monetize section, expand the Products category. Select Subscriptions.
-
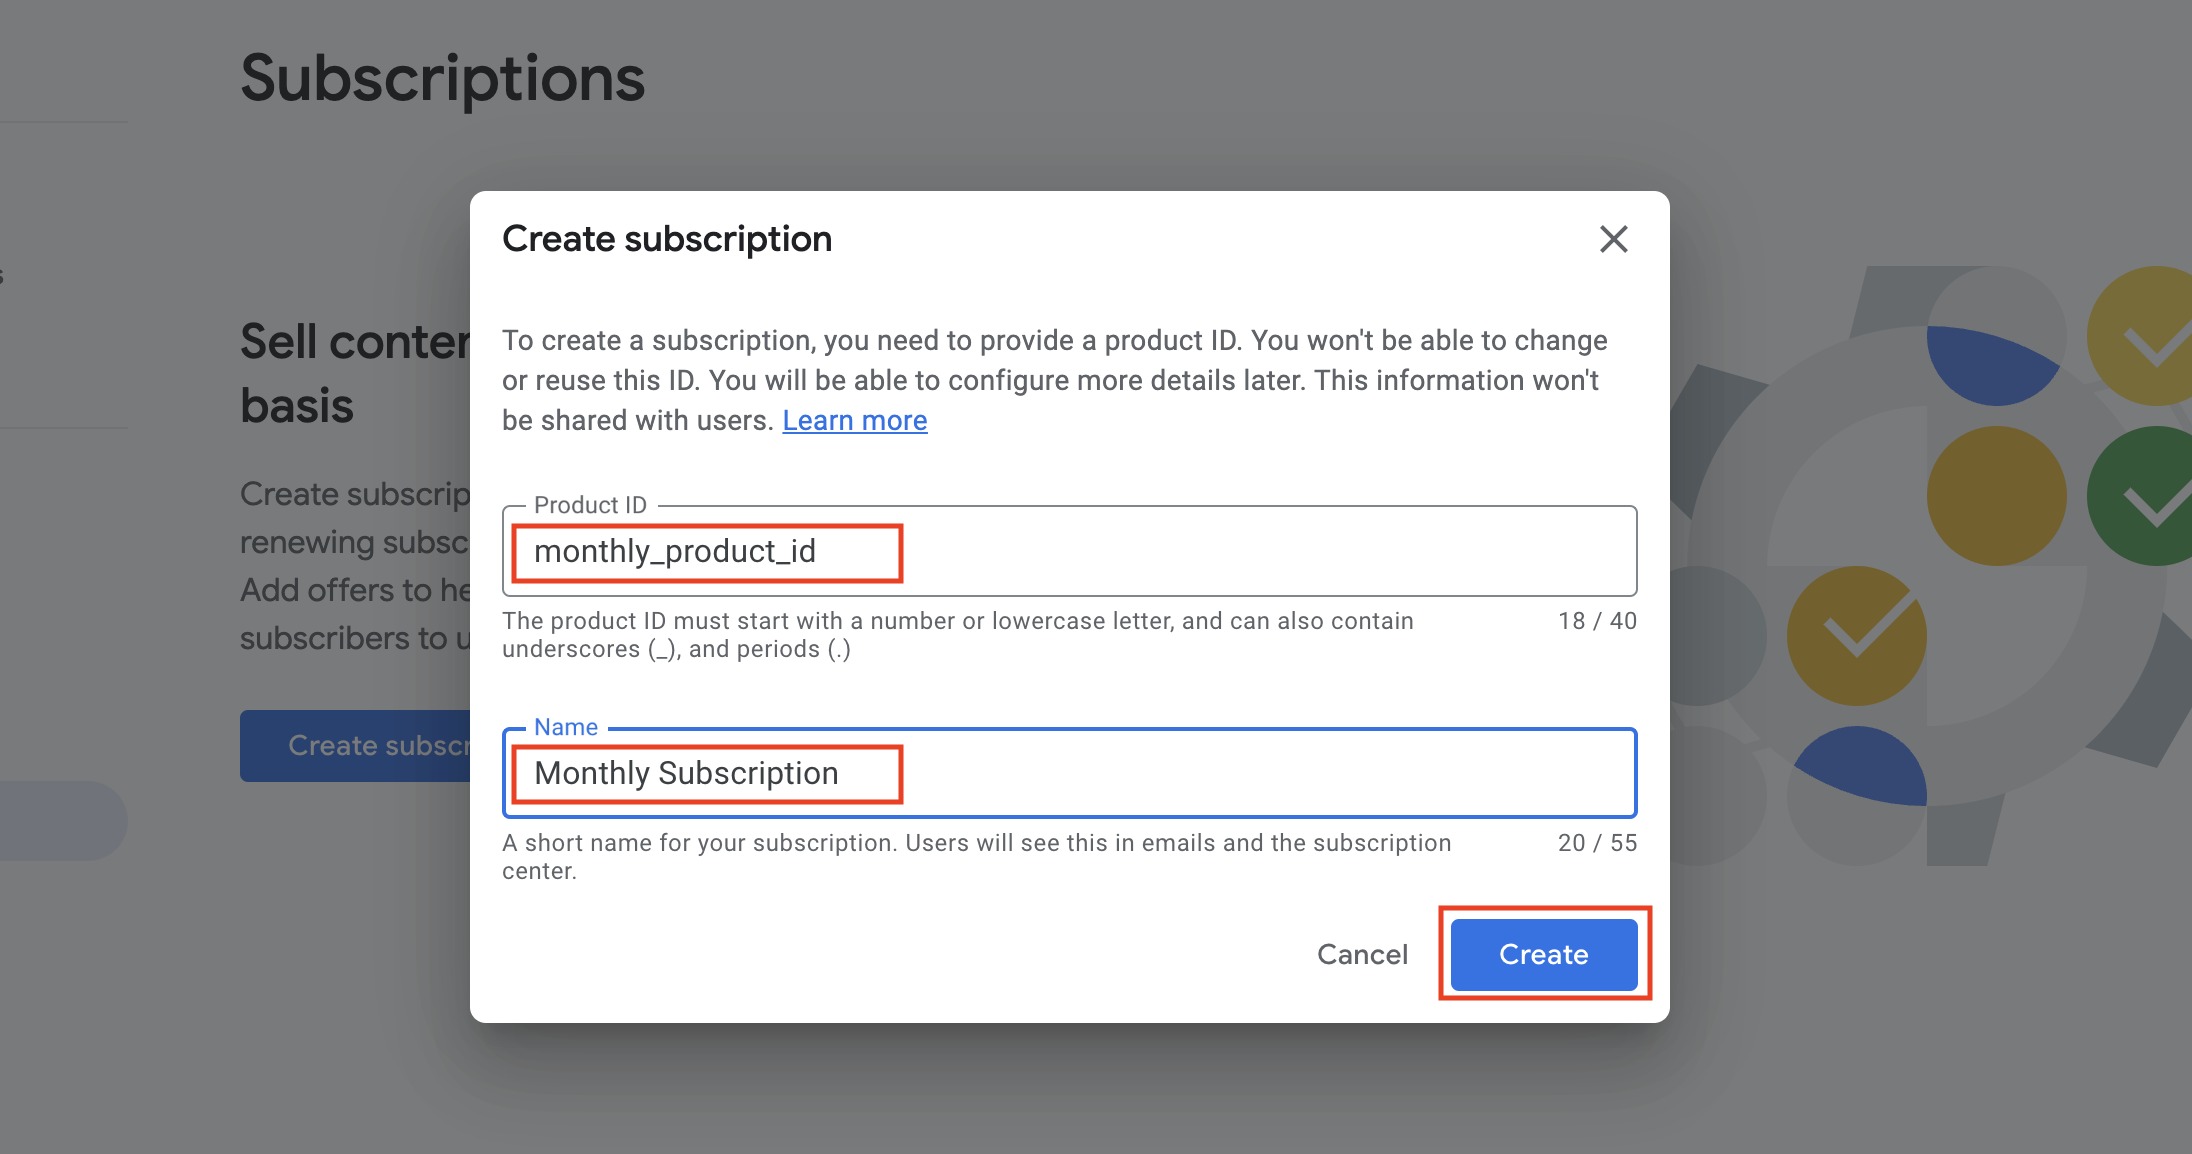
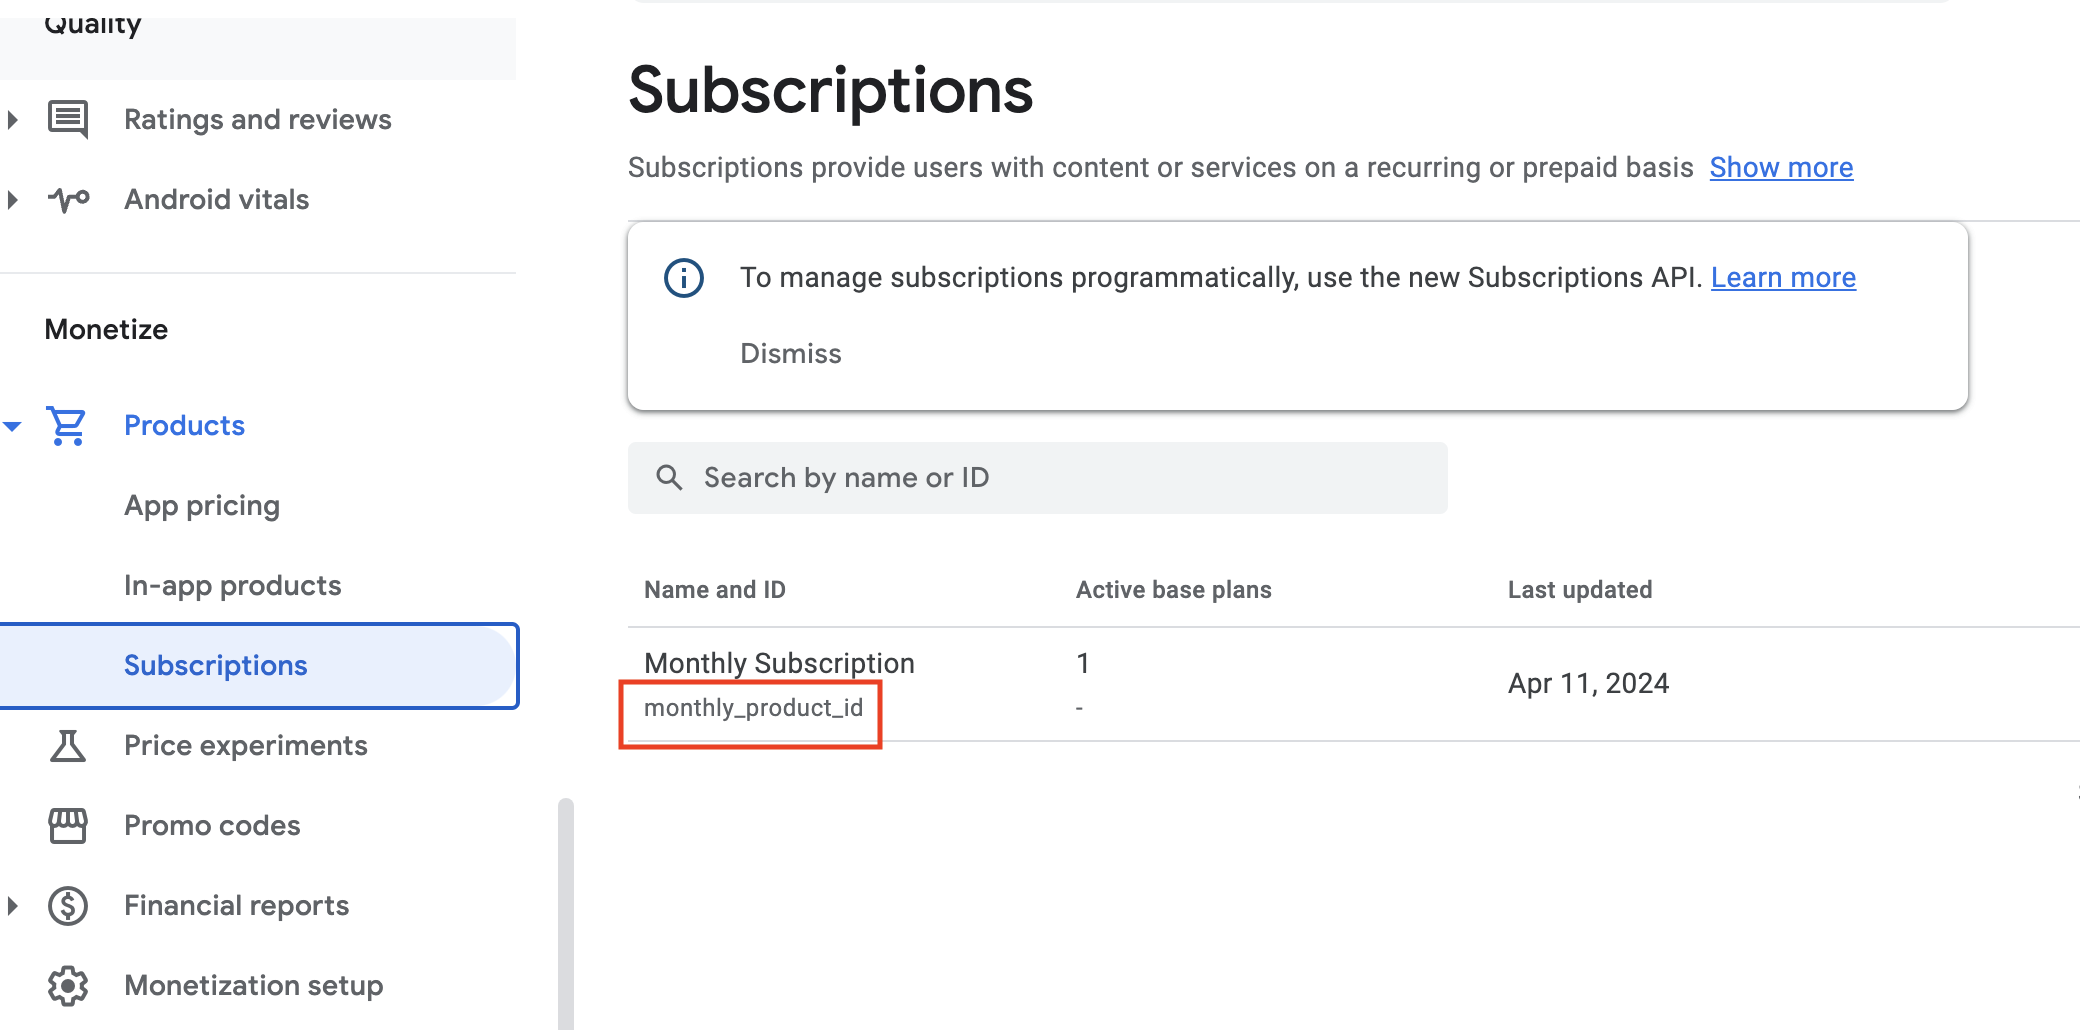
Enter a unique Product ID for your subscription and a publicly viewable Name. Click Create.
-
For example, we will be creating a Monthly subscription with:
-
Product ID: monthly_product_id
-
Name: Monthly Subscription
-
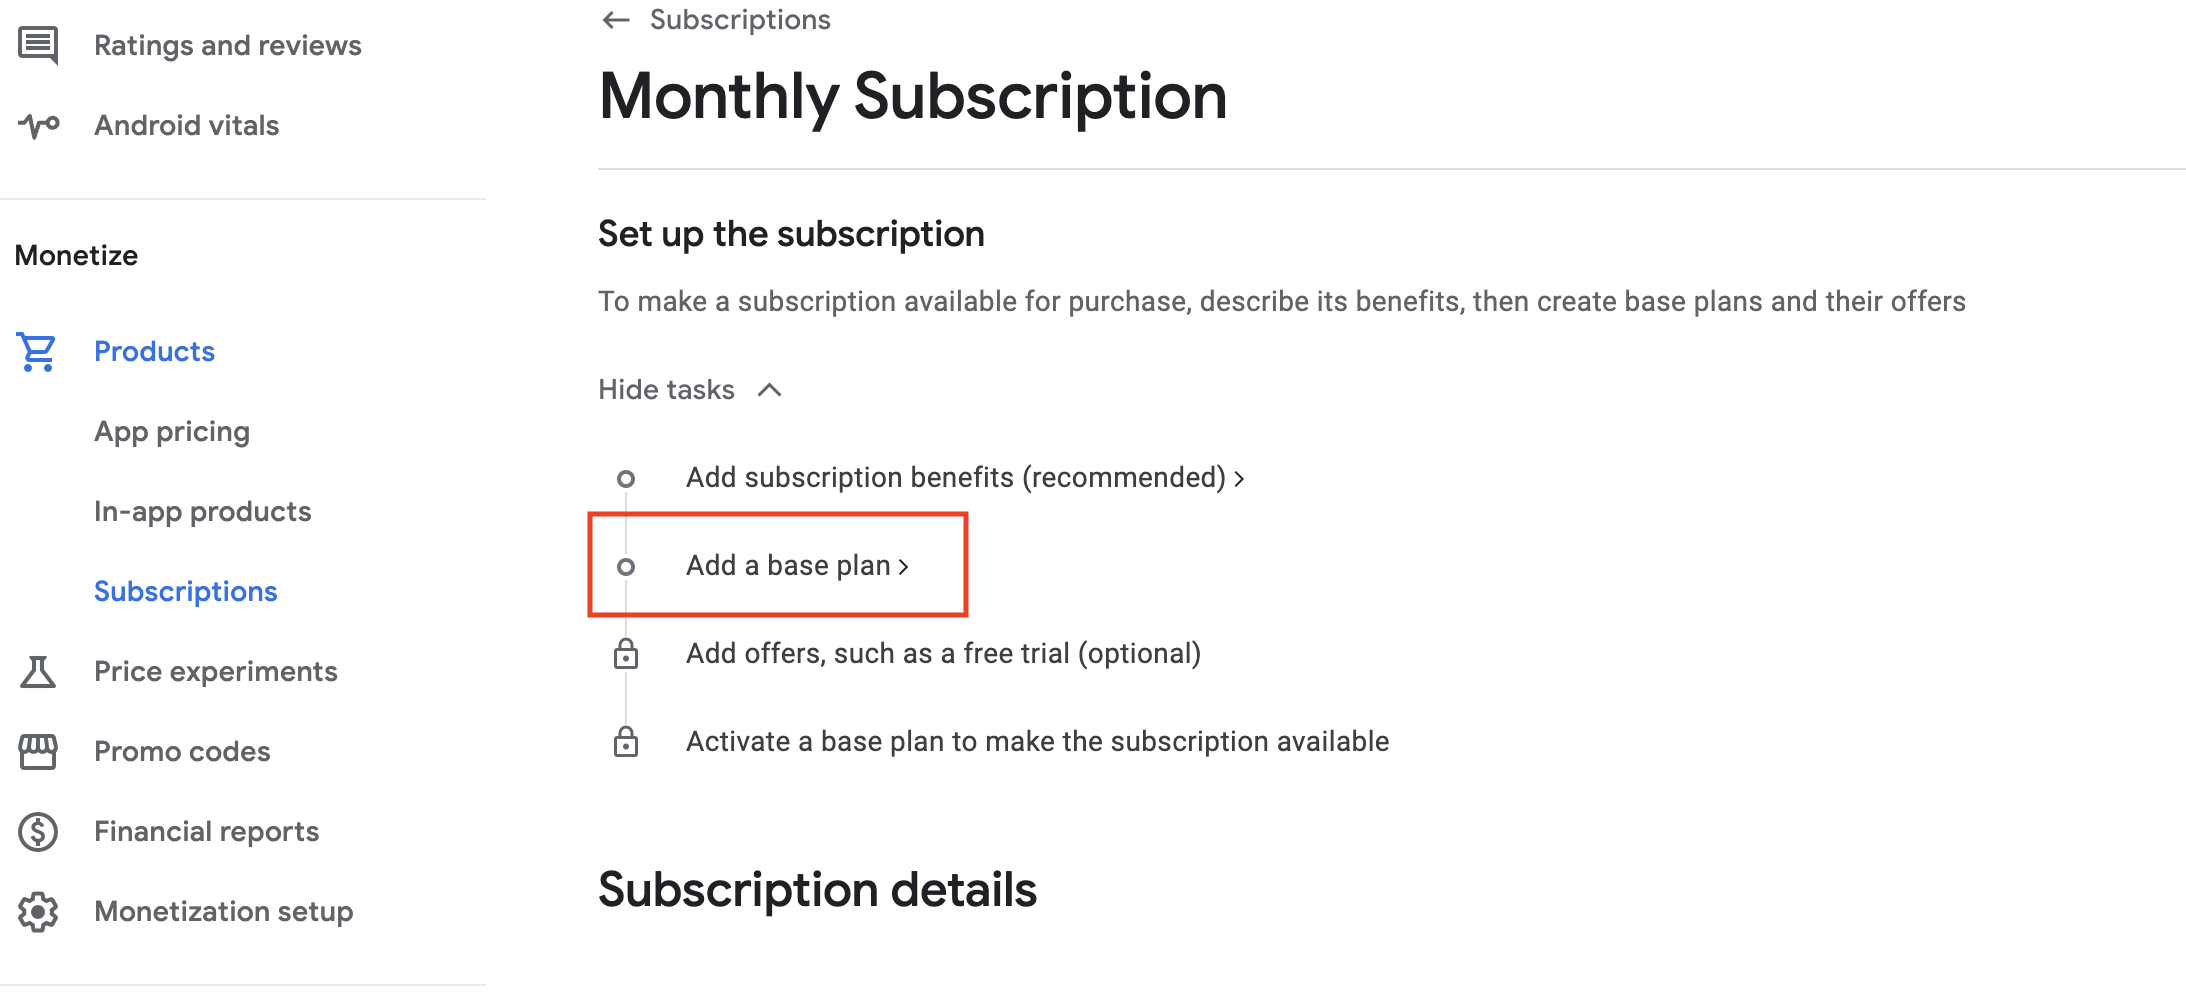
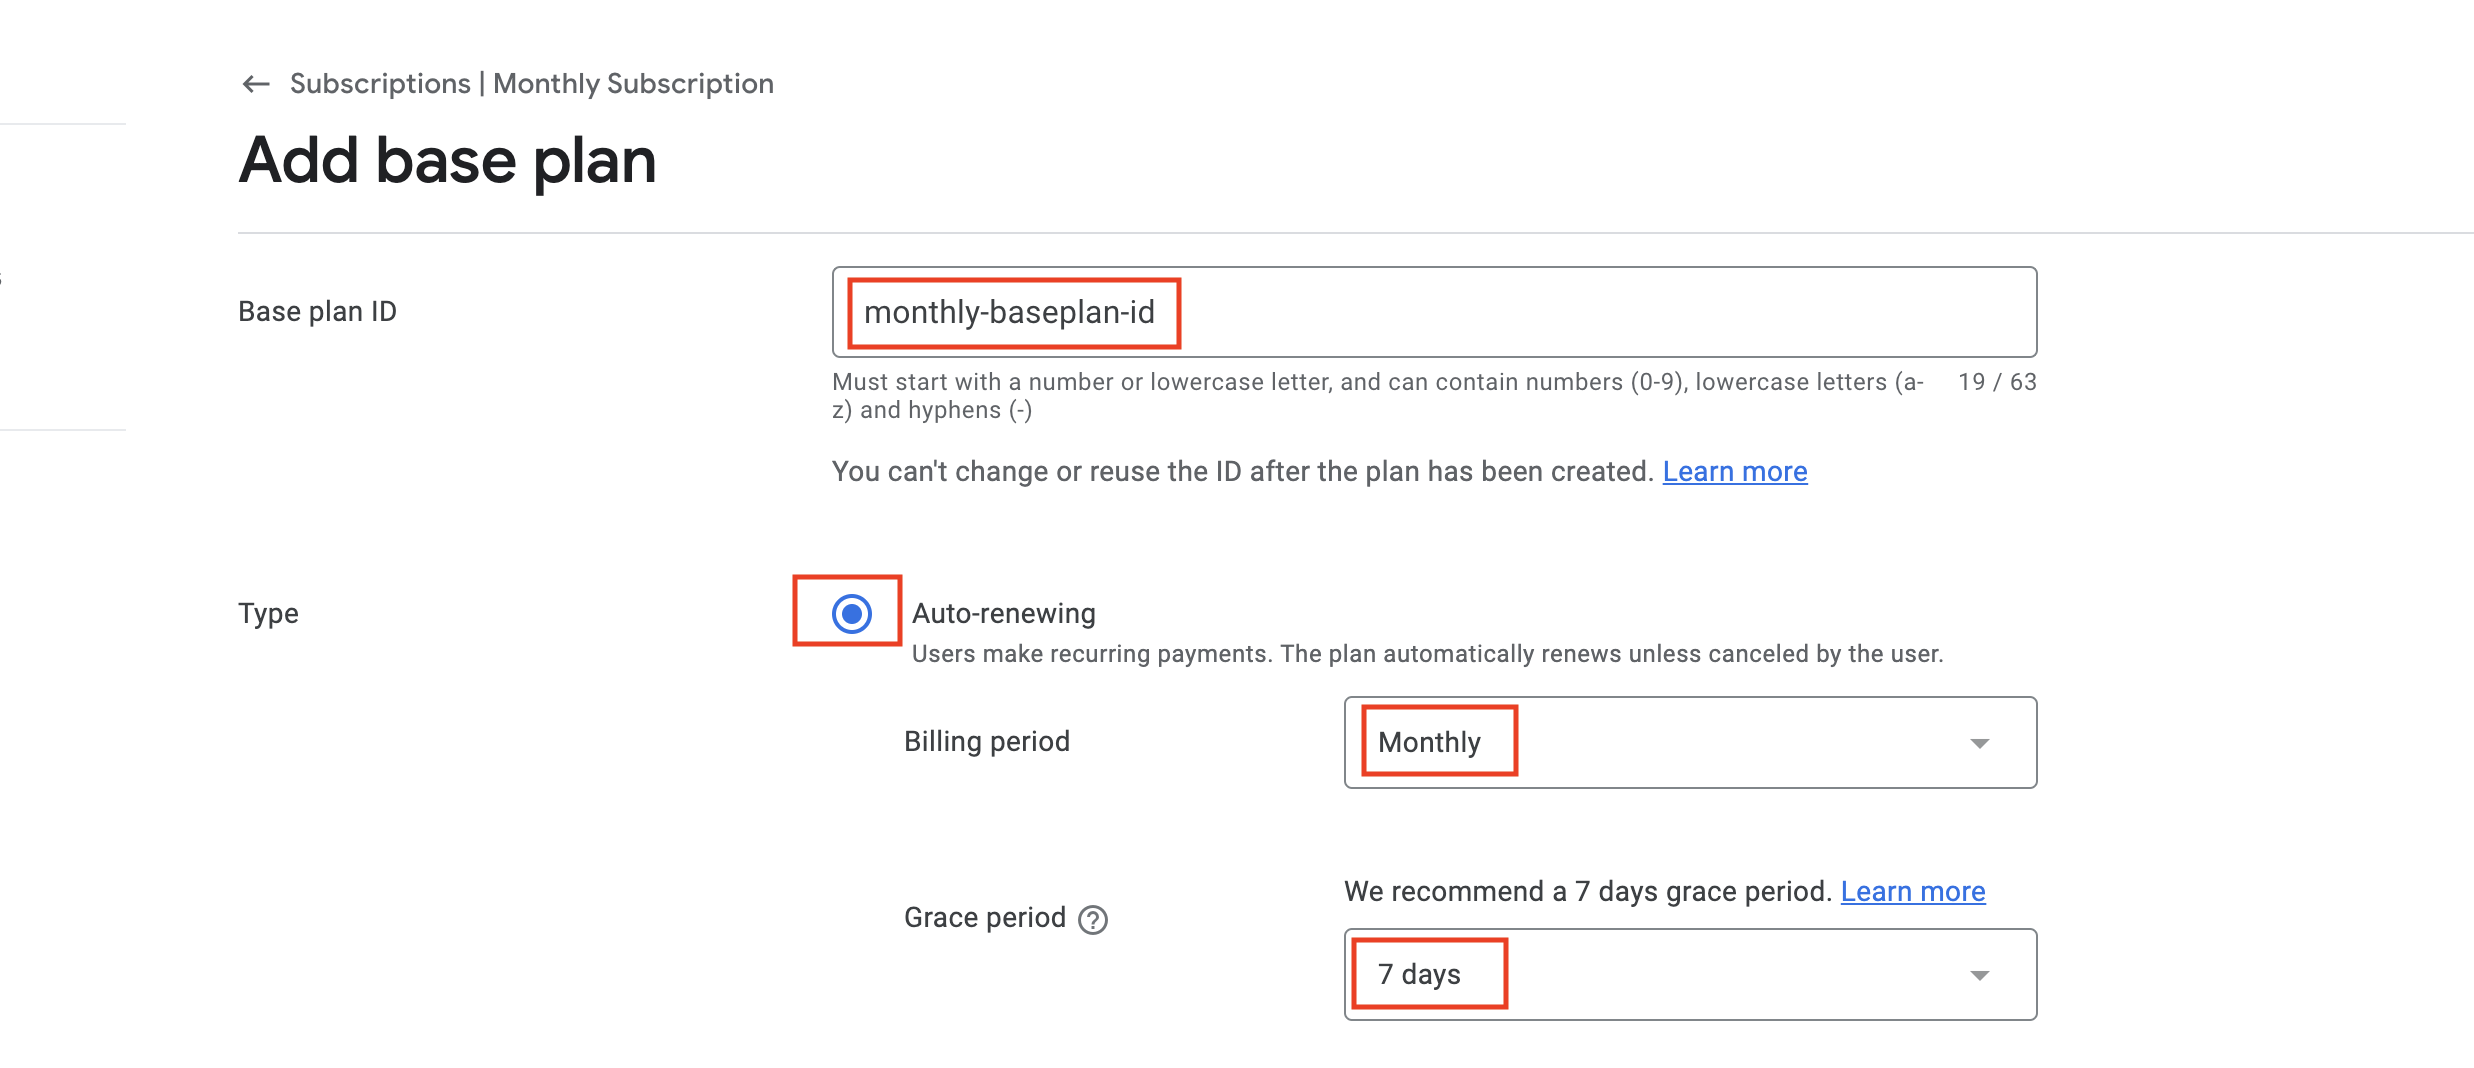
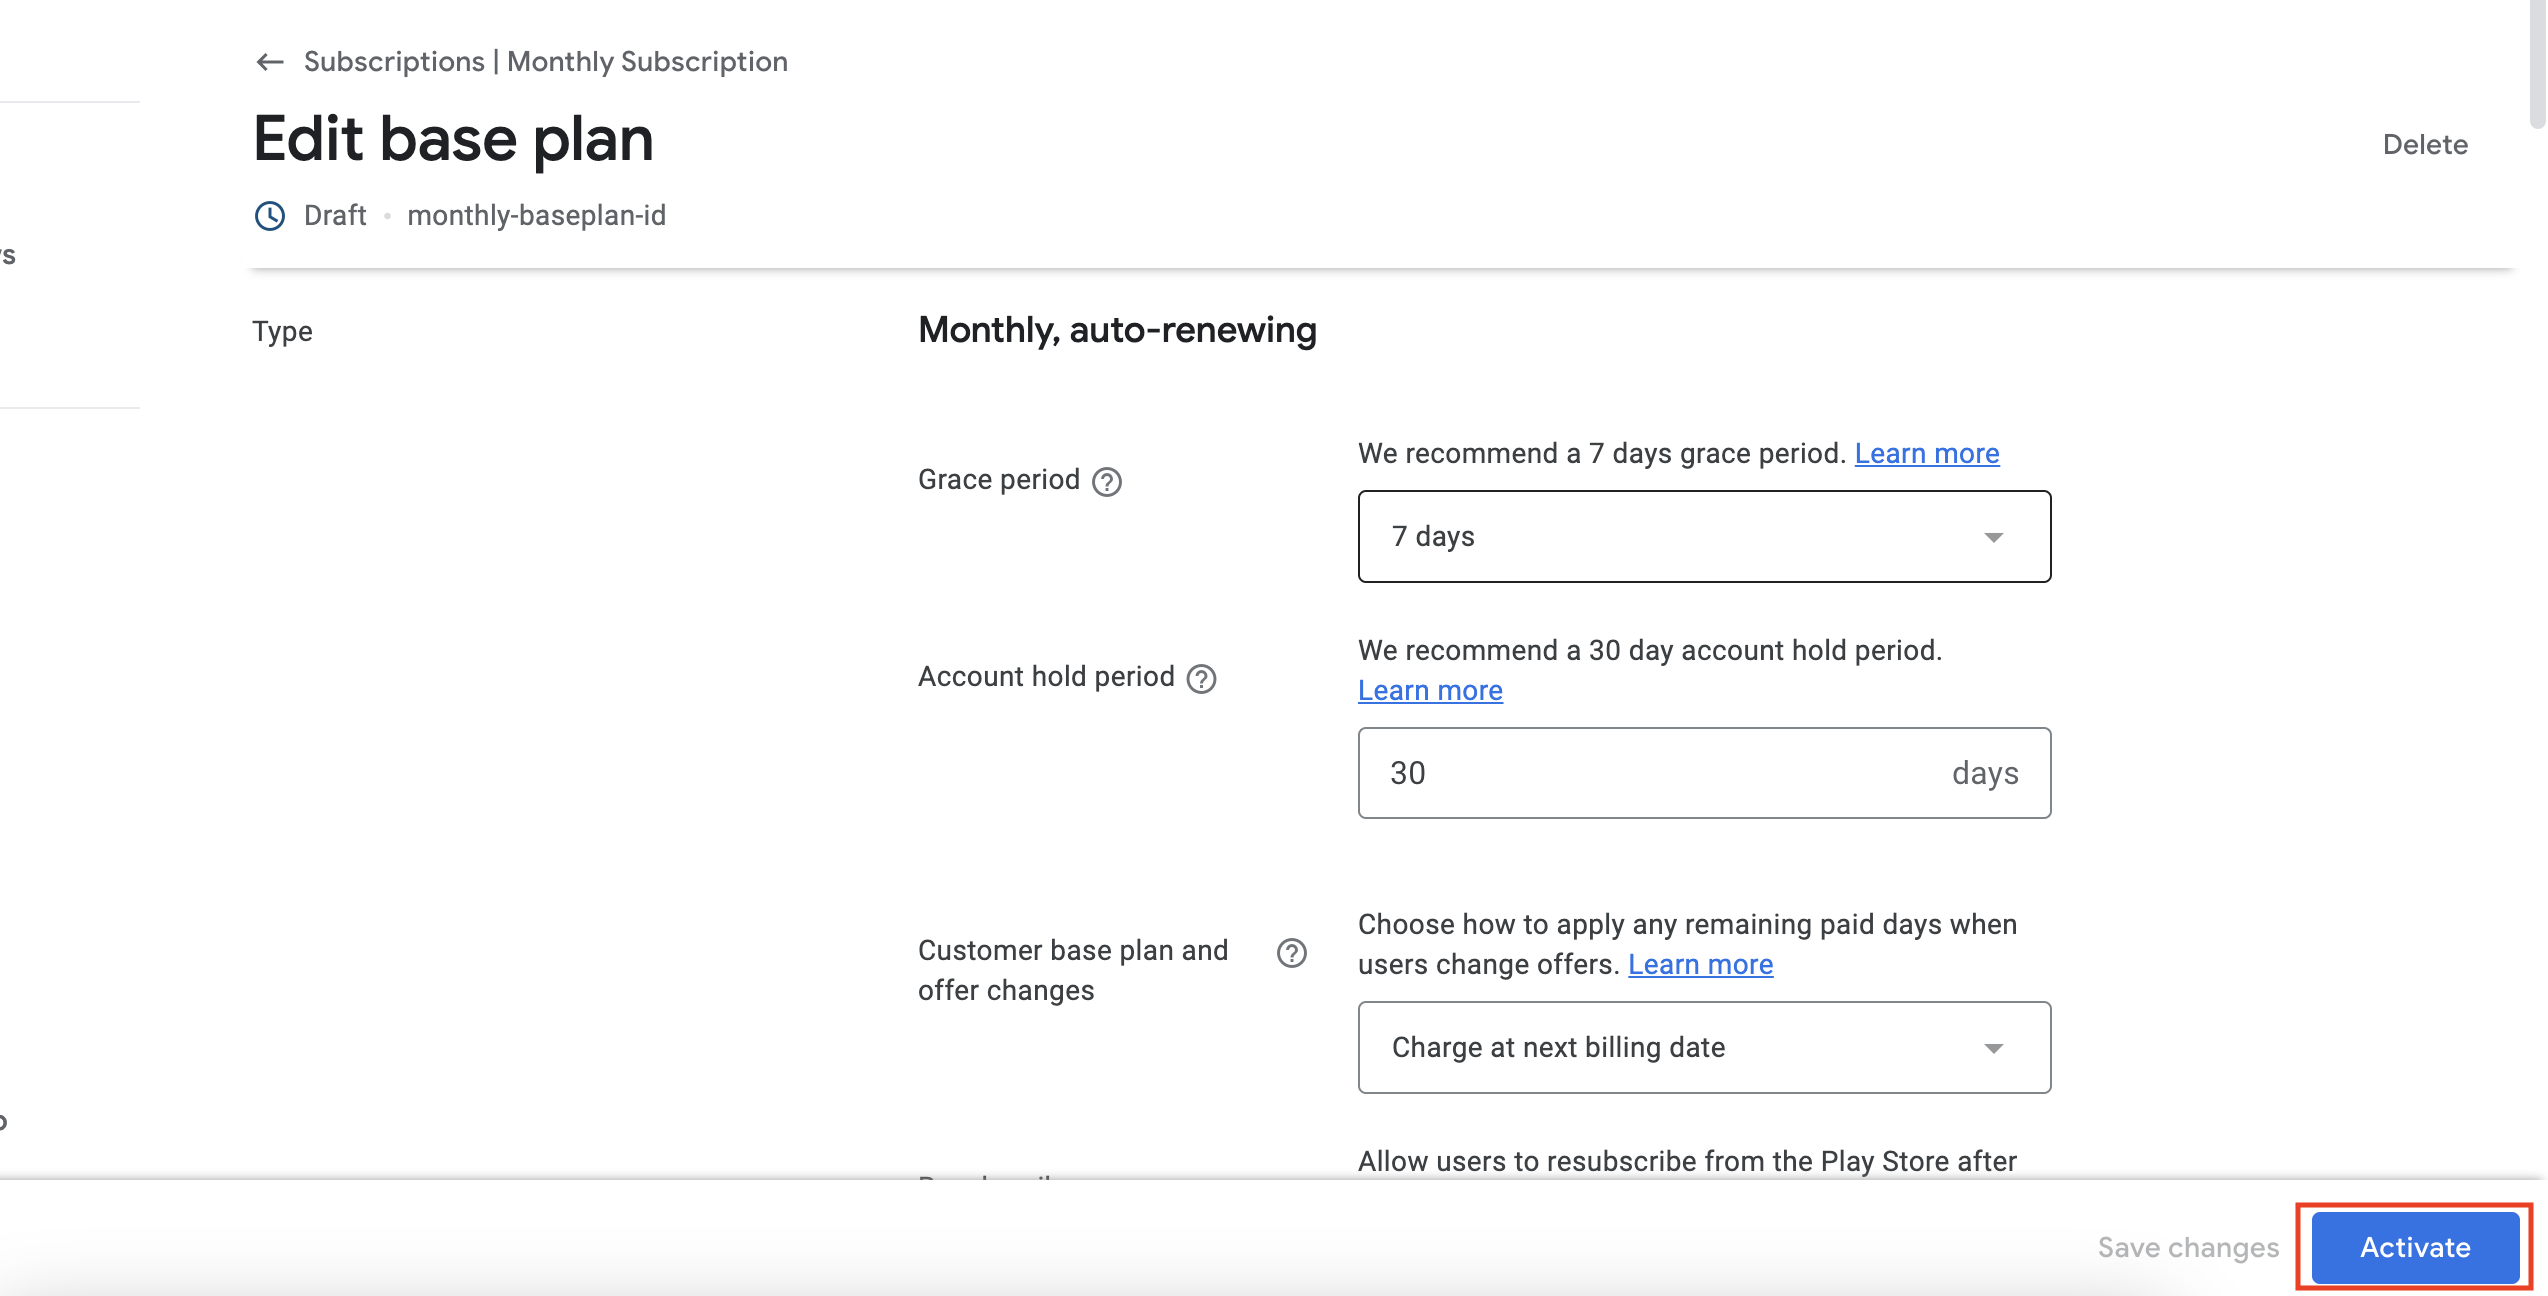
Click "Add a base plan"
-
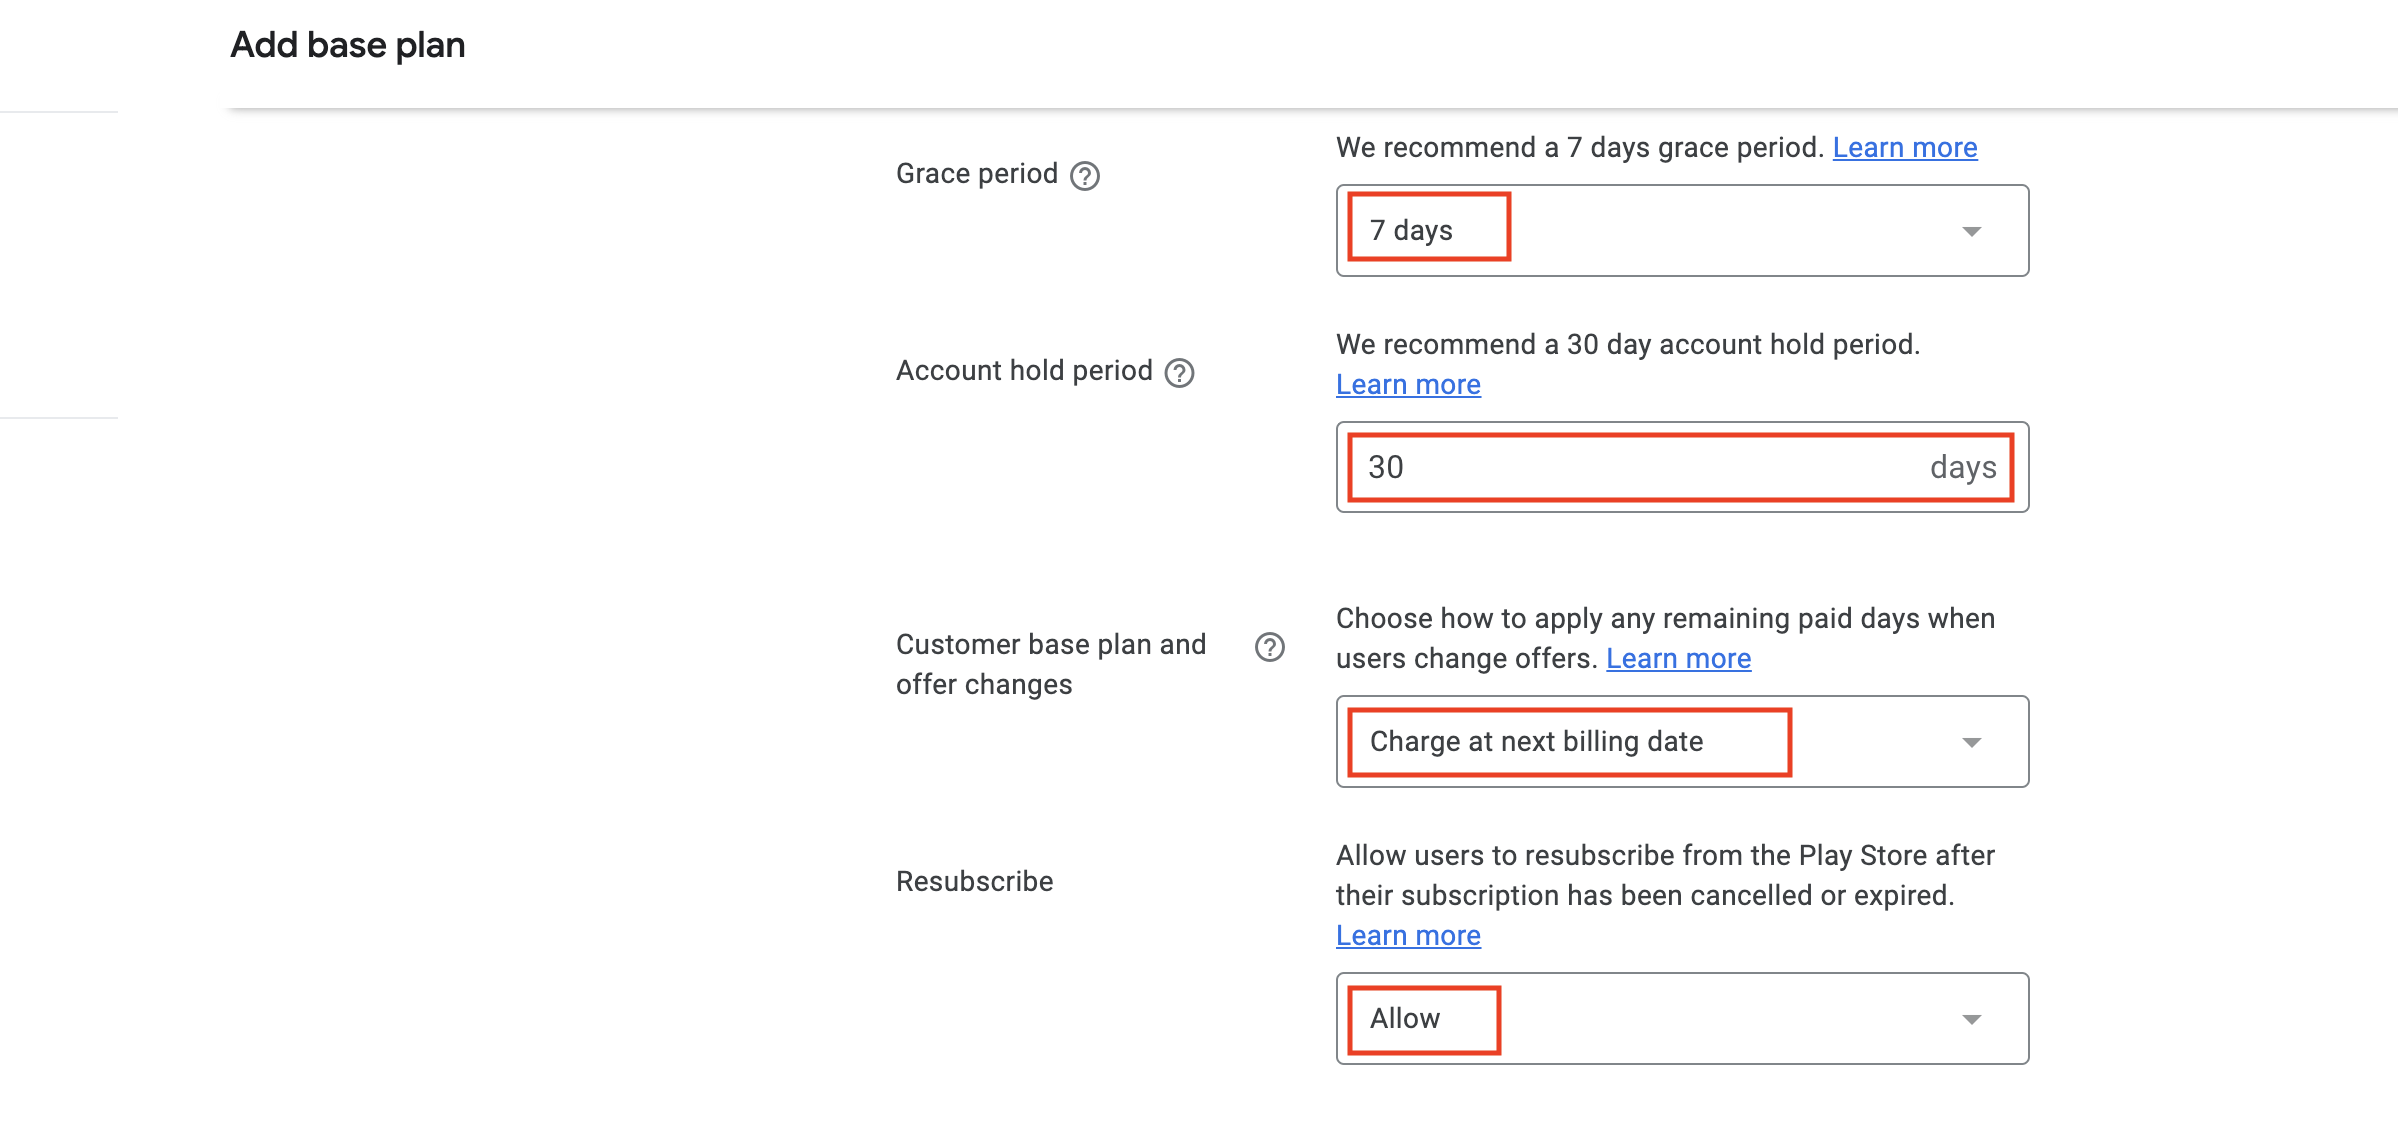
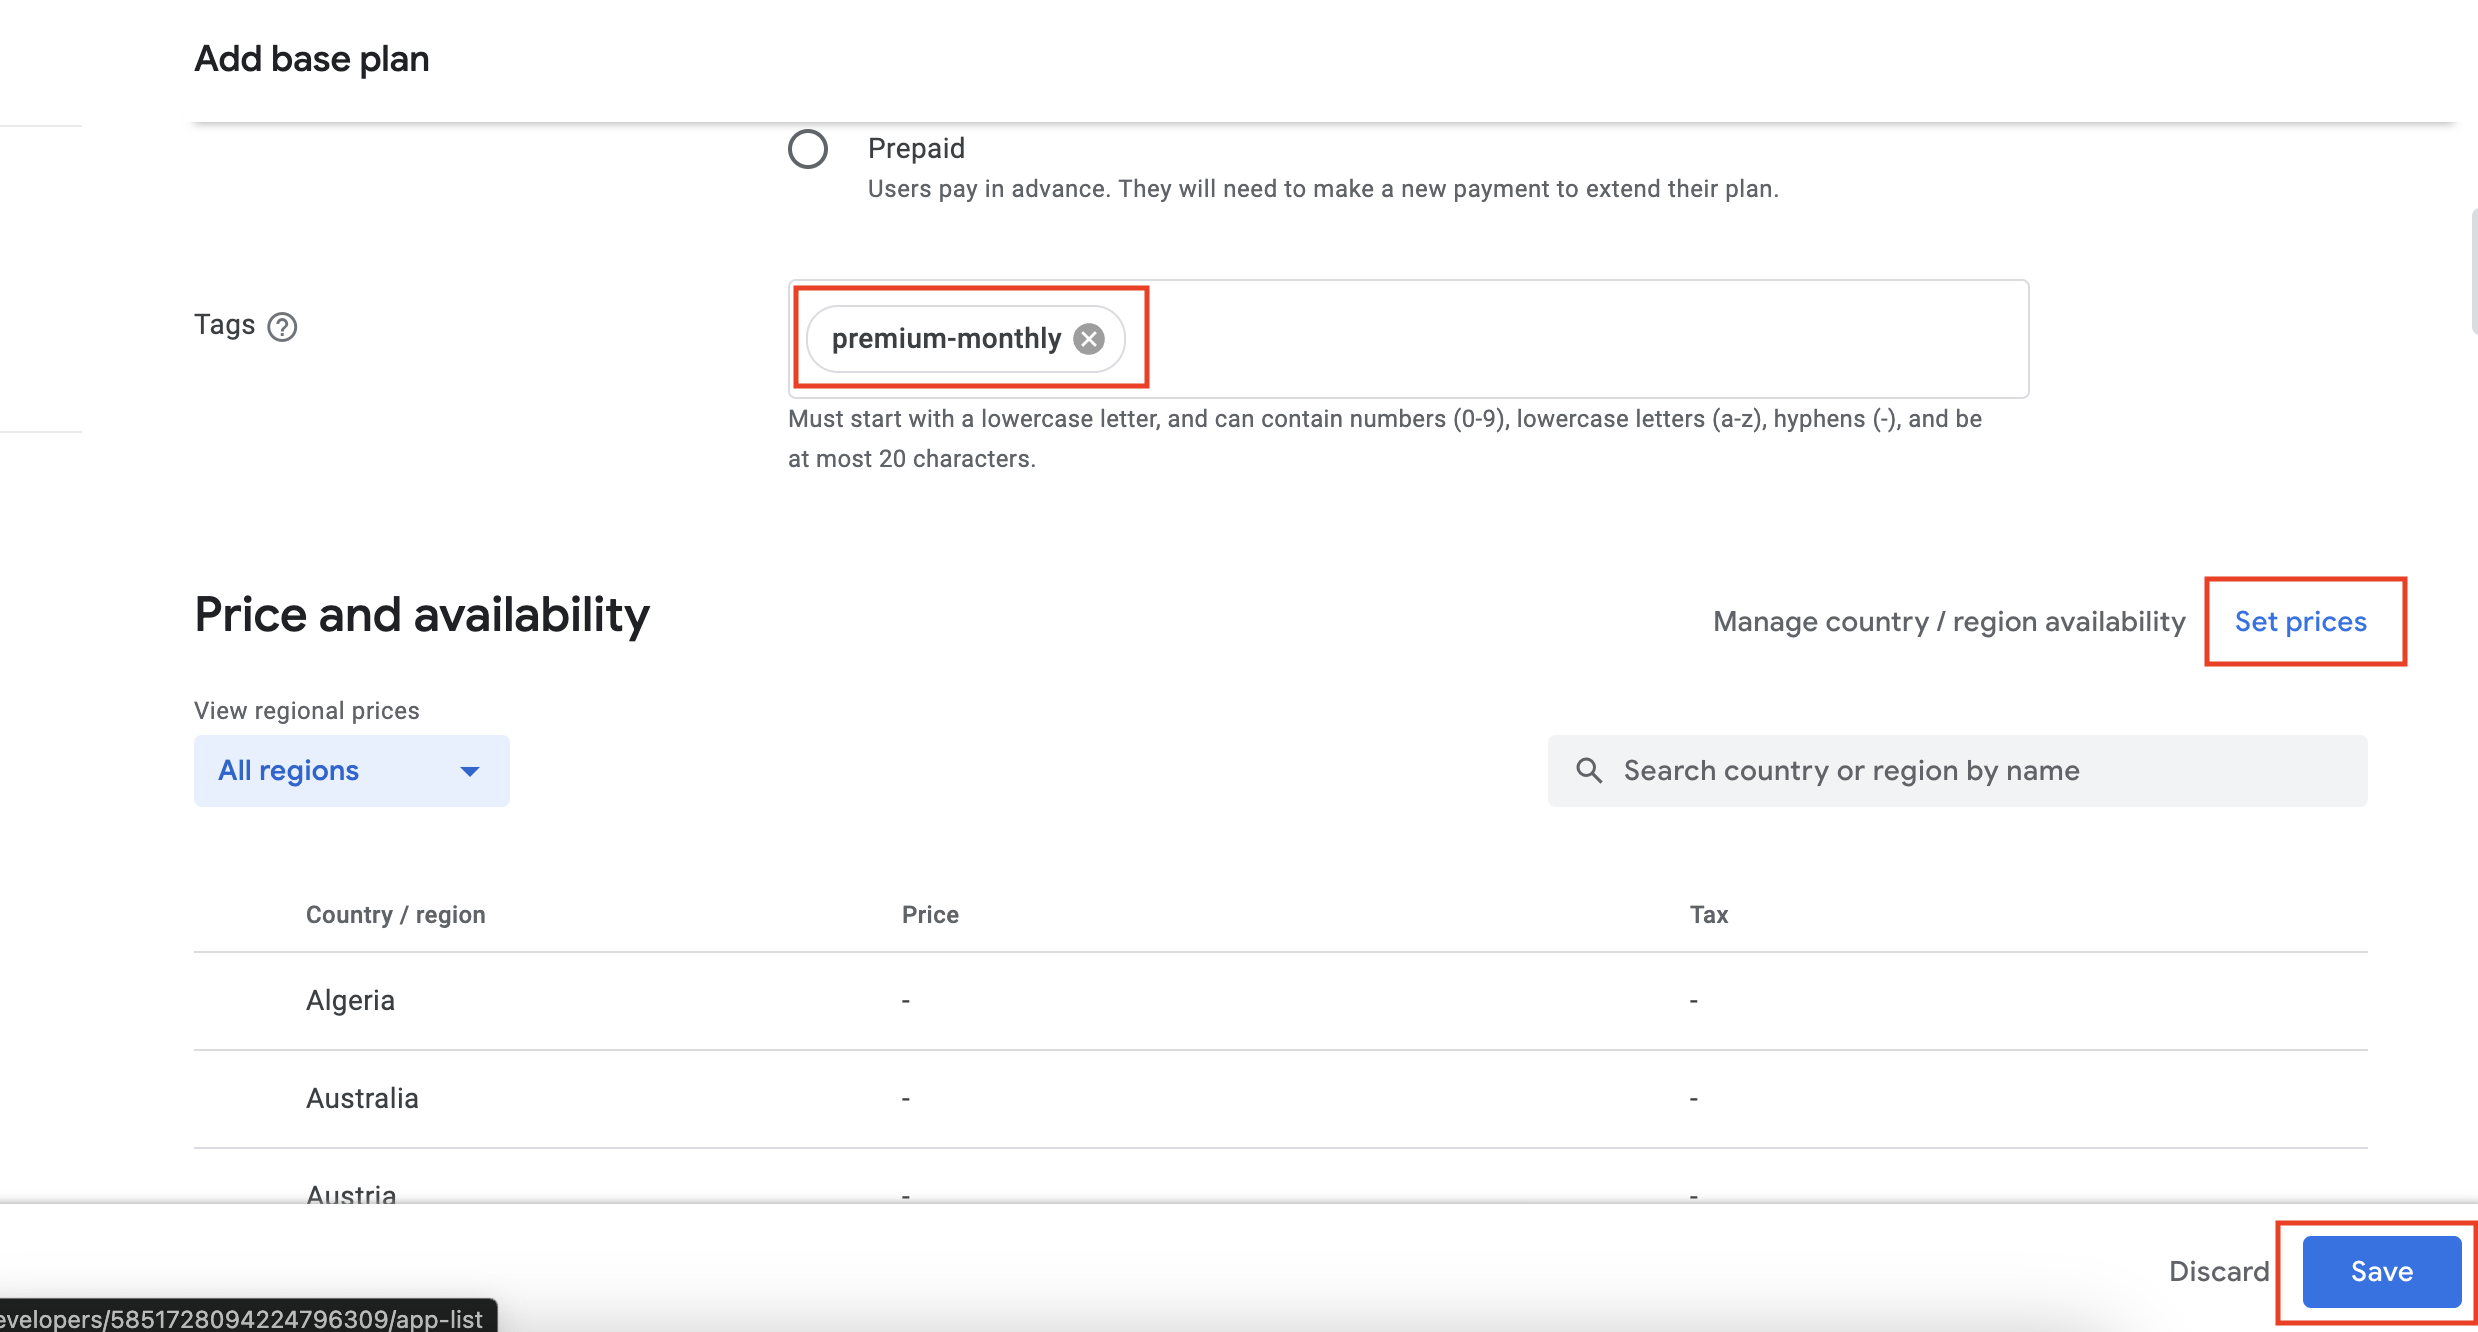
Enter the Base plan ID, Renewal type (Auto-renewing), Tags , and Price etc as per your Preference.
-
Click Activate
-
That completes the subscription setup for the Google Play Console. Let's move on to the play Store subscription setup.
-
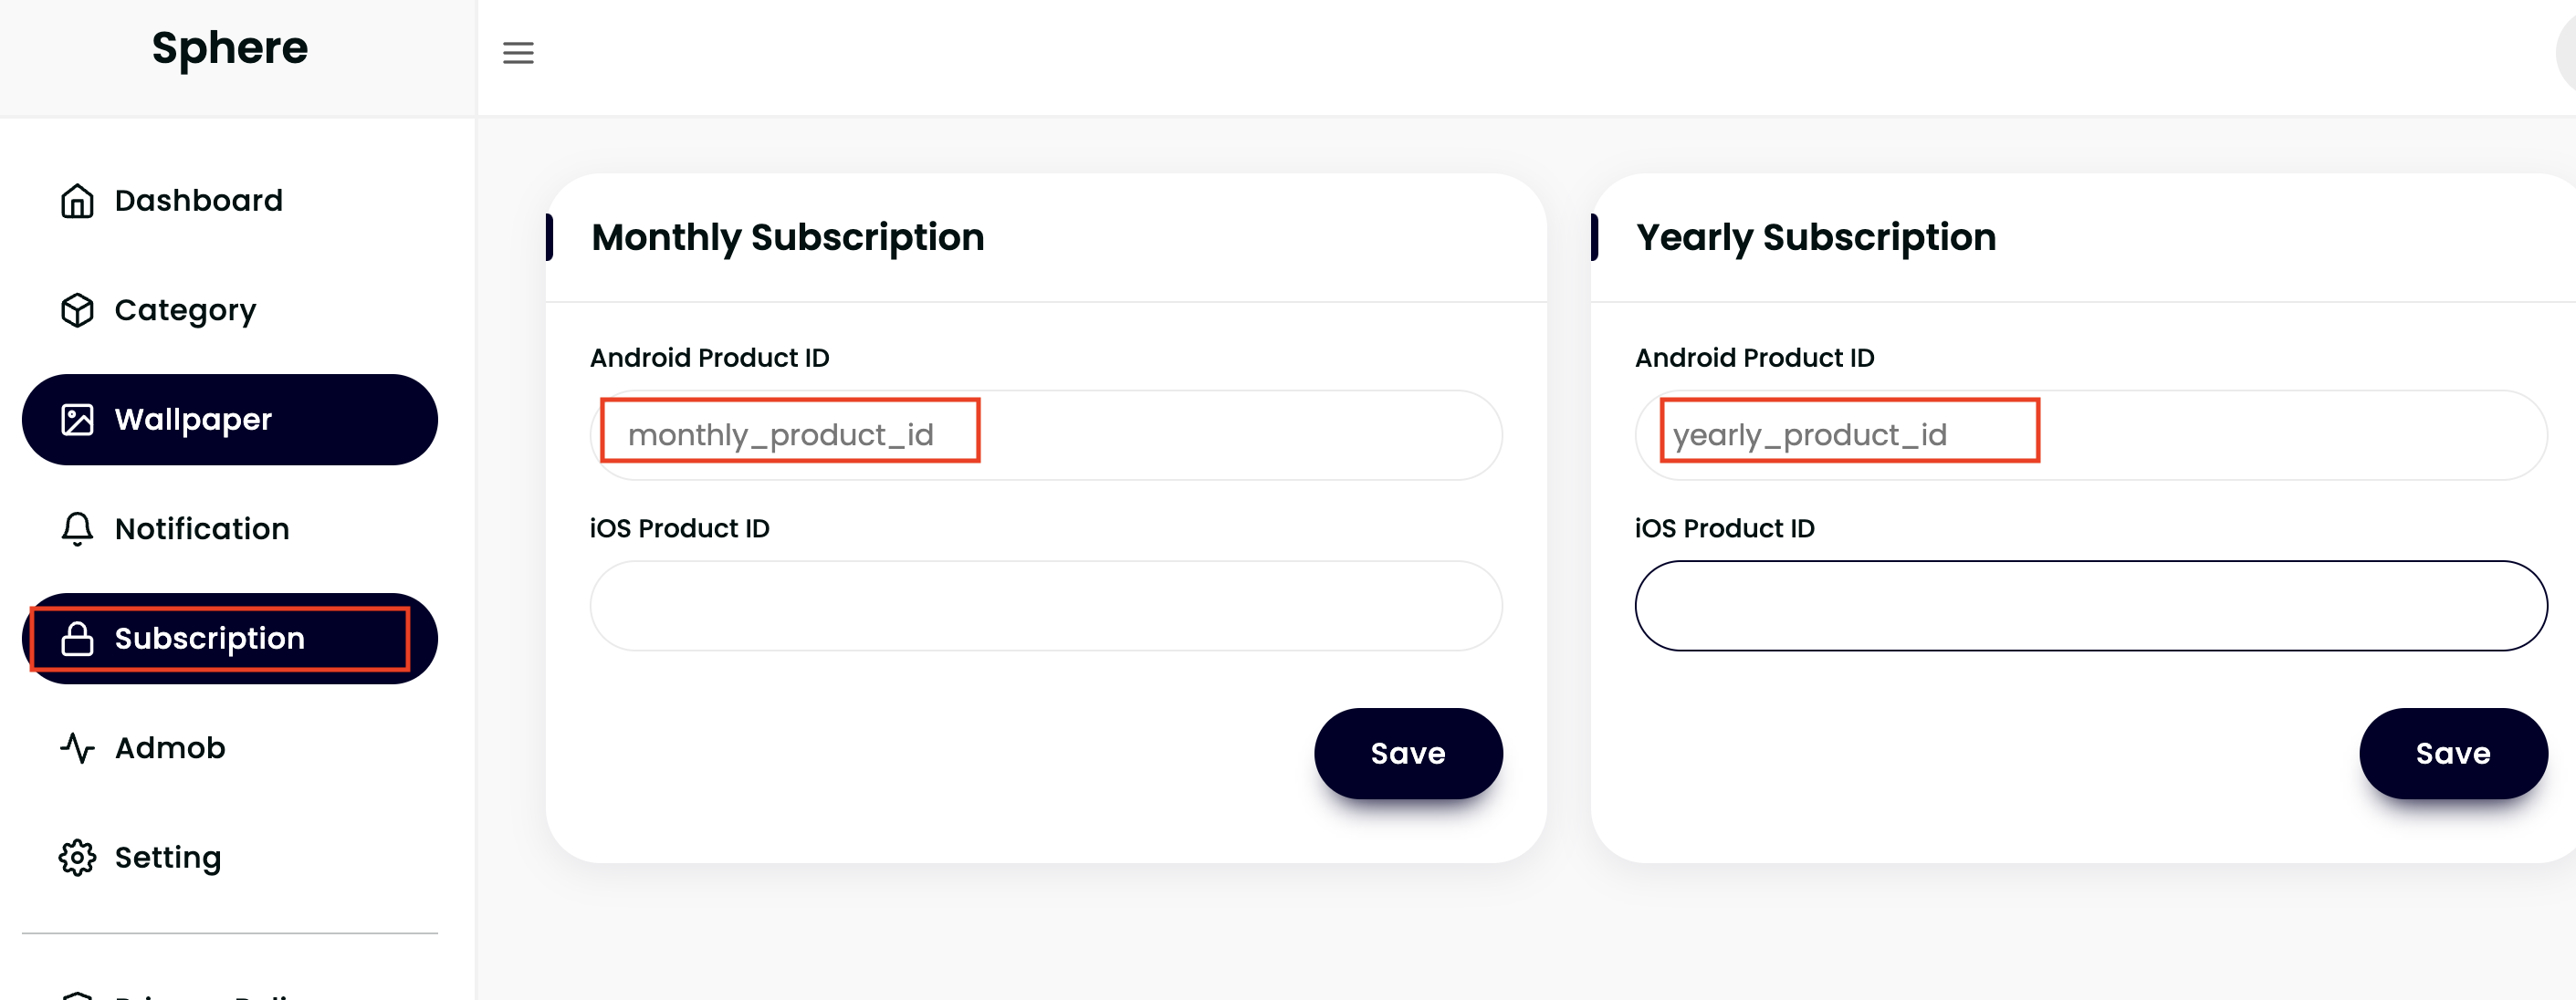
After adding products in Google Play Console, you have to add product's id accordingly in your admin panel.
-
According to example (Above image) procuct_id is monthly_product_id.
-
Similarly, create as many Subscriptions as you need and add product_id of all that subscriptions to the admin panel accordingly.
⚠️ Note :You won't be able to change or reuse a Product ID across any of your apps, even if the product is deleted.
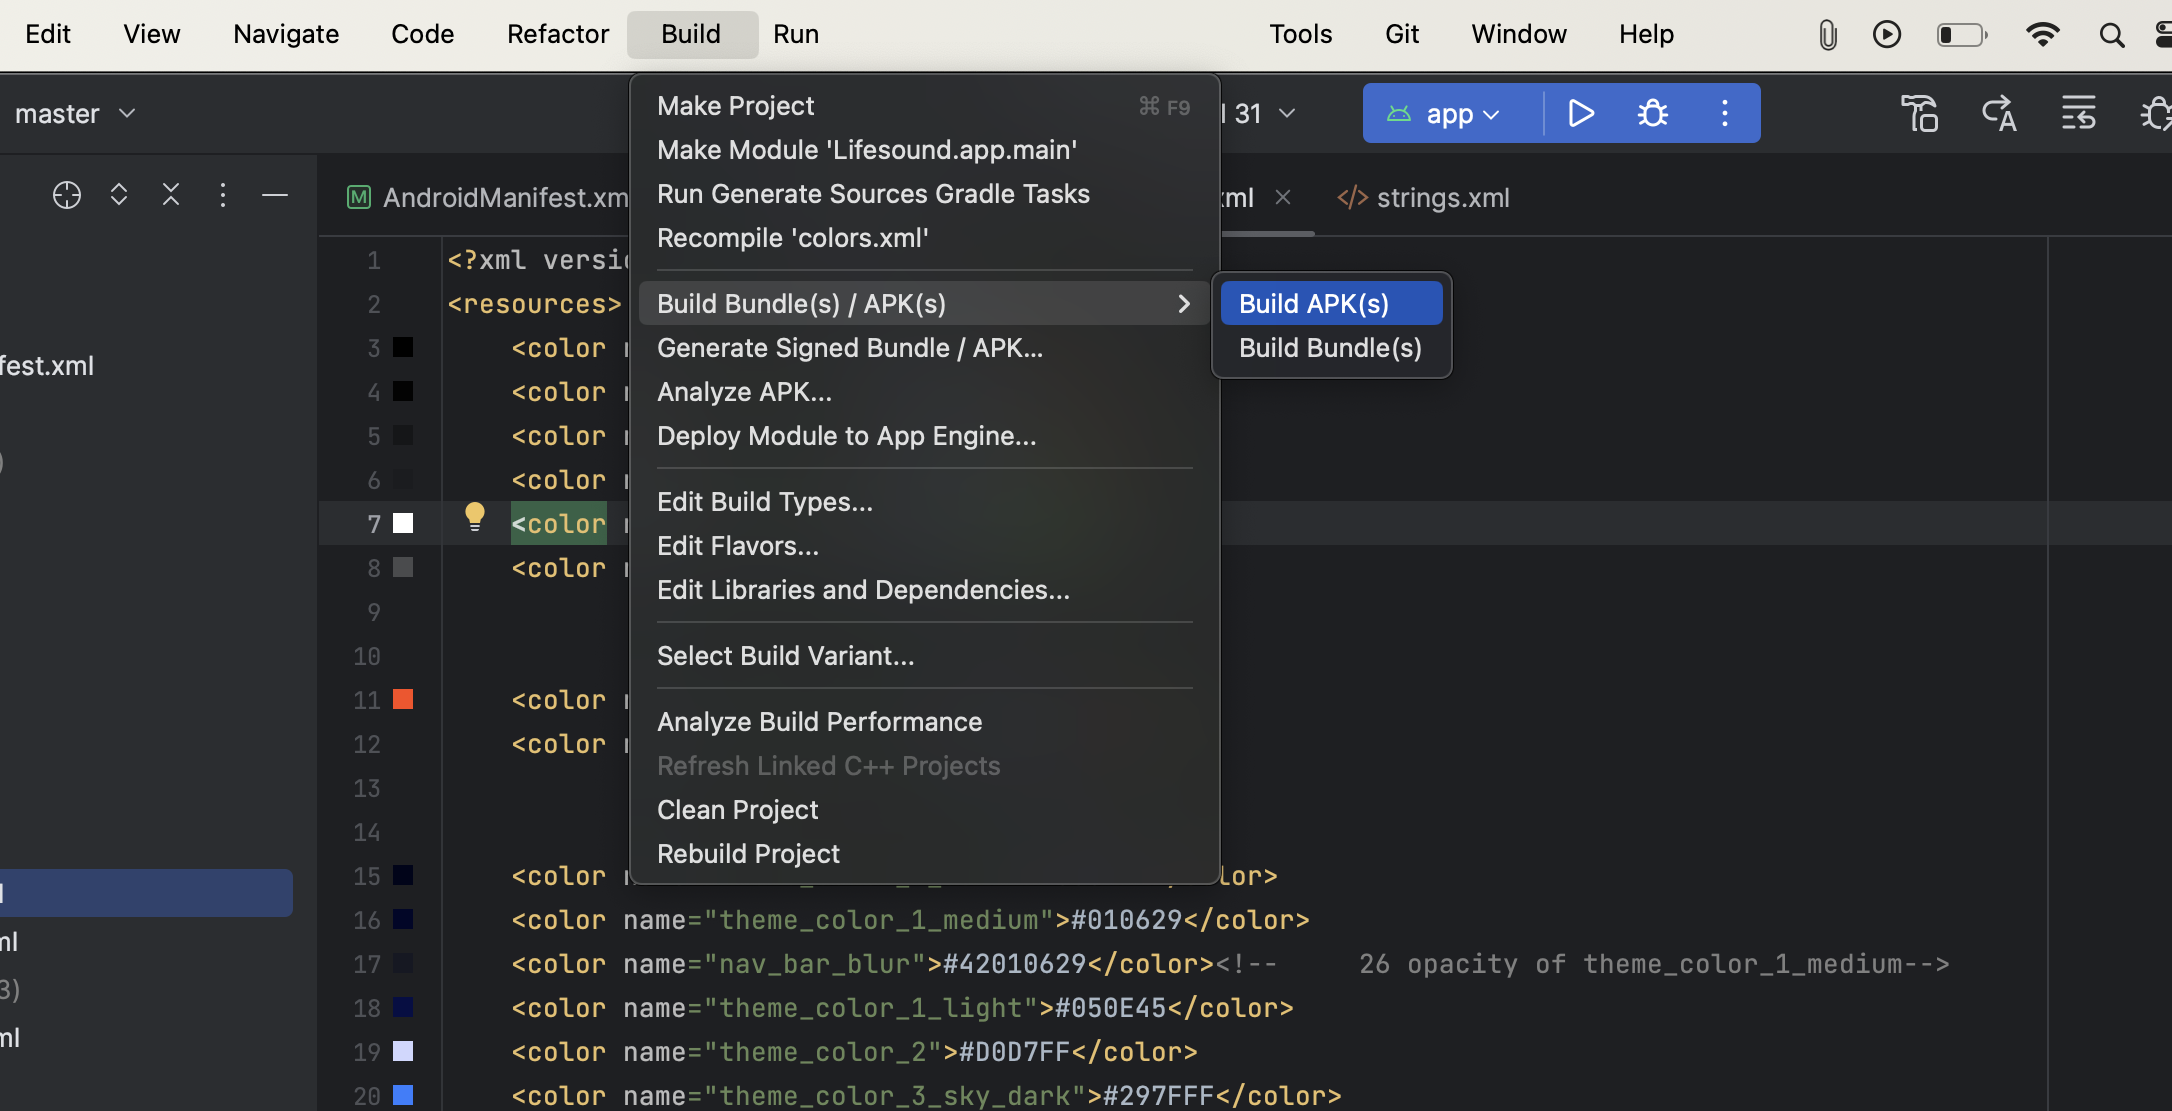
Debug APK
-
Refer to below image for debug apk.
Publish App on Play Store
-
Log in with gmail
-
Mail and Password Log in
-
Or any other authentication methods firebase offers
-
Google resign the app whenever we publish the app to the store and to make it working, we have to retrieve the SHA1 Fingerpring from Playstore from our app, and add that to the firebase.
Once your app get’s published on the Playstore, Some of google authentication might stop working as methods as mentioned below.
Want to talk with us?
- Telegram (Support Desk) : +91 7990425274
- Email : help.retrytech@gmail.com
- Whatsapp (No Support Here) : +91 7990425274