* Before making products, Let's agree Agreements : Follow this link
Follow the steps below to configure subscriptions on App Store Connect:
Go to App Store Connect and log in with your developer account.
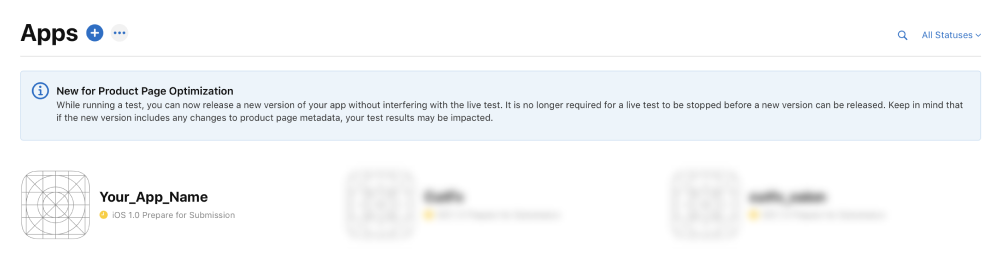
Select the App
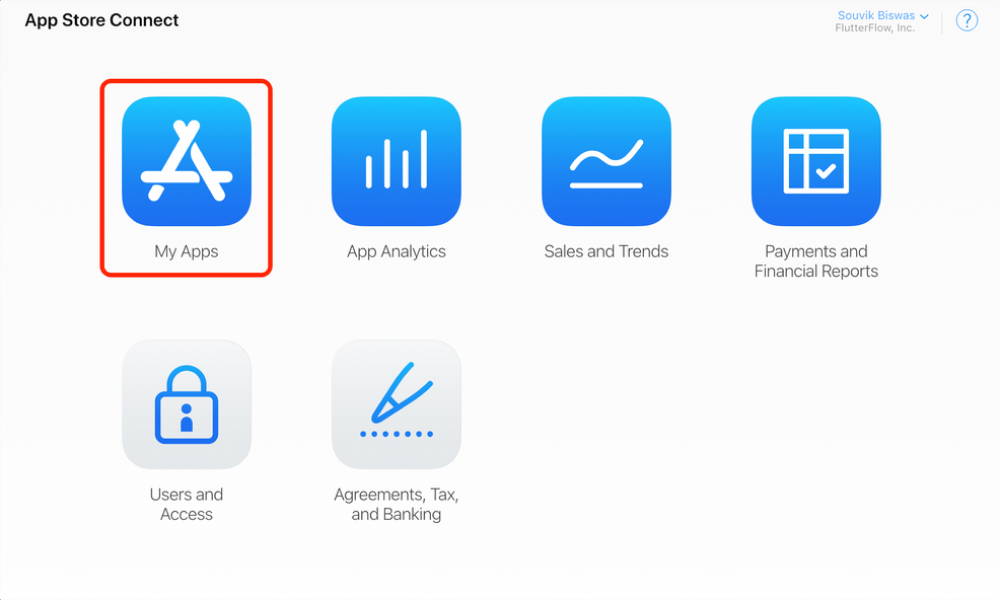
Choose the app in which your want to add subscriptions.
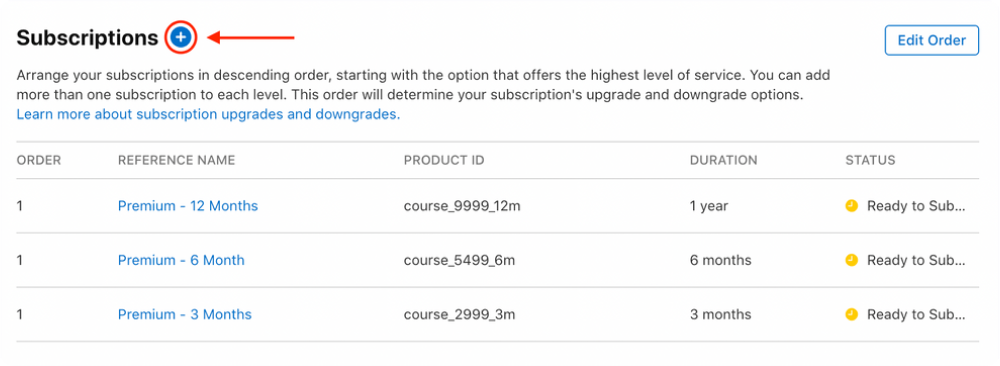
Select Subscriptions from the left menu and click Create under Subscription Groups.
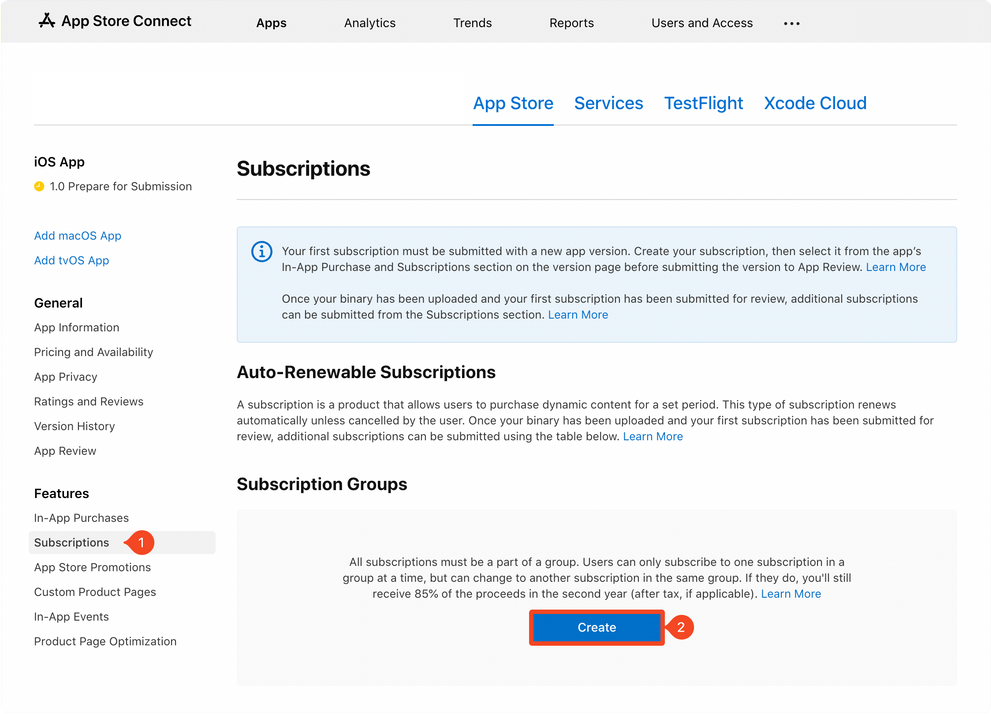
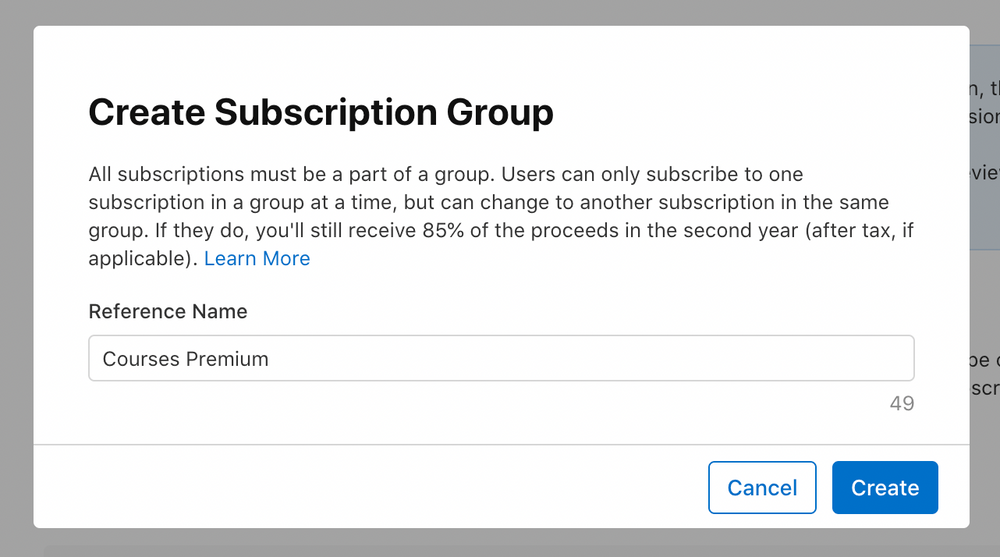
Enter a name for the Subscription Group and click Create.
Learn in detail about iOS Subscription Groups here .
This will create and open the Subscription Group. From this page, you will be able to create subscriptions for your app. Click Create under Subscriptions .
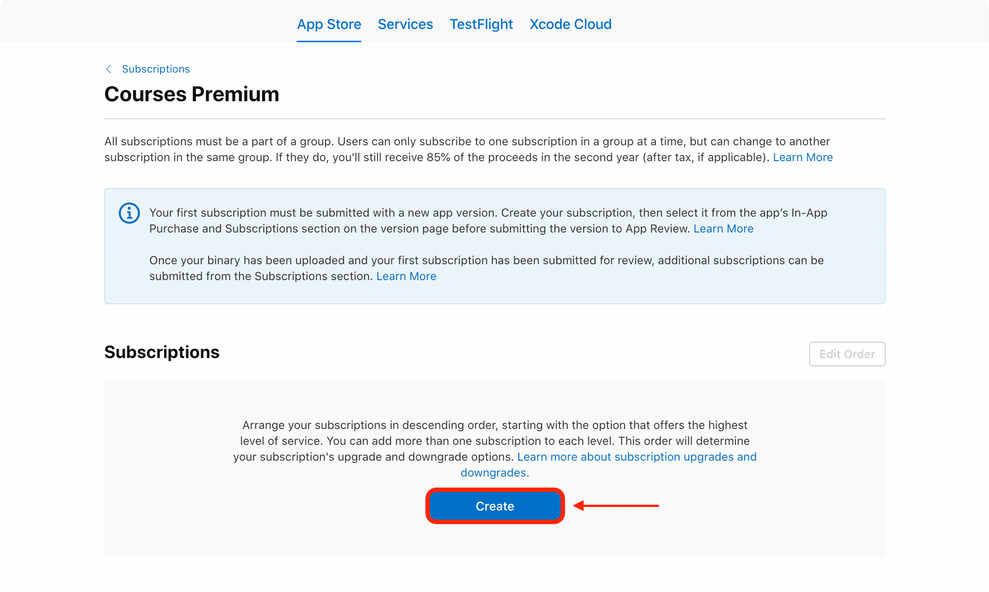
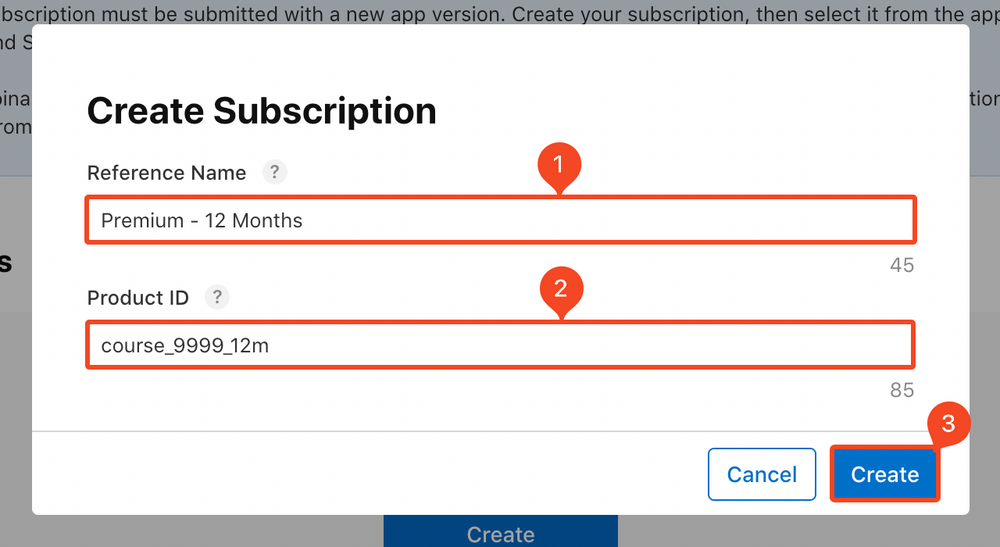
Enter a Reference Name and Product ID for the subscription. Use the same format for the Product ID as we had described earlier. Click Create .
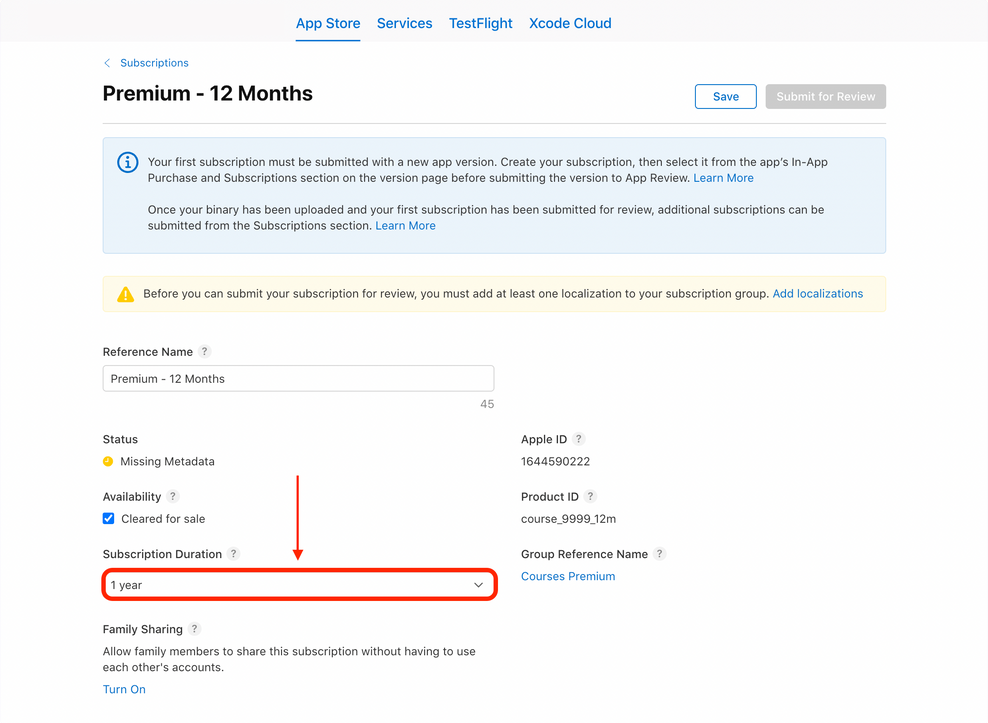
This will take you to the subscription details page. Select the Subscription Duration .
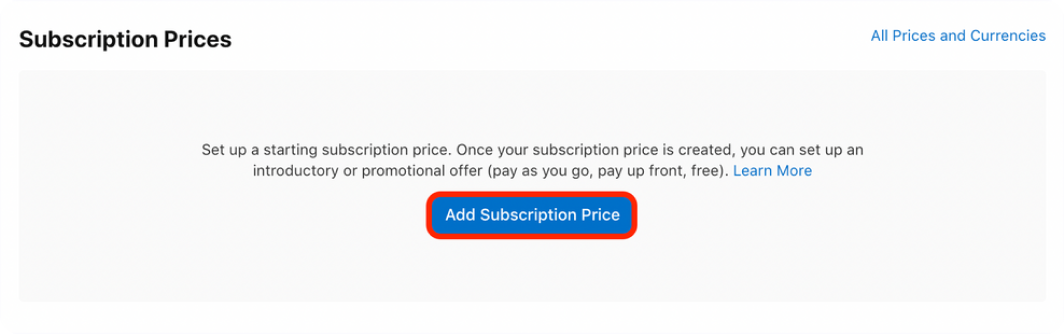
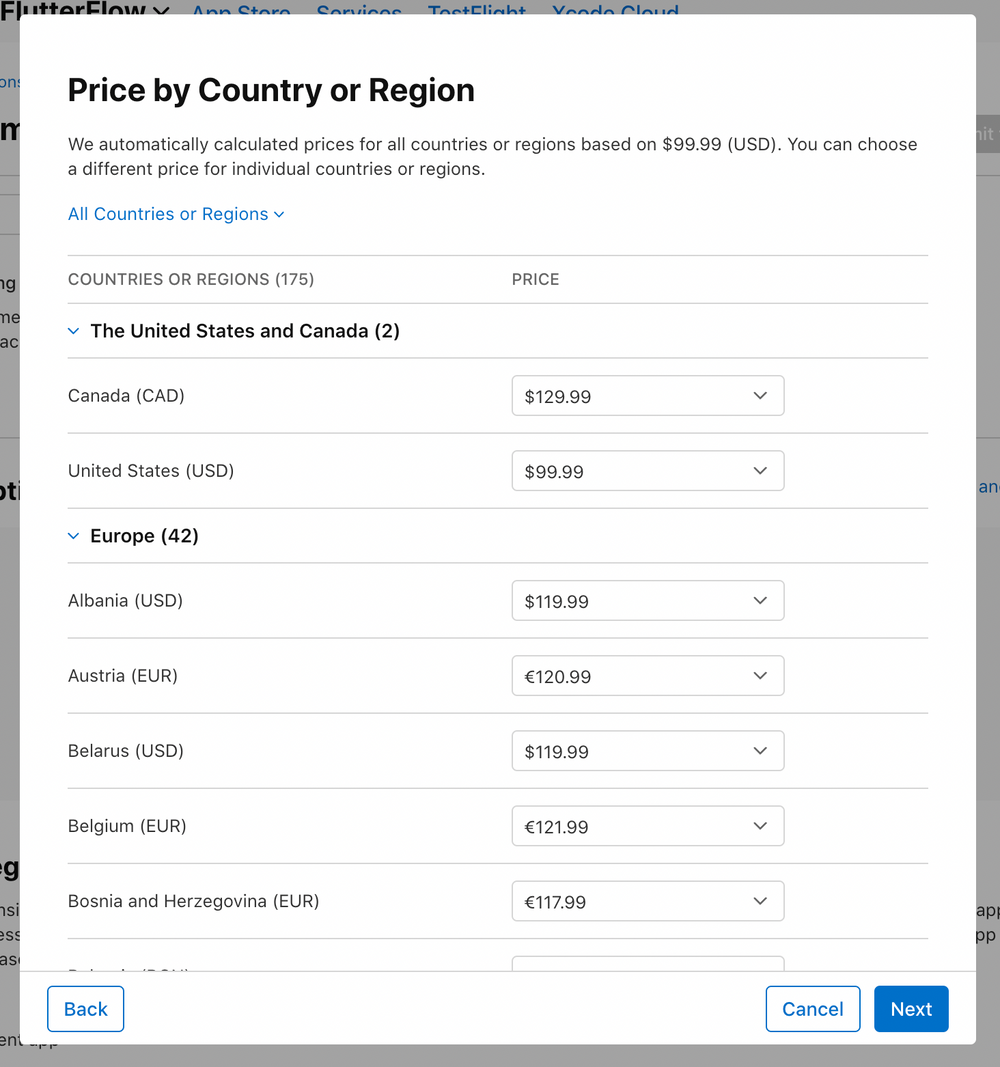
Scroll down to the Subscription Prices section and click "Add Subscription Price" button.
Enter the subscription price in your preferred currency. Click Next.

The next page will show you the automatically calculated prices for other countries and regions. Click Next.
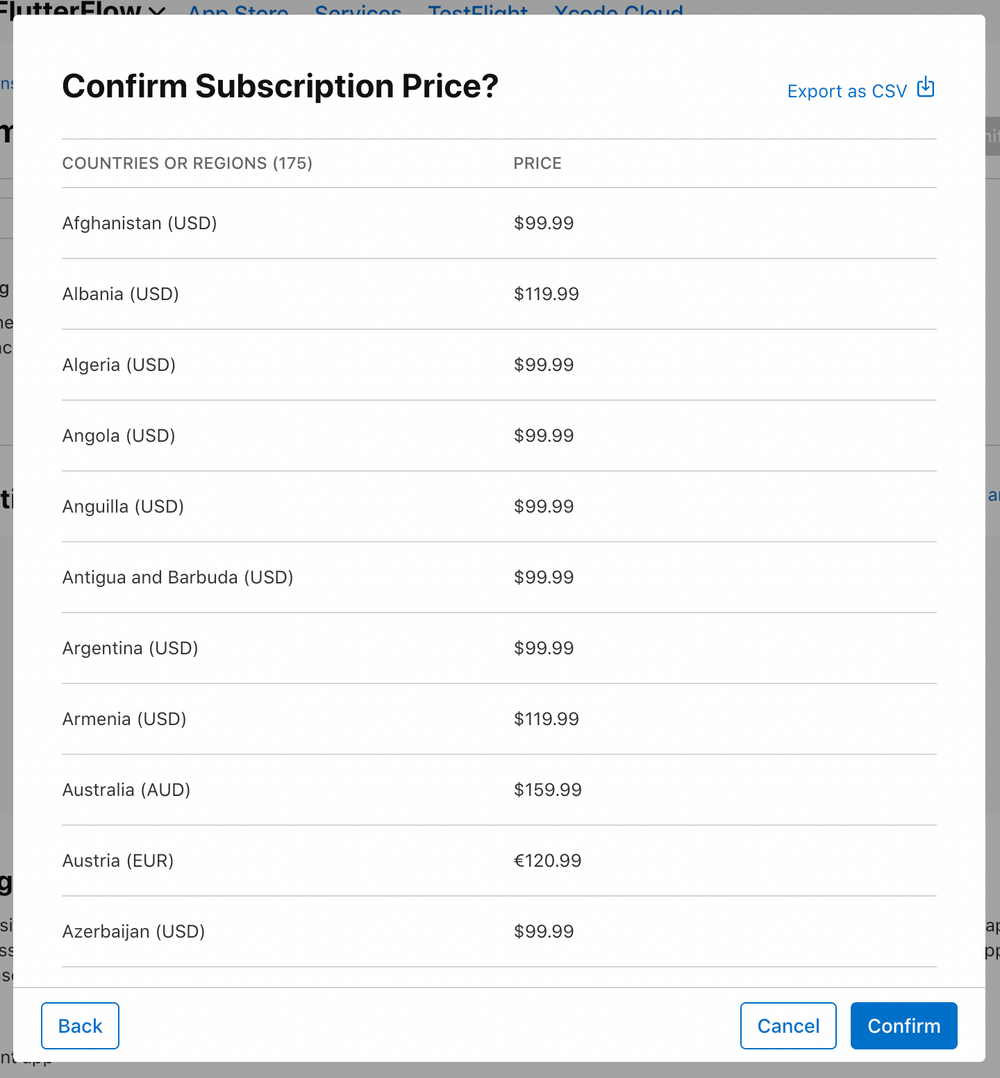
Click Confirm on the next page.
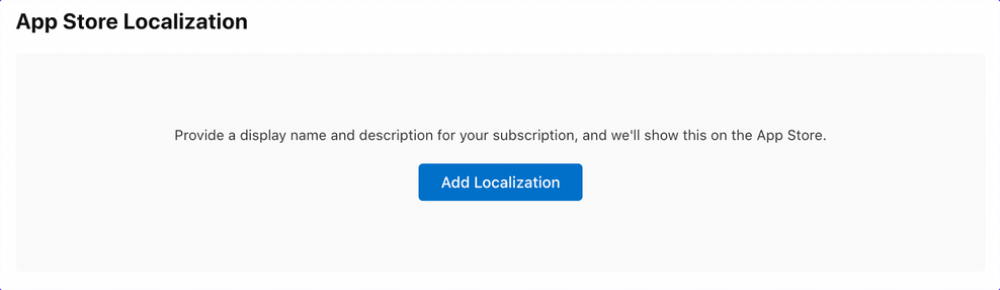
Scroll down to the App Store Localization section. Click "Add Localization".
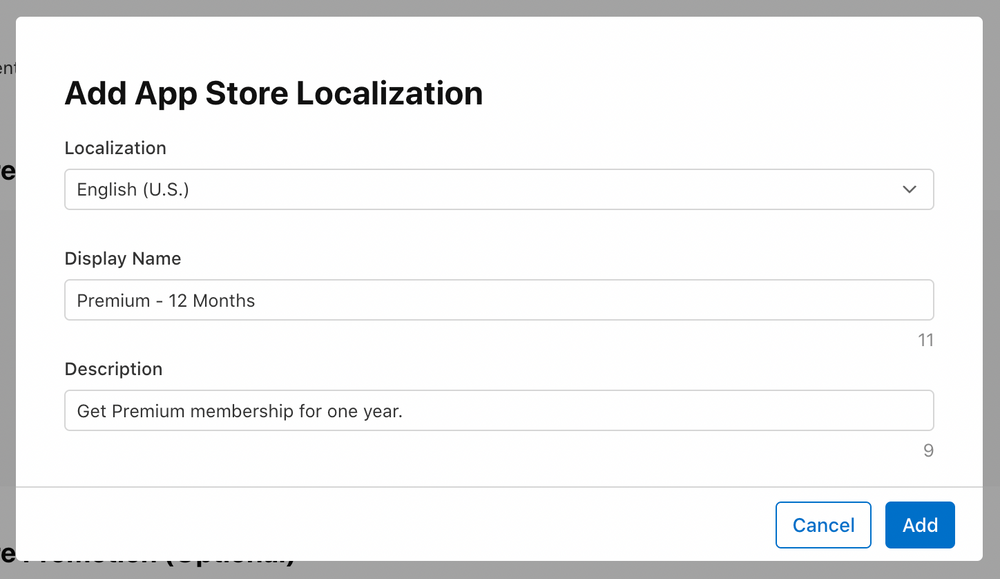
Select your preferred language and enter a Display Name and Description . Click Add .
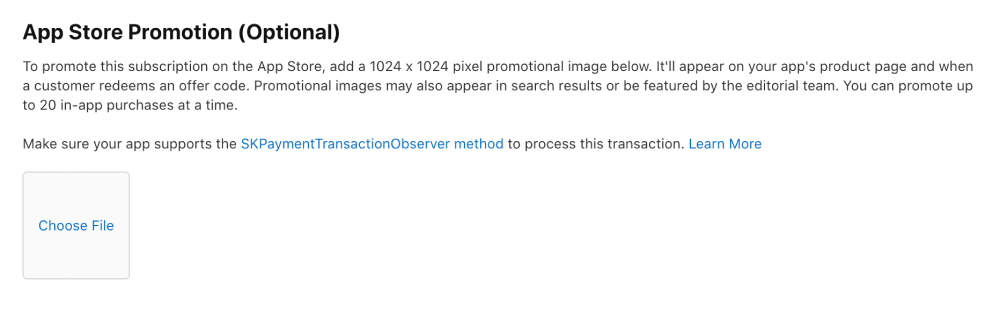
You can skip the App Store Promotion for now as it's optional.
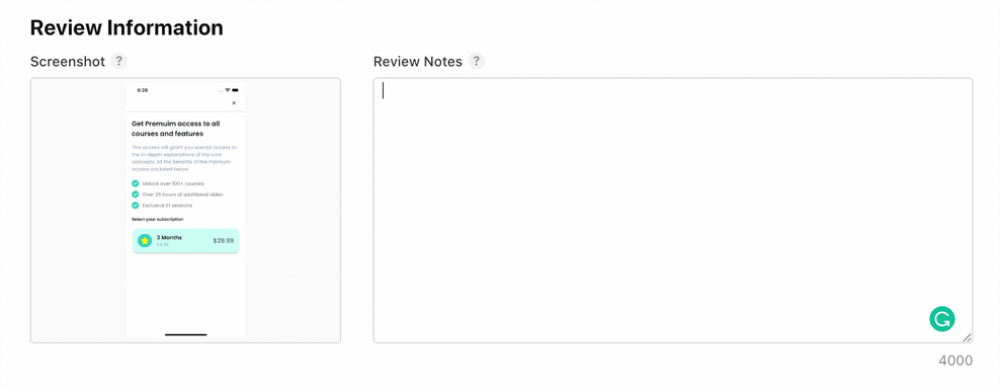
Under the Review Information section, add a screenshot of the subscription screen of your app (you can also add a blank screenshot, having proper size for now, if you haven't yet created the subscription UI).
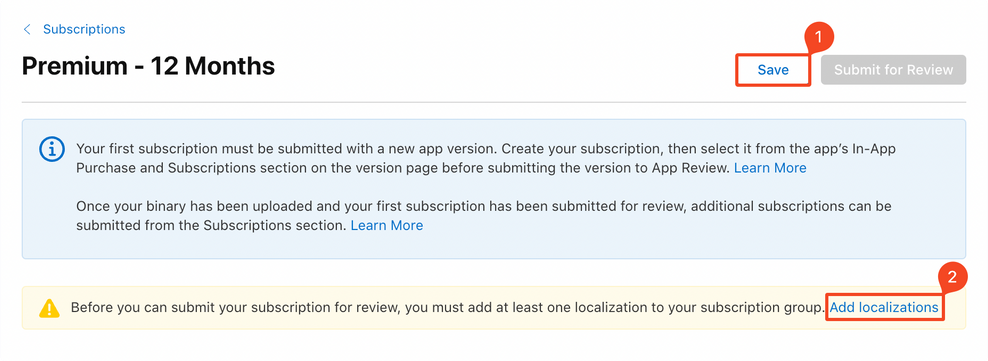
Scroll up to the top of the subscription page, and click Save. You will see a warning message if you haven't yet added localization to your subscription group. Click Add localizations (skip if you have already added).
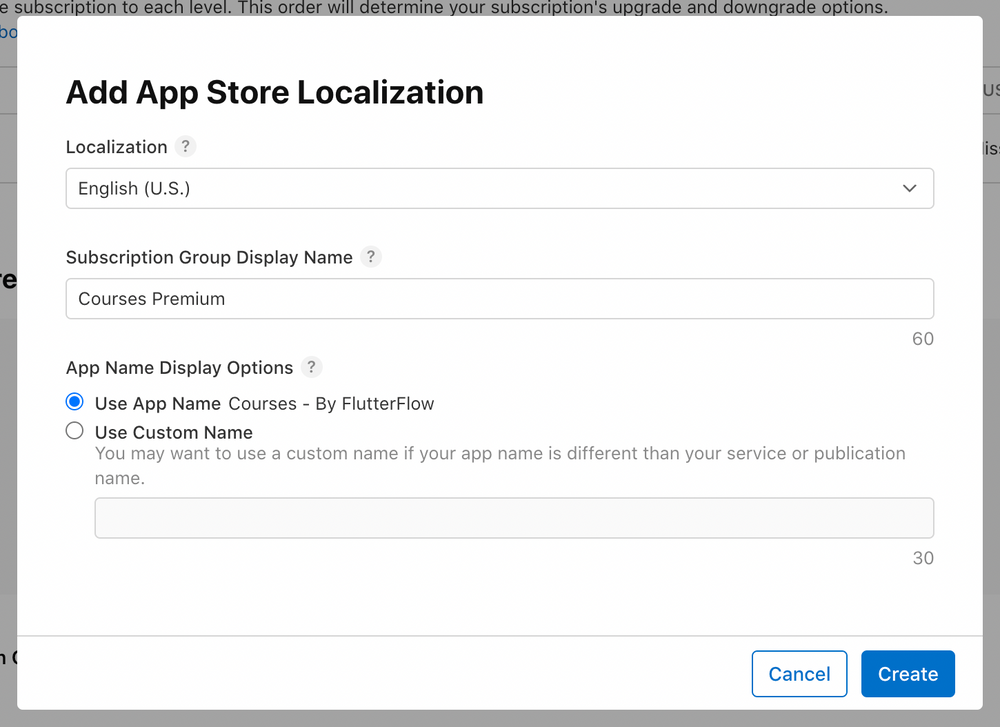
This will take you back to the subscription group page. Click Create under App Store Localization.
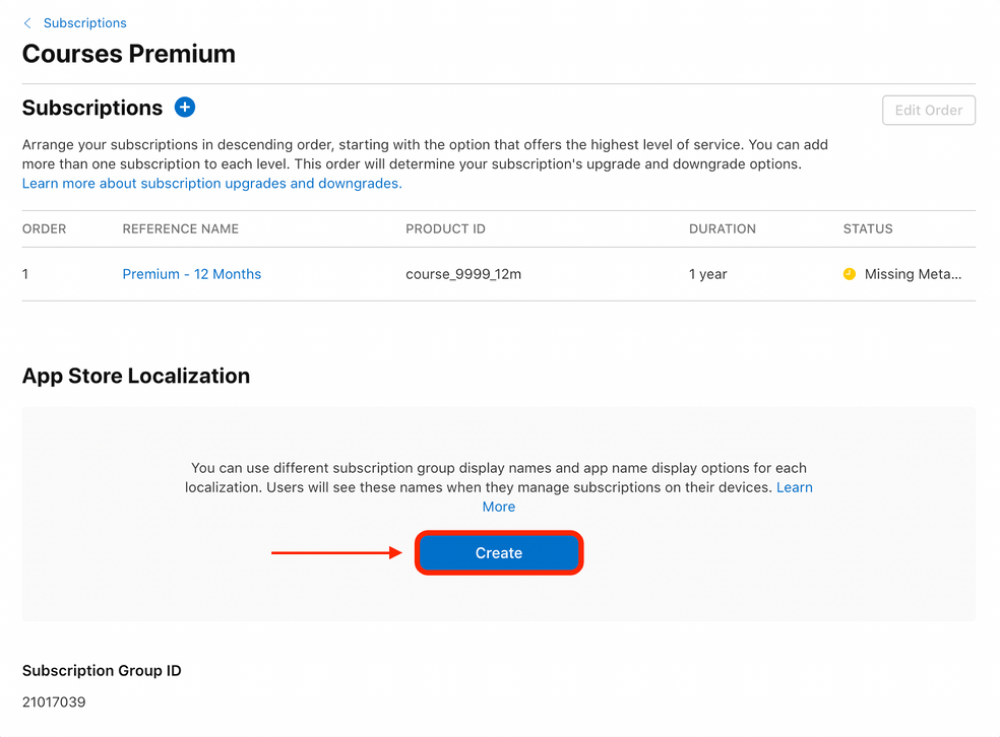
Select your preferred language, enter a Subscription Group Display Name, and select App Name. Click Create .
This completes the addition of a subscription. You can follow similar steps for adding the other subscription plans as well, use the plus ("+") button next to Subscriptions .
With all the subscription plans defined on Play Console and App Store Connect, we are ready to connect with RevenueCat.