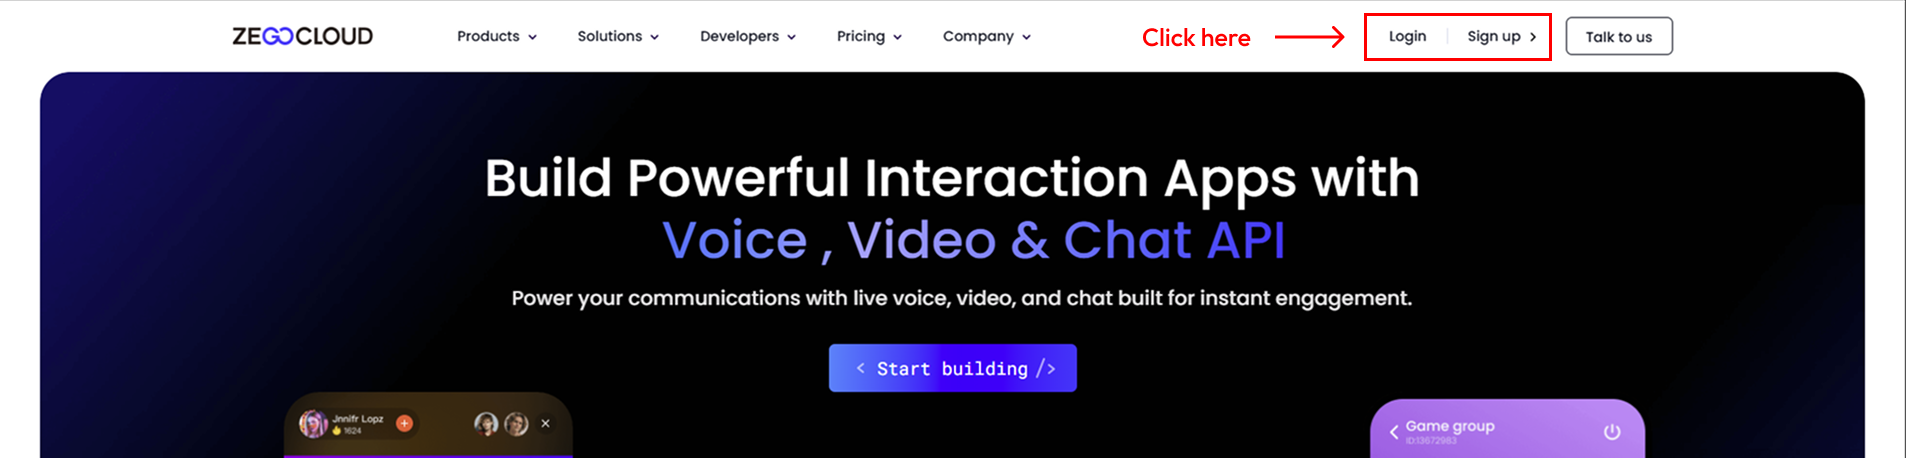
Go to https://www.zegocloud.com/ and sign up or login.
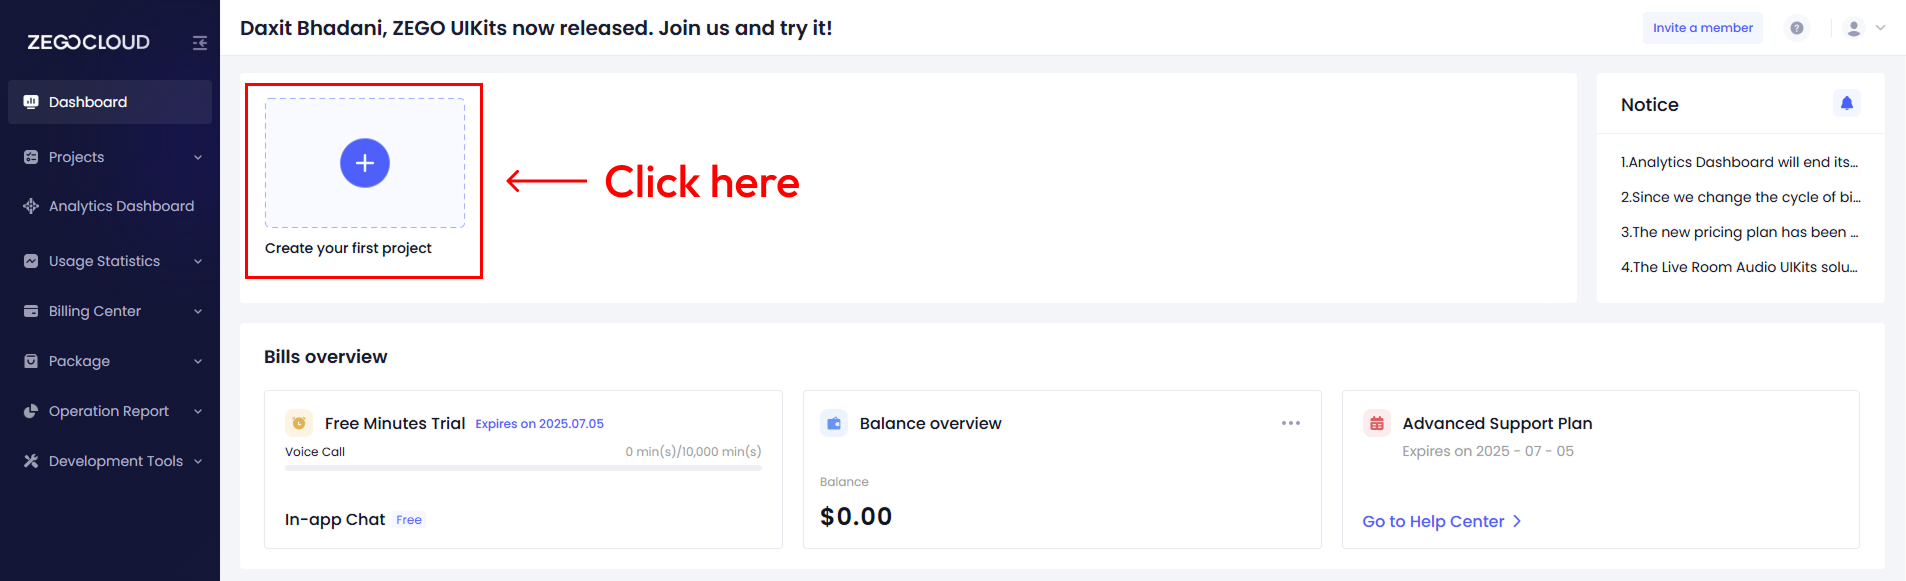
Start creating new project at ZEGOCLOUD.
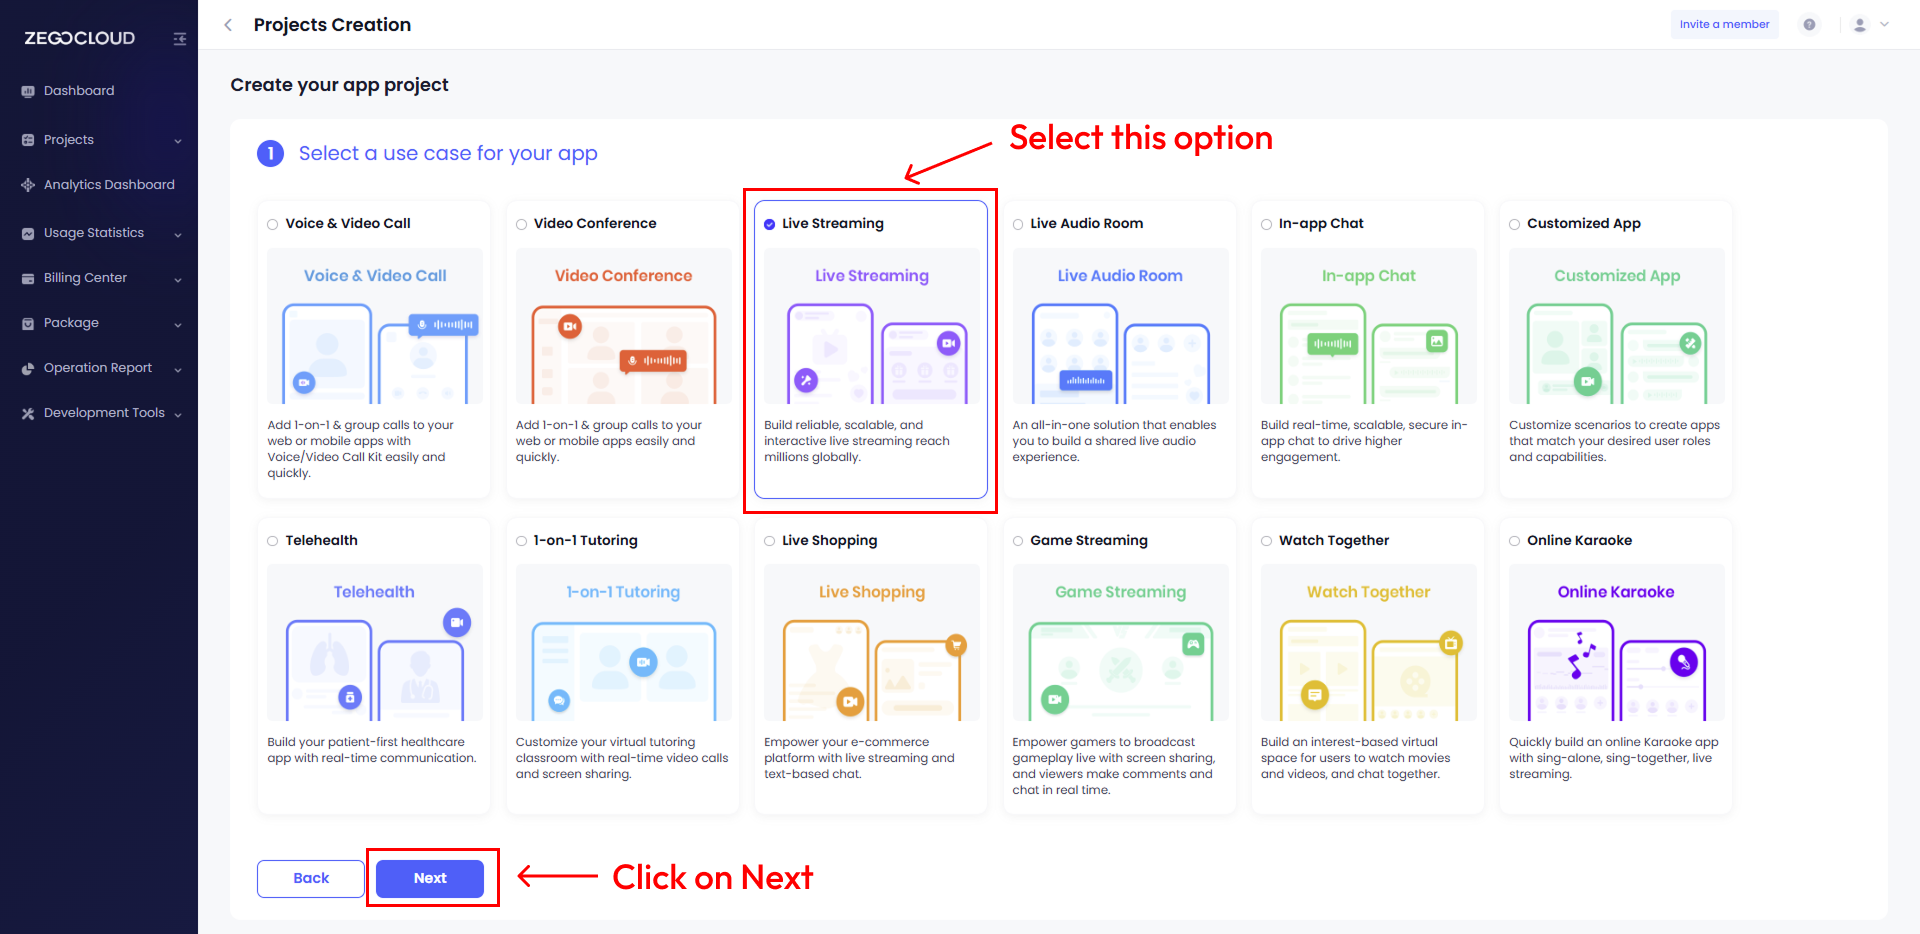
Select Live Streaming option. and click on Next button.
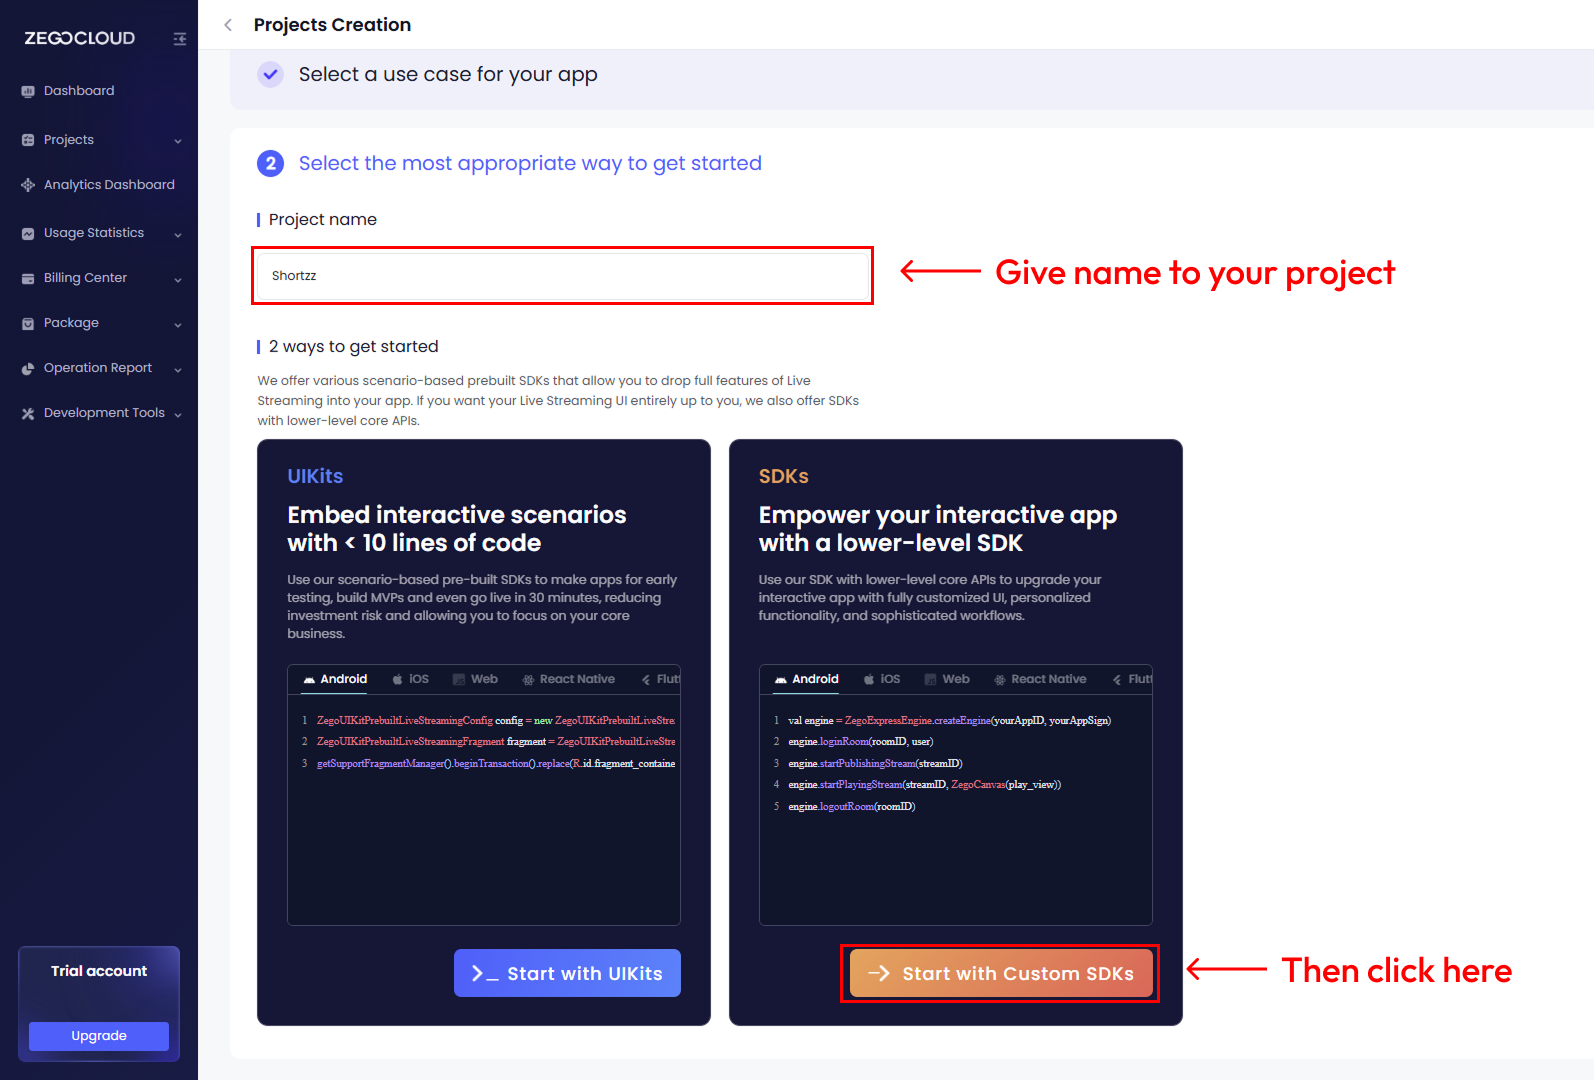
Give name to your project.
Then click on Start with custom SDKs.
This will create a new project within few seconds.

Your project is created, Click on it.
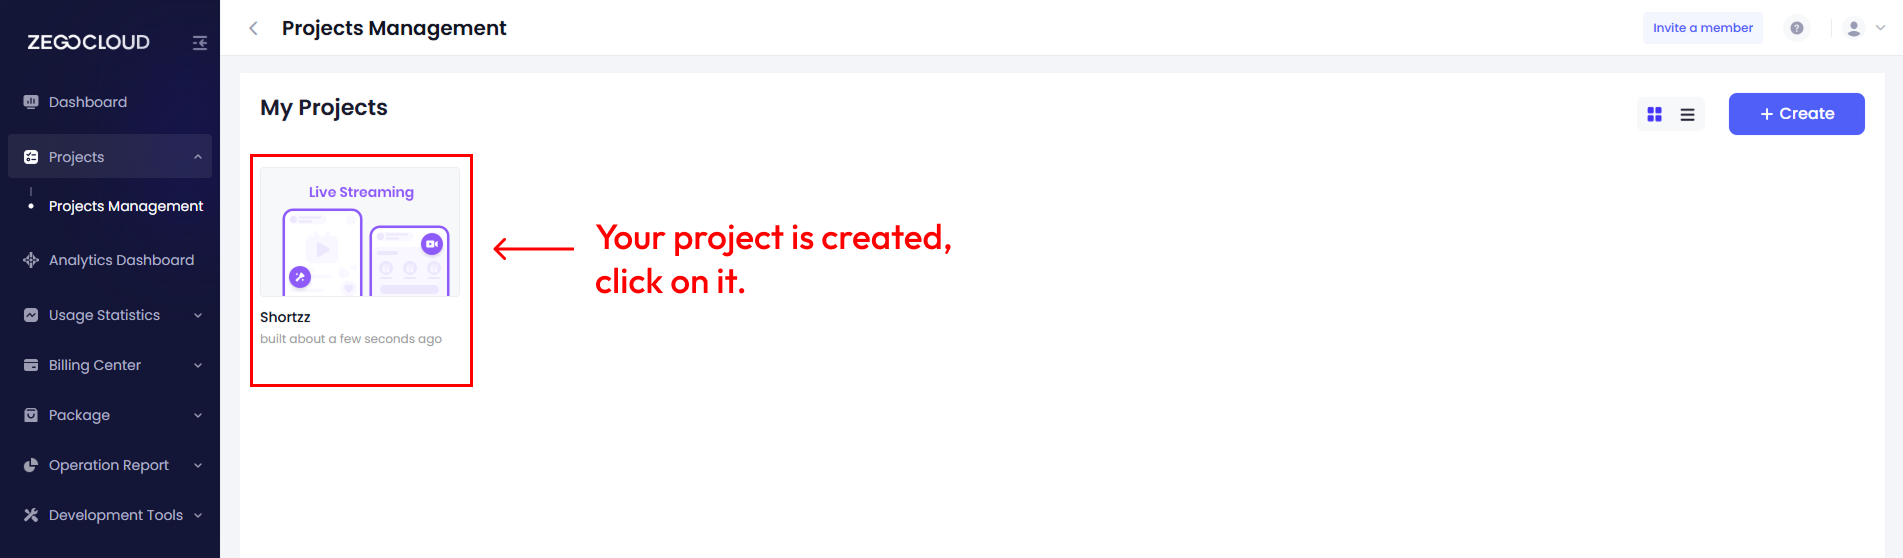
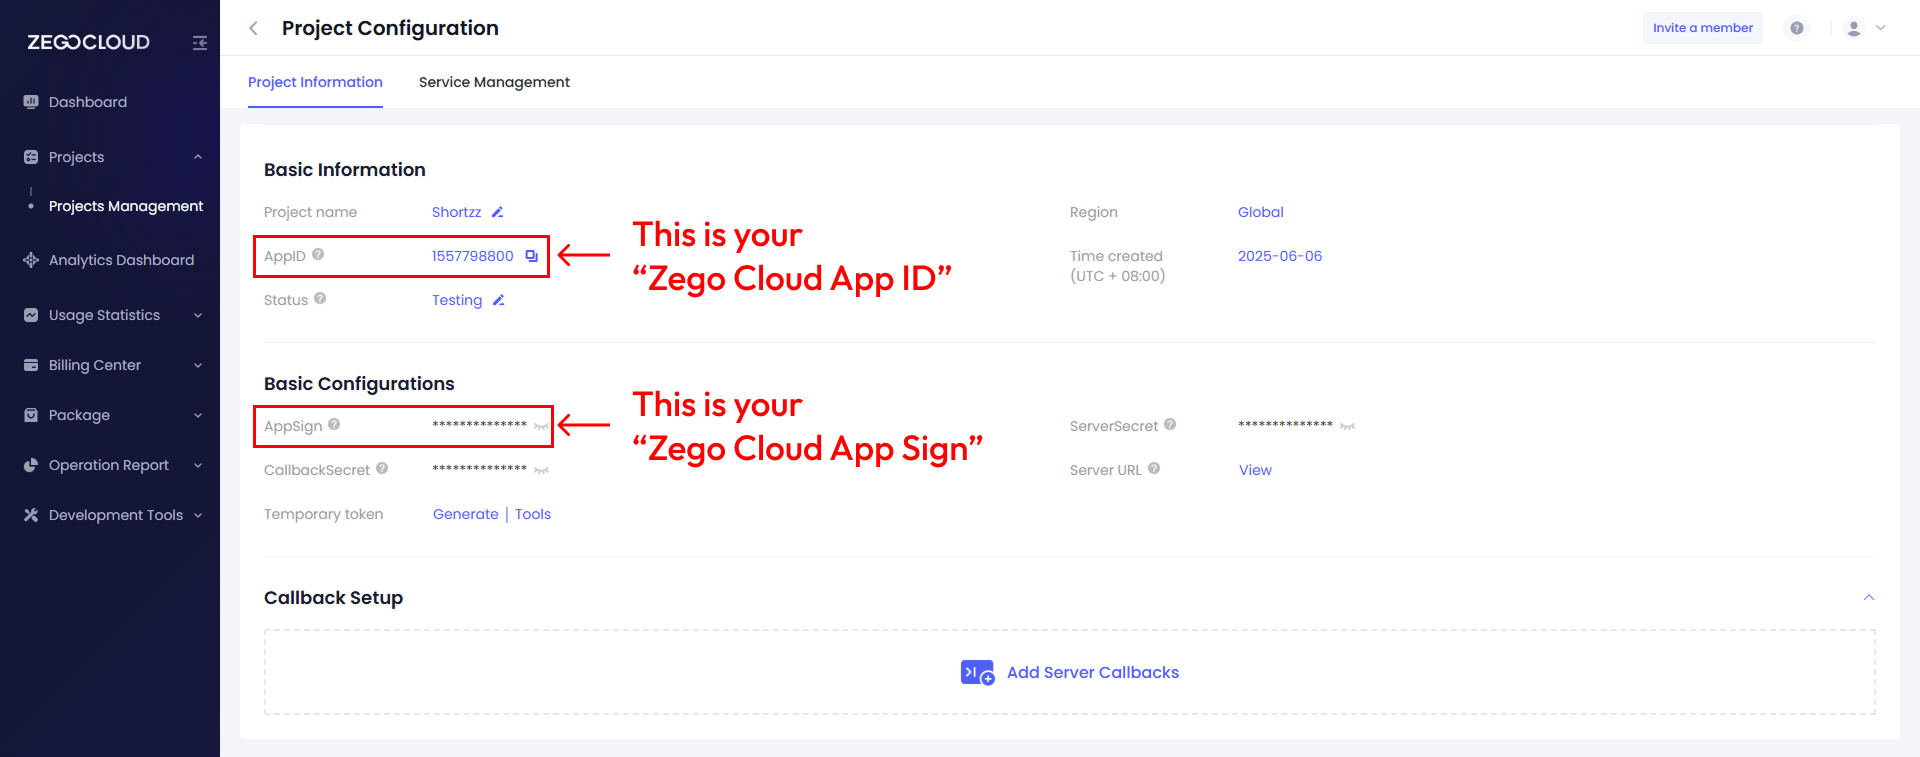
And you will find project information page.
Collect Zego Cloud App ID & Zego Cloud App Sign as shown in the image below.
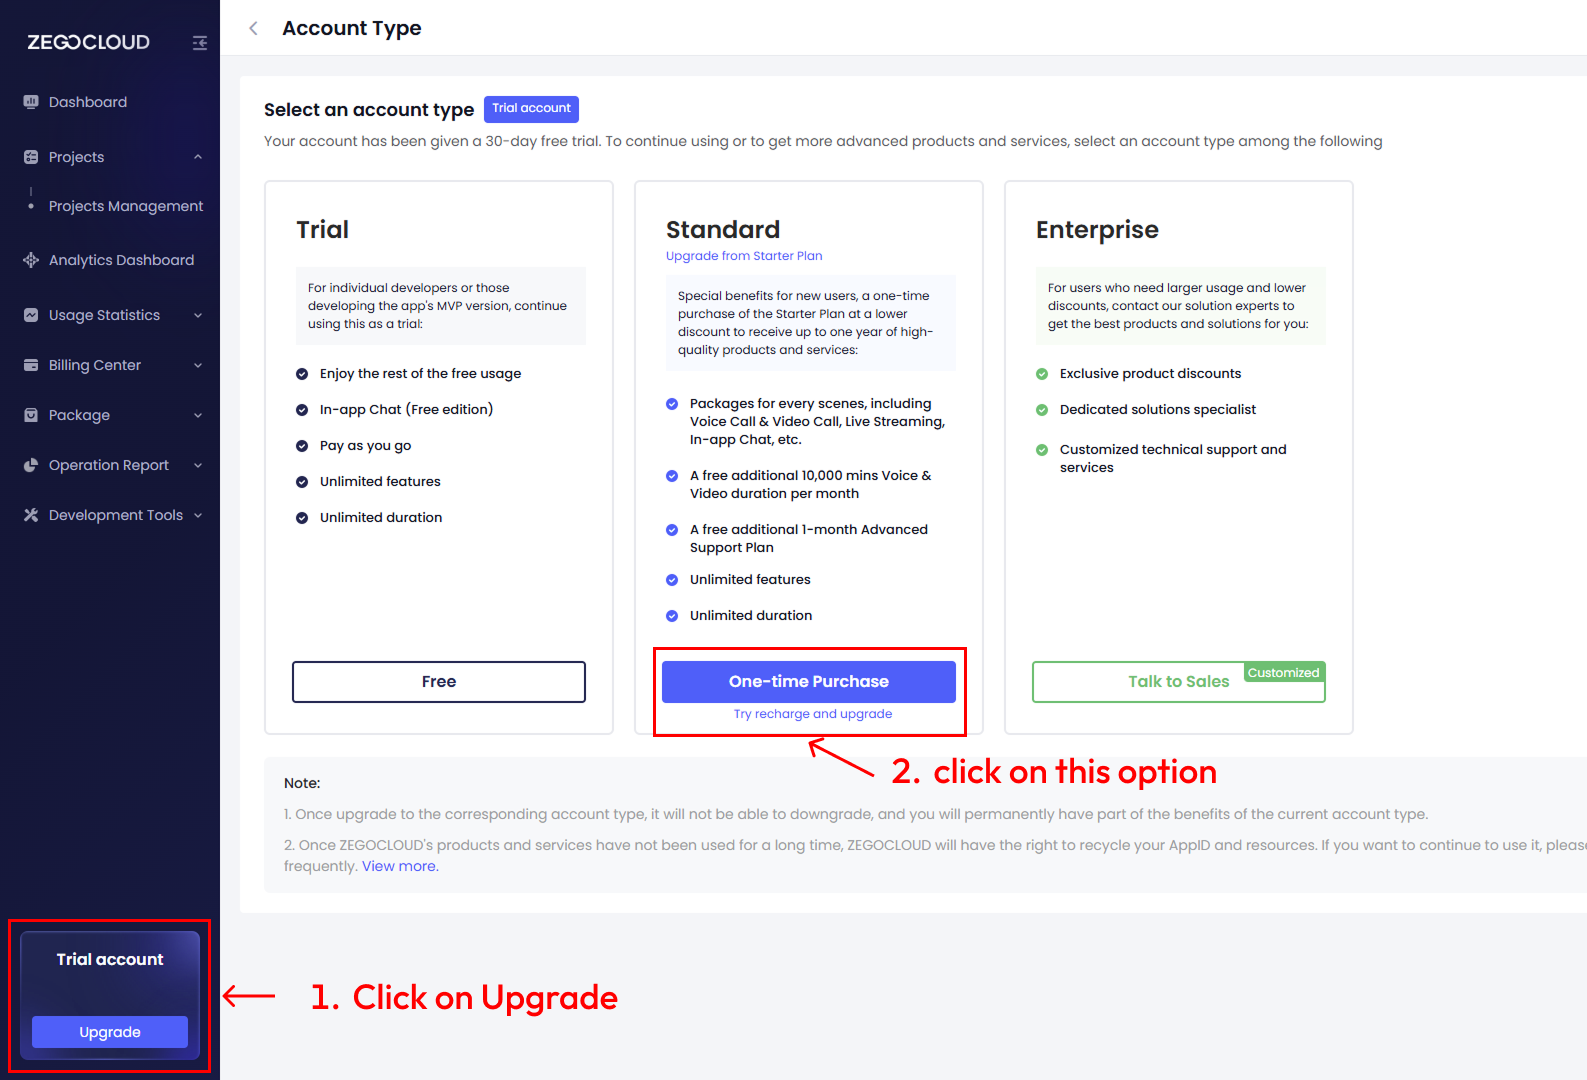
Since ZEGOCLOUD is paid product, it is required to upgrade your plan for interactive livestreaming
Follow the process below & make payment.
Find the Upgrade button at the bottom left corner of the console & click on it.
Click on One-time Purchase under standard option.
There you will find multiple options.
Find Interactive Live Streaming , and click on start plan.
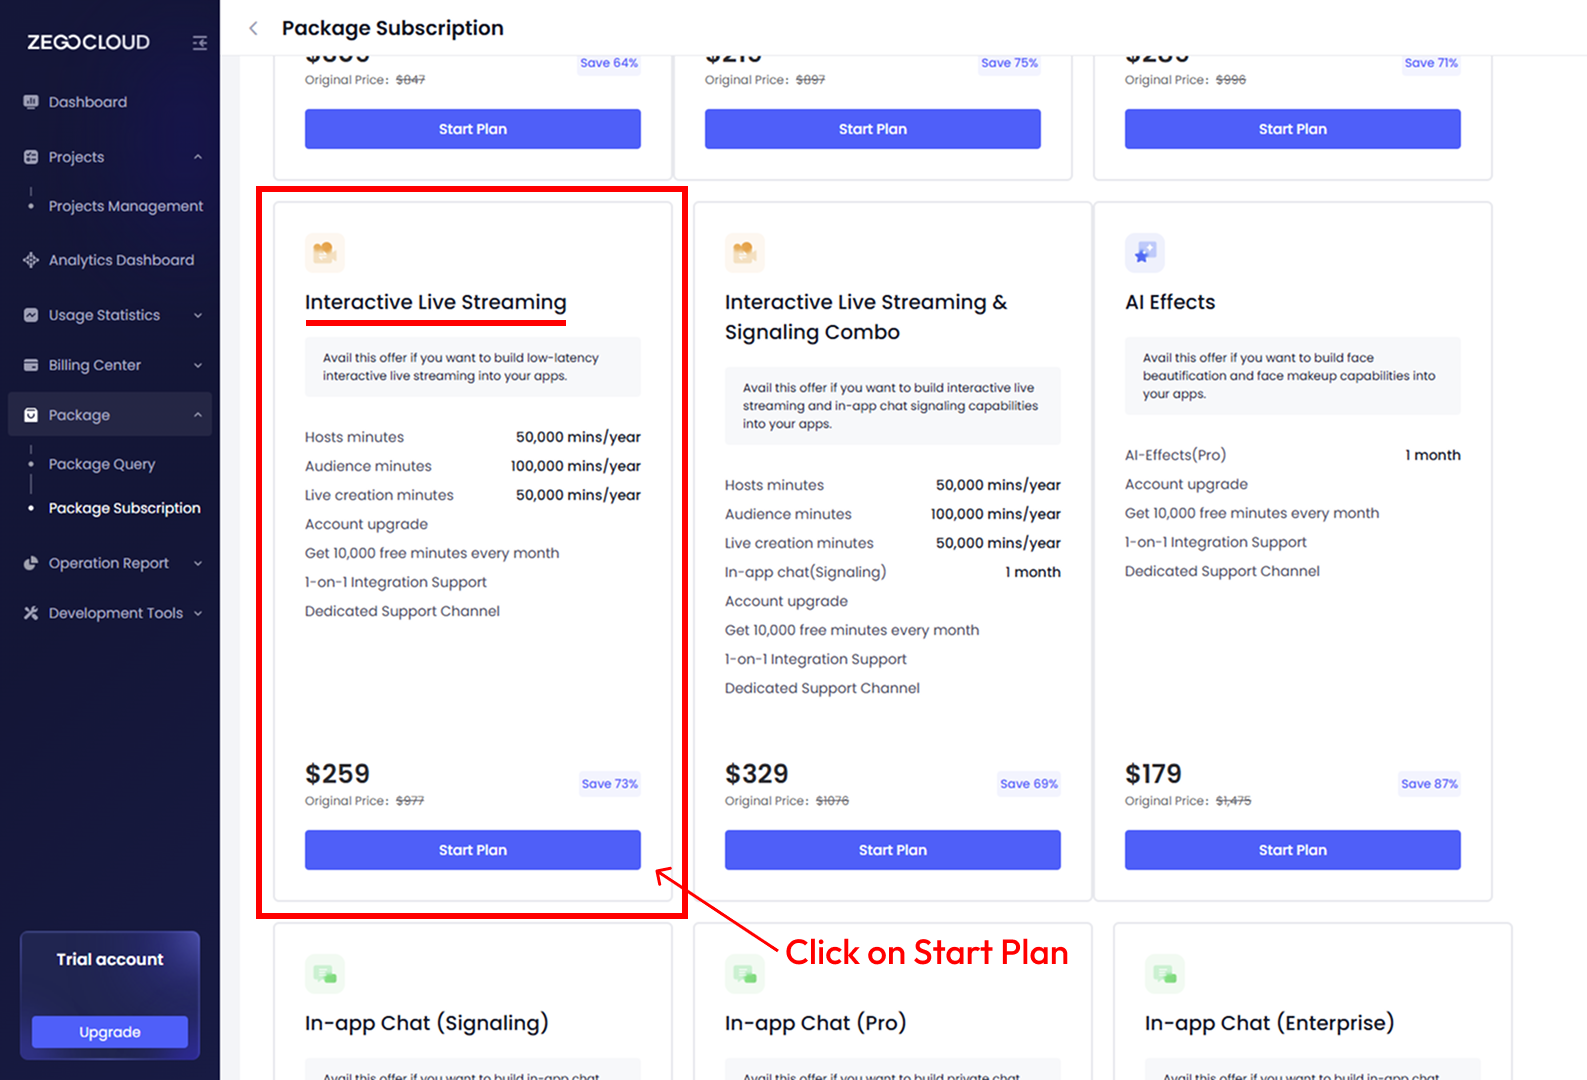
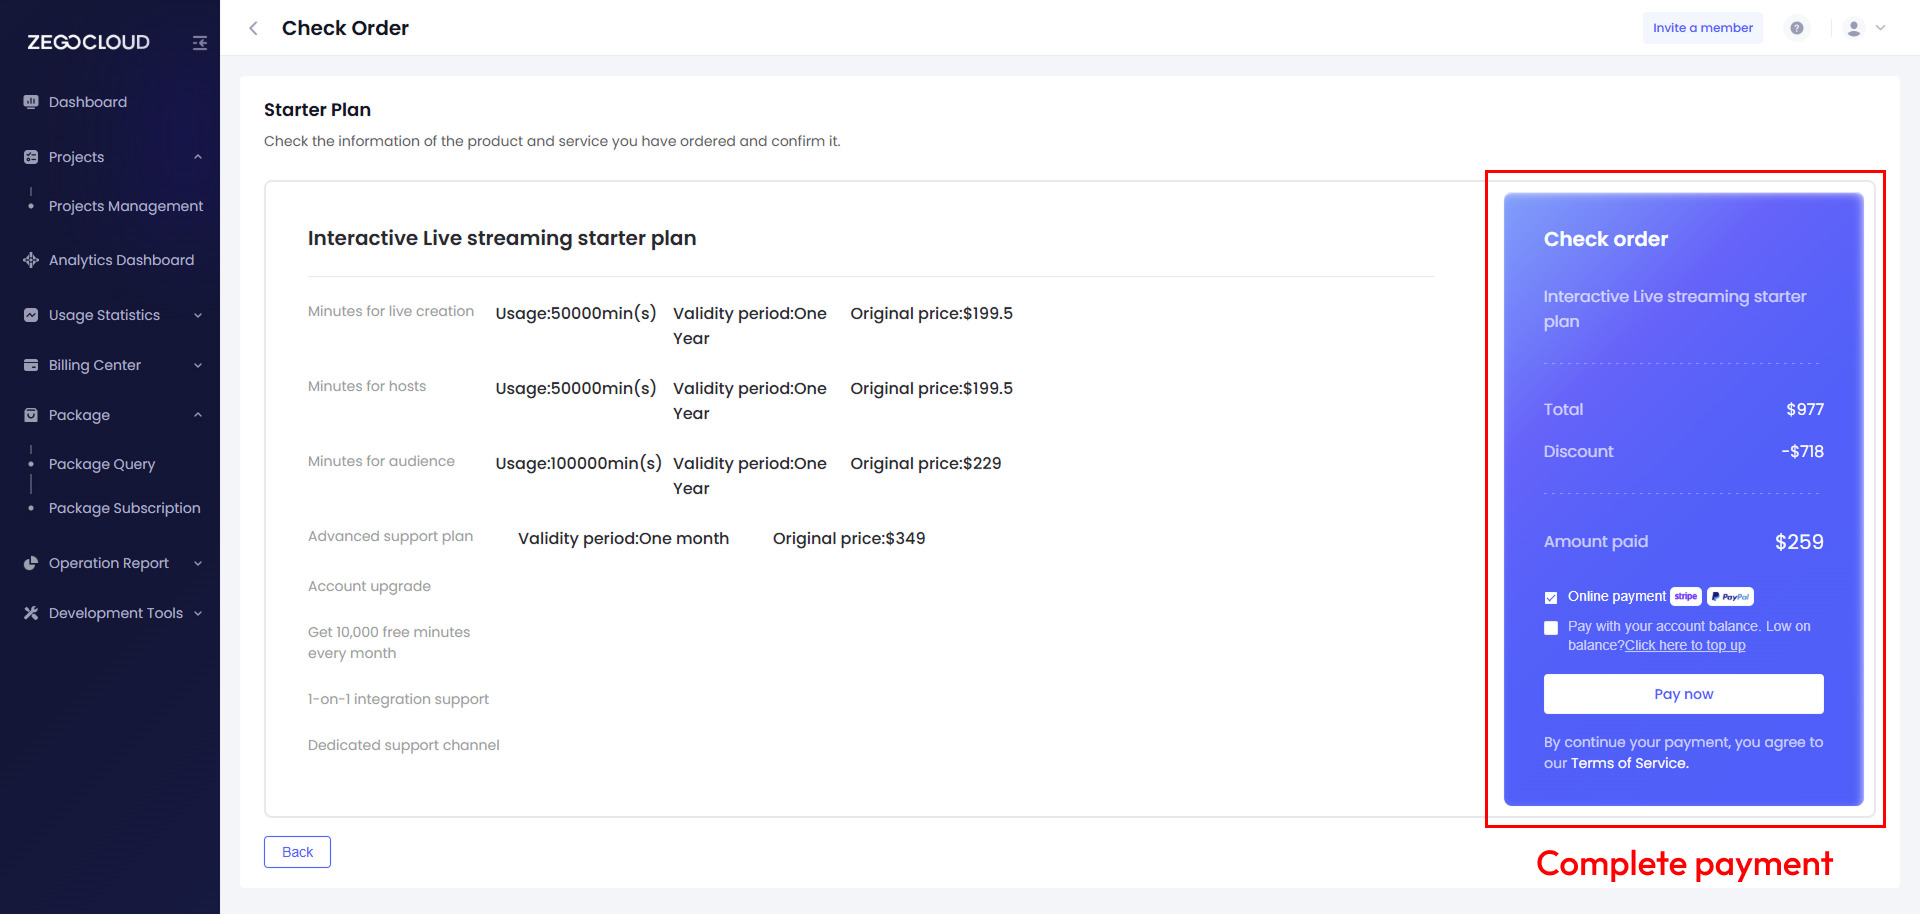
This will lead you to make payment. Complete payment process.
So here, We created new project at ZEGOCLOUD, enabled Interactive Live Streaming & collected required credentials (Zego Cloud App ID, Zego Cloud App Sign)