Here is a quick step-by-step guide on how do you create an S3 bucket on AWS and get the credentials to access it. Please consider the official documentation created by AWS itself for the latest changes and updates
Official Documentation by AWS to create S3 bucket. Click Here
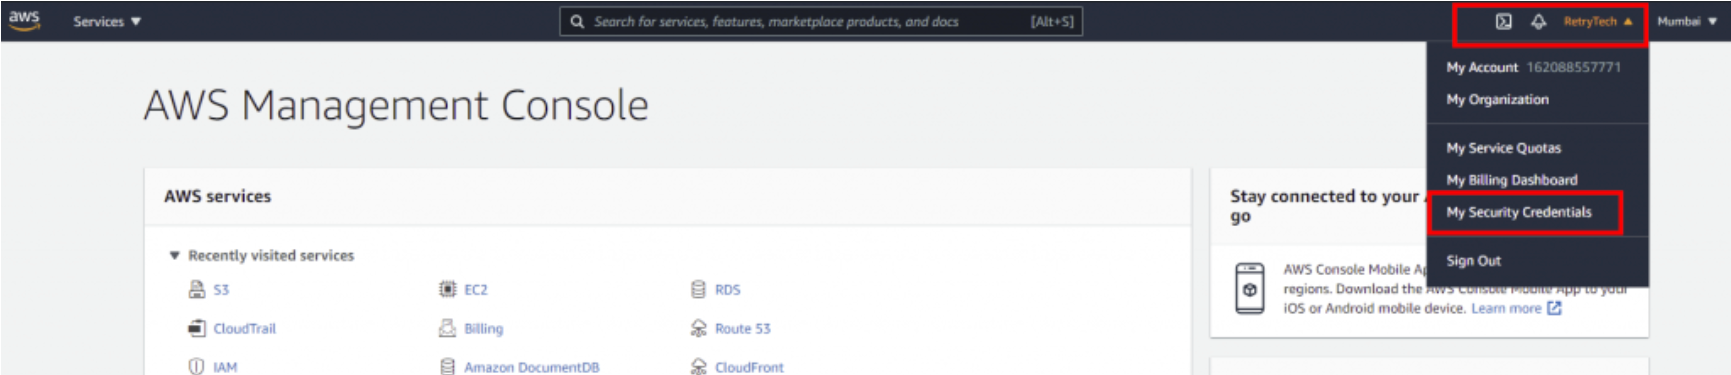
Sign in to the AWS Management Console and open the Amazon S3 console at https://console.aws.amazon.com/s3/
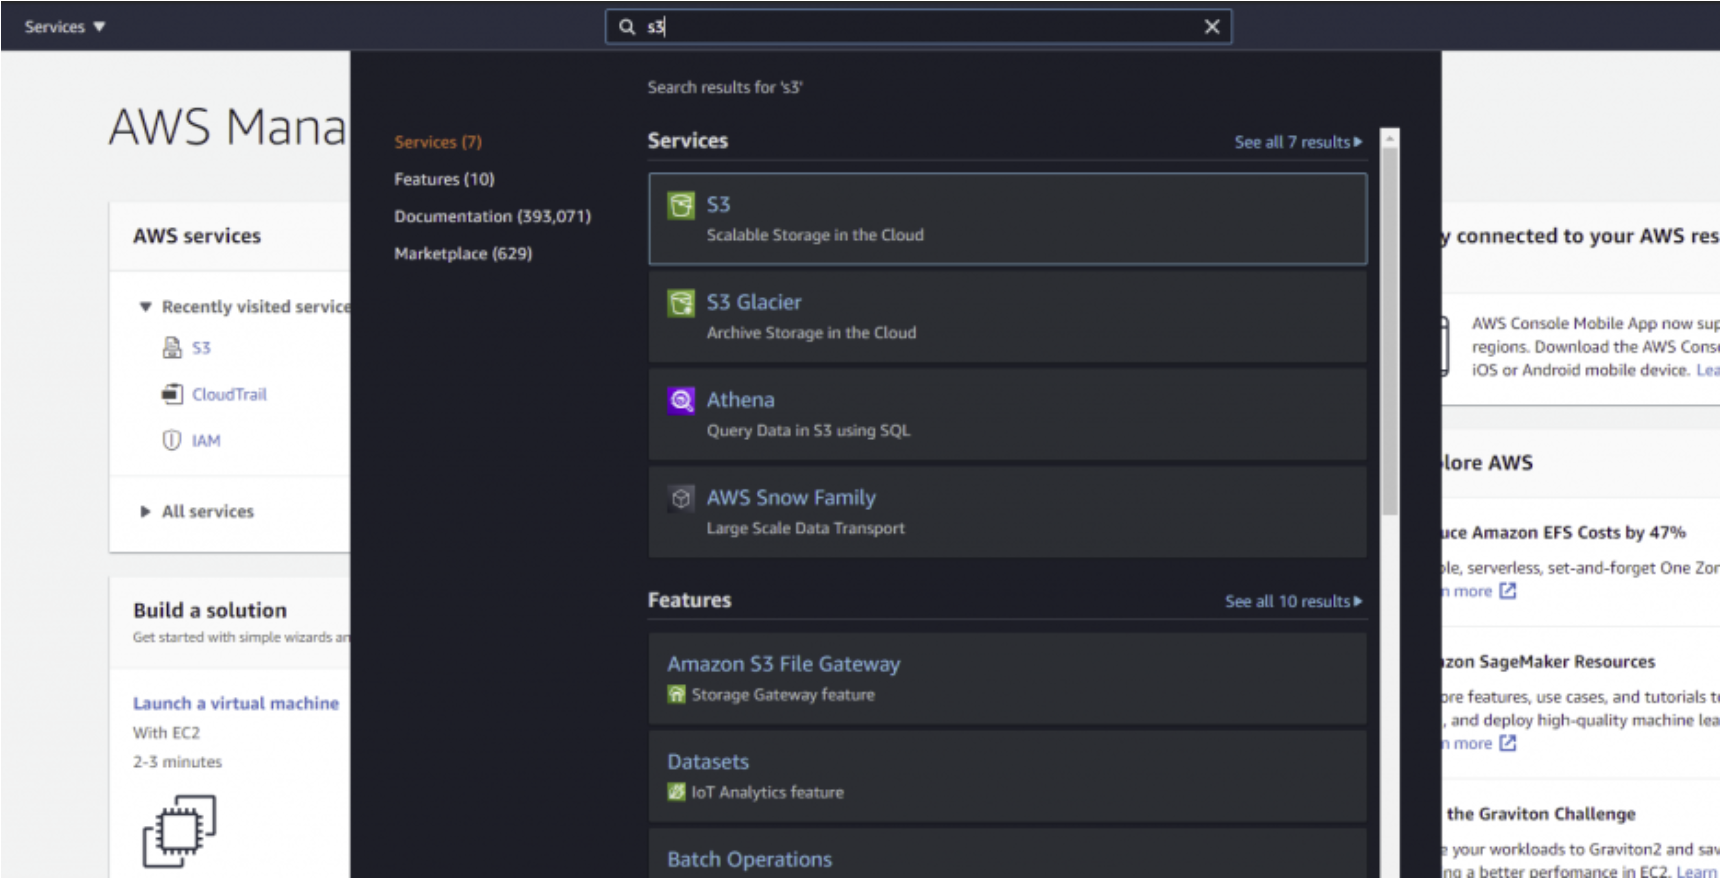
Once you are logged into your AWS account, you will see the dashboard and explore AWS services. Go to search bar and search for “S3” and you will find the service like the image below. Click on it.
Once the console is opened, make sure to check the required region (Top Right Corner) in which you want to create the bucket. Review the image below for reference.
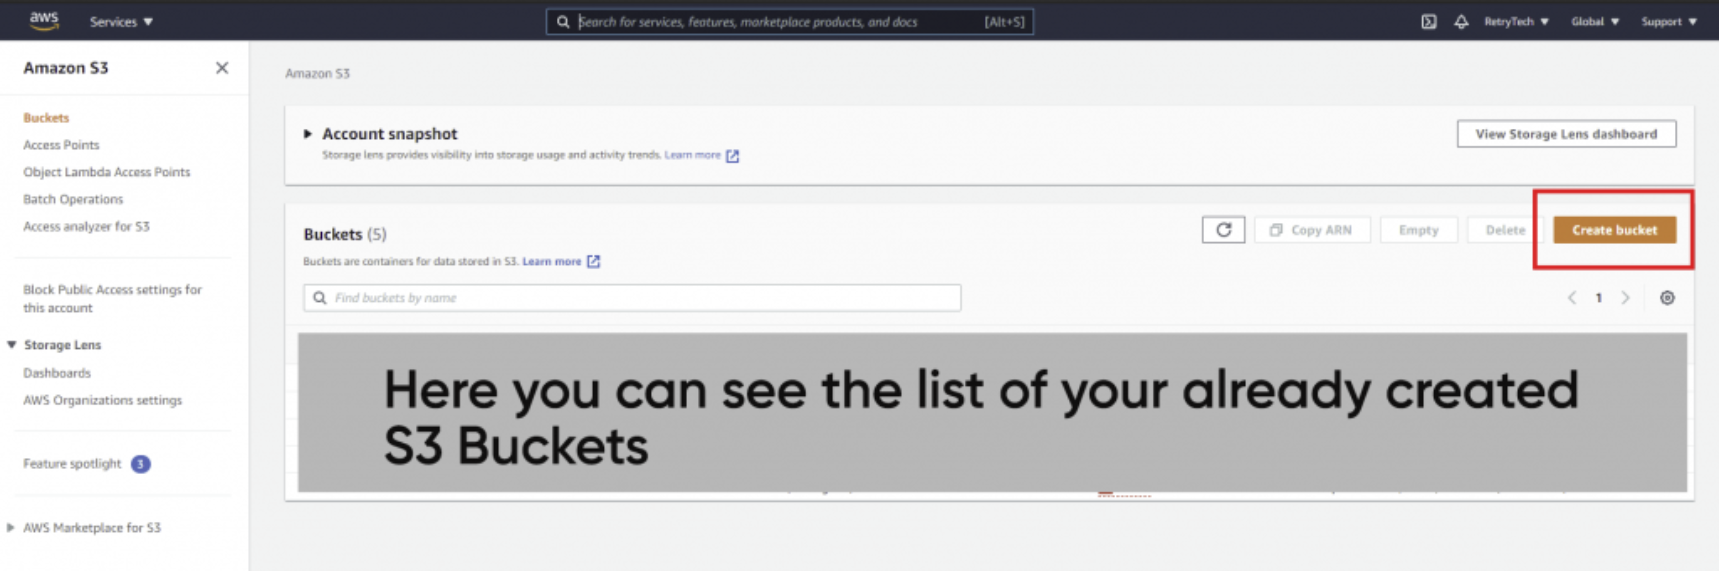
Now click on the create button at the top right corner as seen in the below image, and that will lead you to create the AWS bucket.
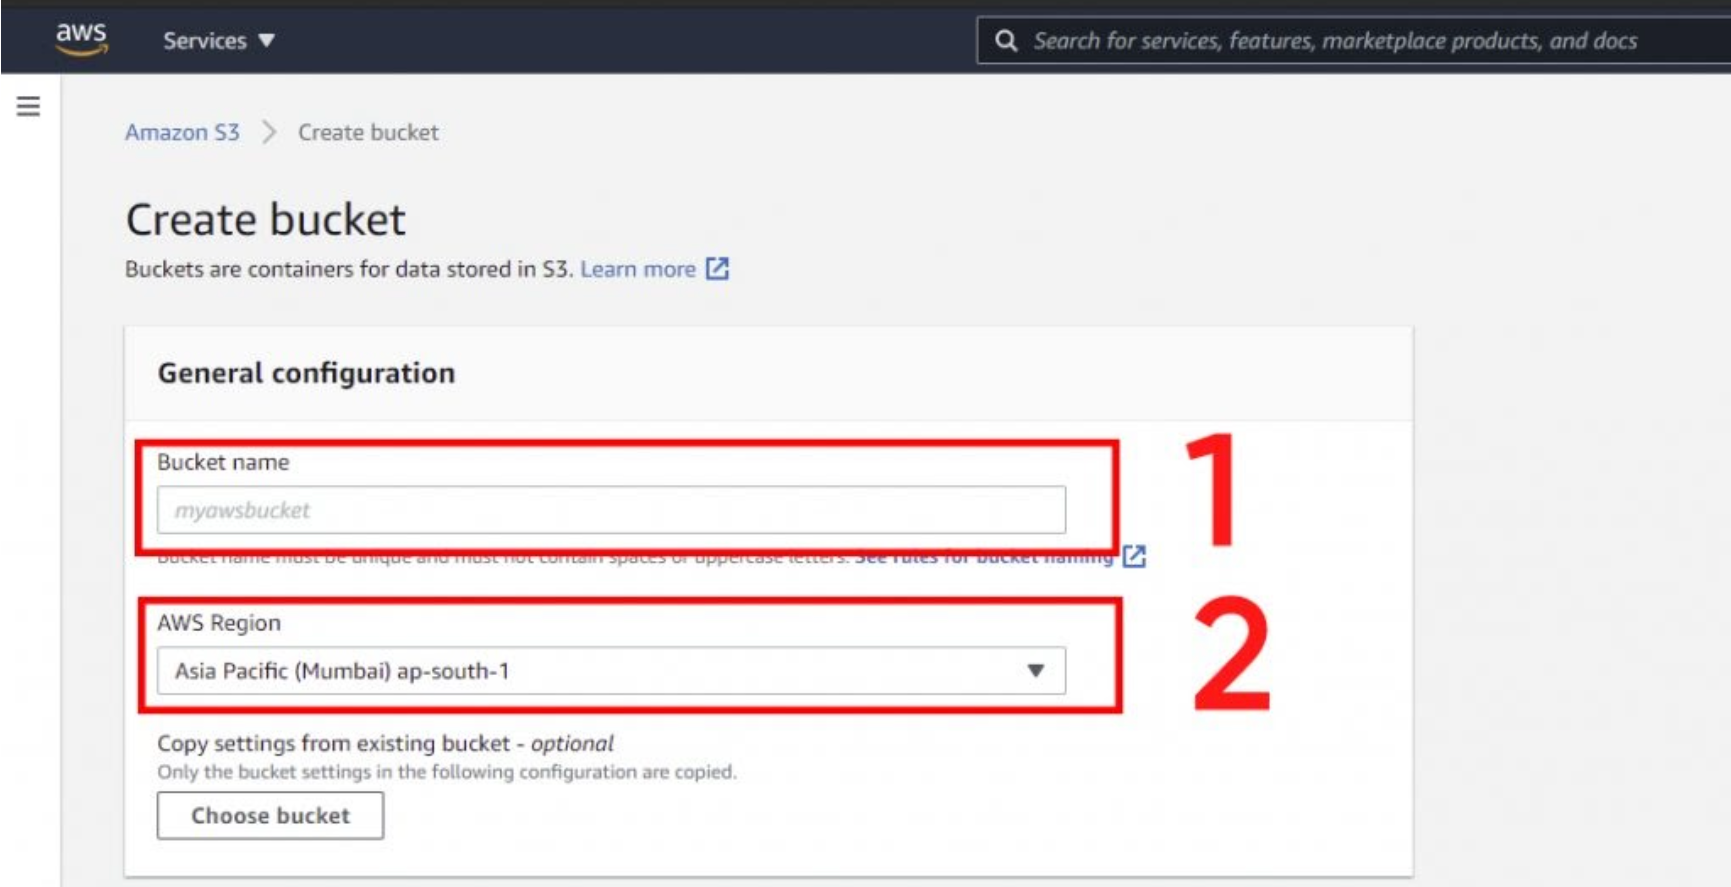
This will open a wizard to create new bucket, where you need to fill couple of details.
Under bucket name, Enter the name you want to keep for your bucket.
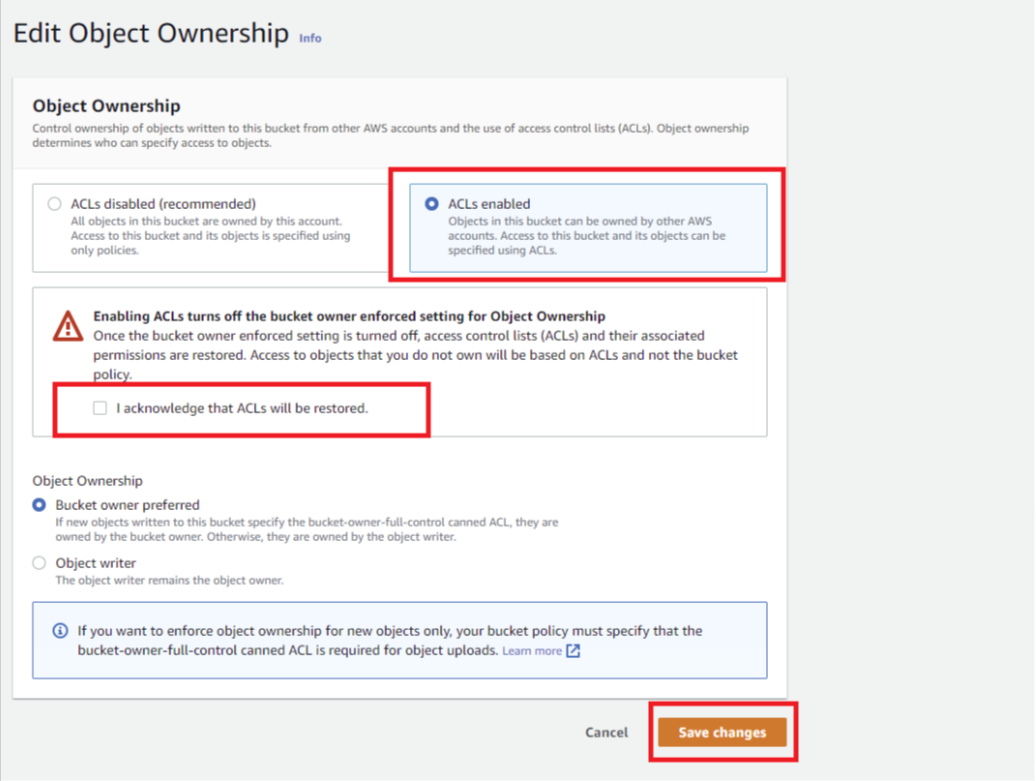
Select ACLs enabled option
Then scroll down
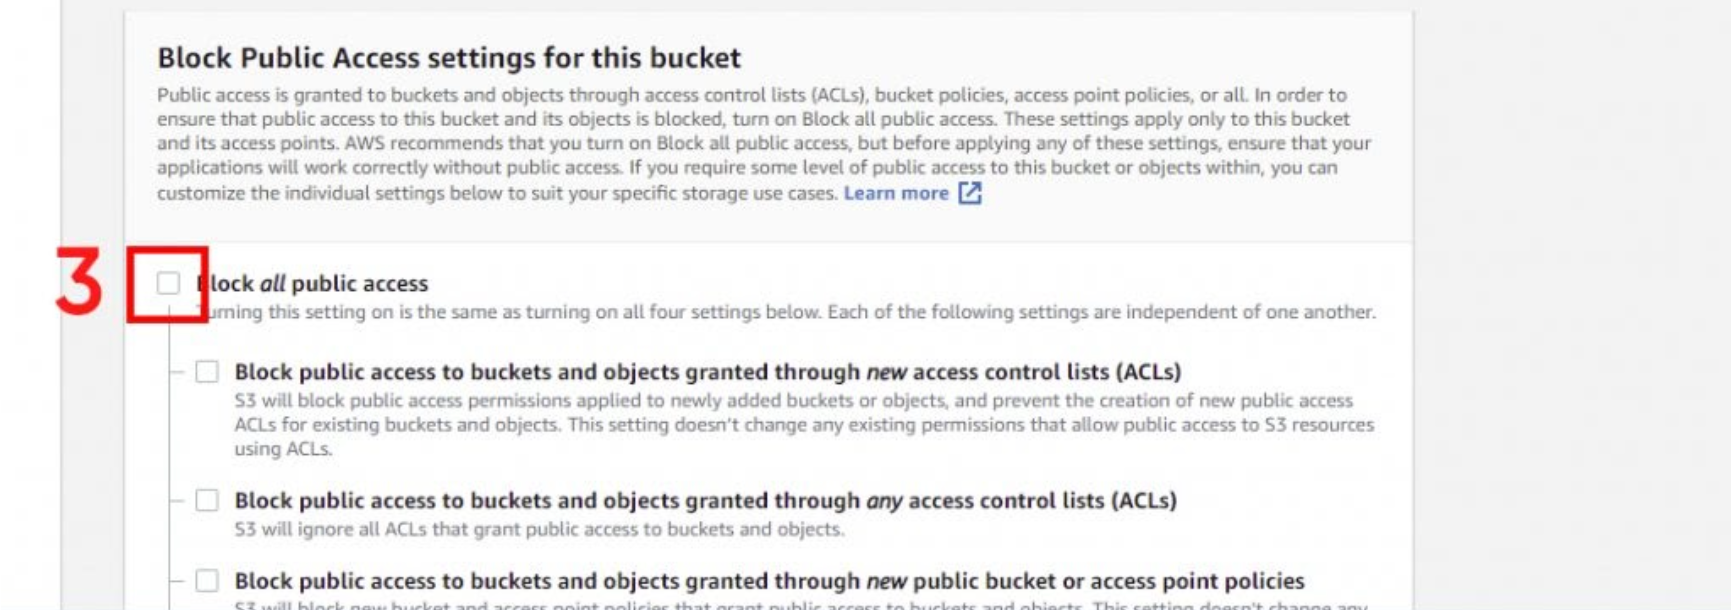
Then uncheck all the checkboxes under "Block Public Access settings for this bucket"
Then it will ask for confirmation, check this checkbox (See the image below for the reference)
Do not change any other settings on this page.
Then scroll down and click on create bucket button.

You will be redirected to this page once the bucket is created, and you will see the green success message above and in the list, you will find the bucket you created.
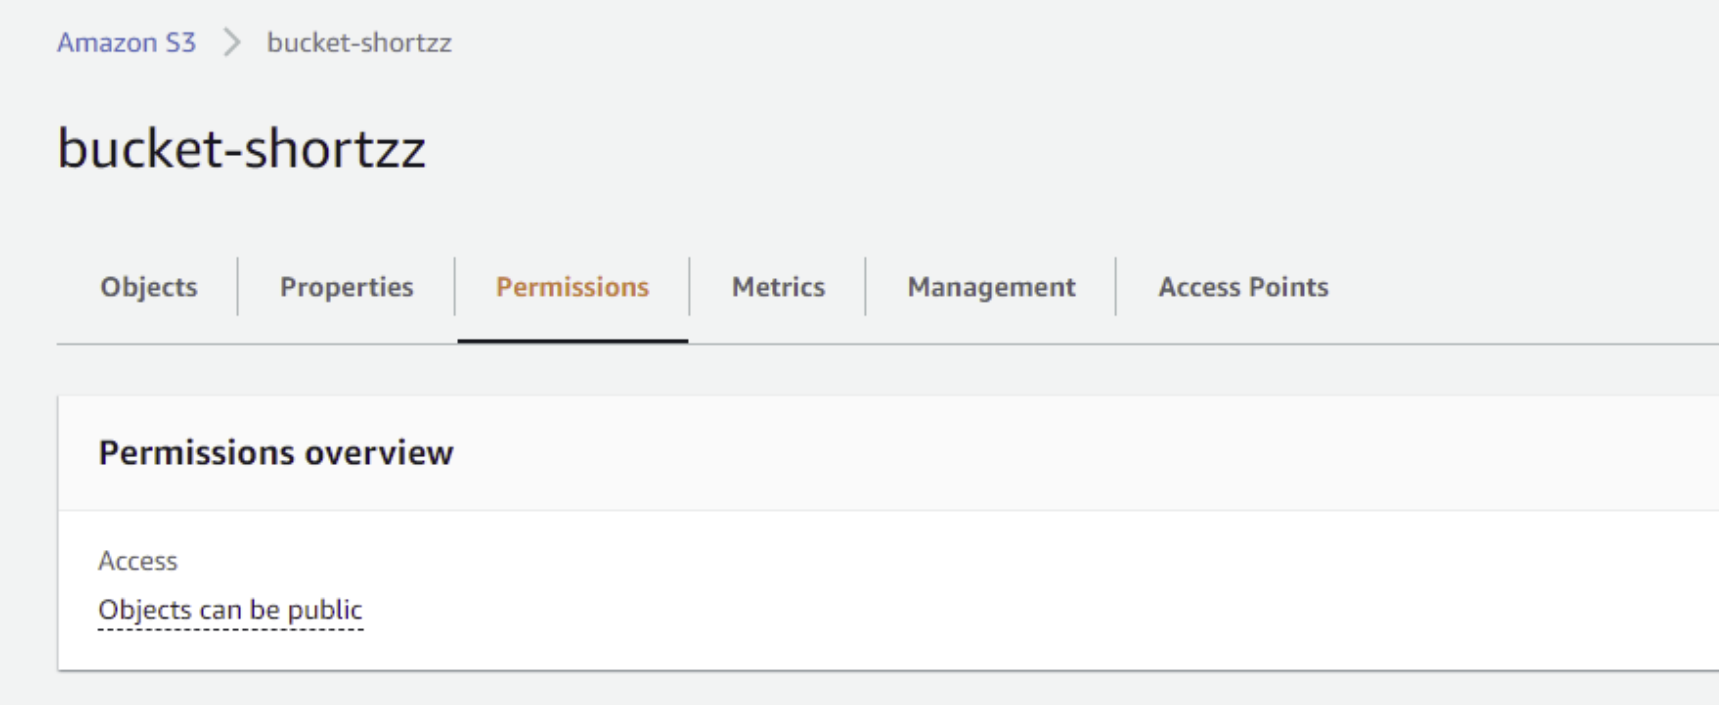
Click on the bucket and go to Permissions tab
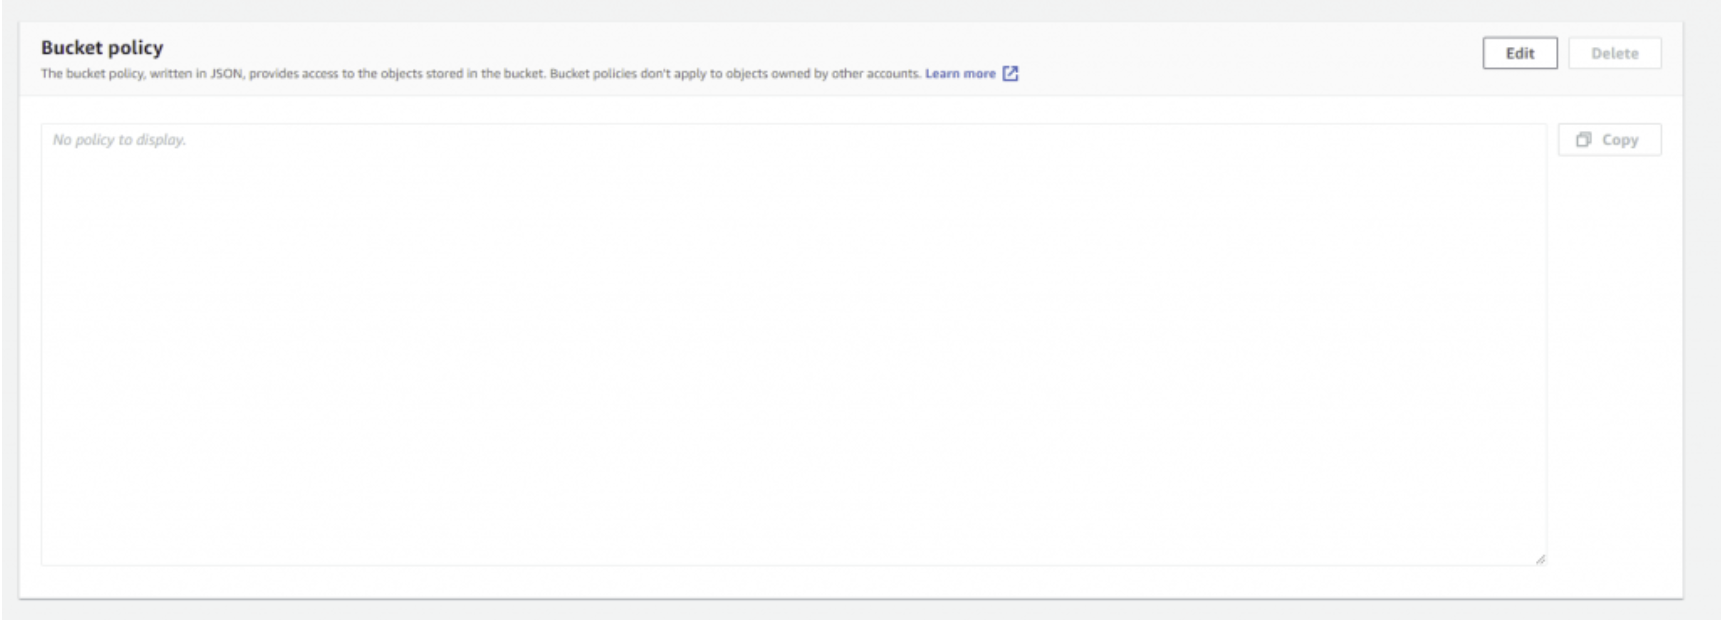
Then scroll down and find the bucket policy section.
Click on the edit button
We will add few text lines in that field. It is given below.
Make sure to change your bucket name as shown in the image. It should be exactly the same as below. (Green Lines) as shown in the example.
After adding, Scroll down and click on Save changes button.
{
    "Version": "2012-10-17",
    "Statement": [
        {
            "Sid": "PublicReadGetObject",
            "Effect": "Allow",
            "Principal": "*",
            "Action": "s3:GetObject",
            "Resource": "arn:aws:s3:::demoappbucket2025/*"
        }
    ]
}

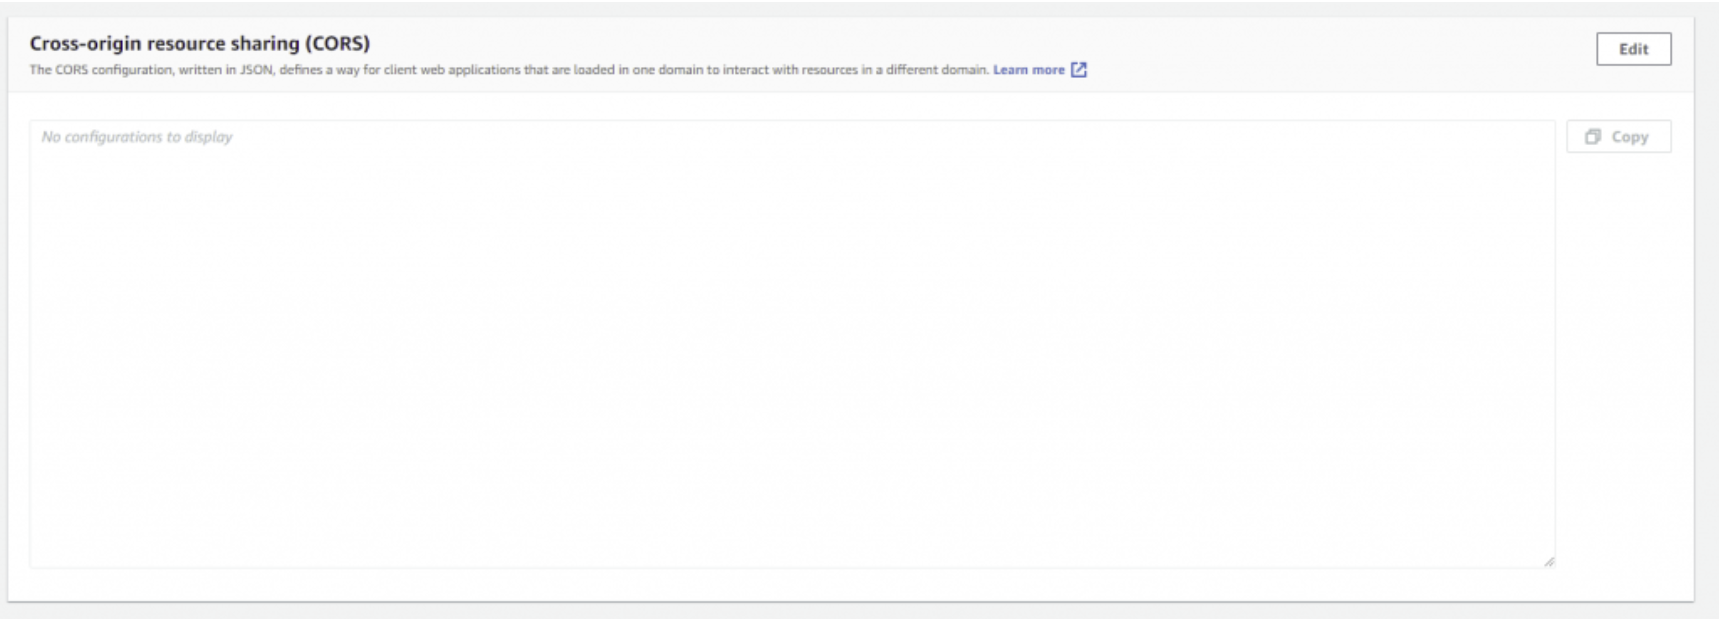
After saving come back to the permission tab again, and find Cross-origin resource sharing (CORS) tab. and click on Edit button.
The text is provided below. You can copy and paste it in this field.
Do not change anything in the text.
[
    {
        "AllowedHeaders": [
            "*"
        ],
        "AllowedMethods": [
            "GET",
            "POST",
            "PUT"
        ],
        "AllowedOrigins": [
            "*"
        ],
        "ExposeHeaders": [
            "ETag"
        ],
        "MaxAgeSeconds": 3000
    }
]
Click on Save Changes button
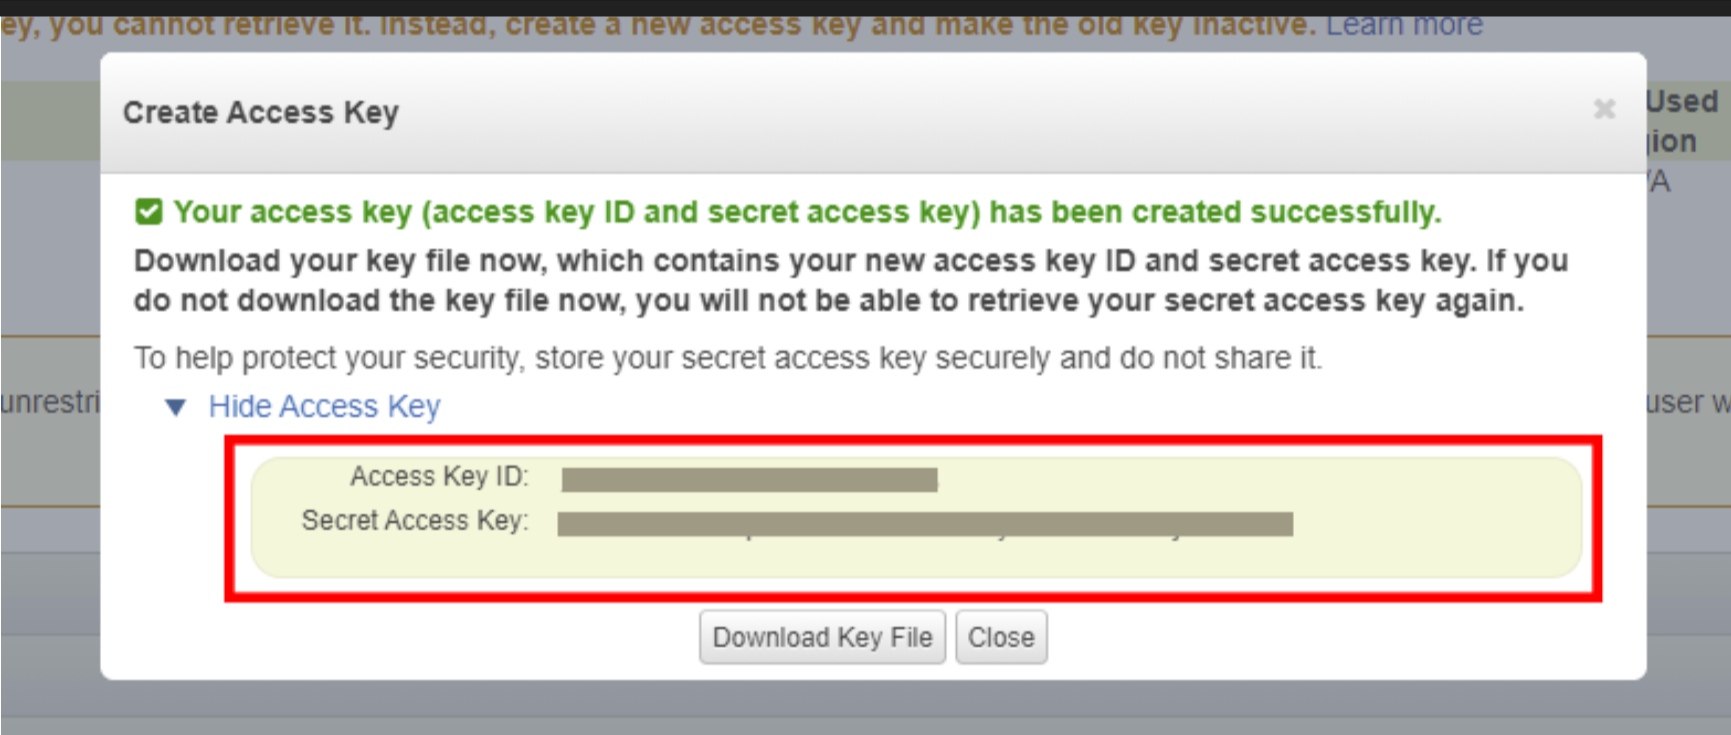
Now we will need some credentials from AWS to place in our project.
AWS_ACCESS_KEY_ID
AWS_SECRET_ACCESS_KEY
AWS_DEFAULT_REGION
AWS_BUCKET
ITEM_BASE_URL
Please follow the steps below to get the credentials listed above.
Go to your S3 tab at AWS account.
And you will find your bucket in the list.
You can get the AWS_BUCKET and AWS_DEFAULT_REGION
Check the image below for the reference.
Now you successfully got AWS_BUCKET & AWS_DEFAULT_REGION
Watch the video below to get ITEM_BASE_URL (bucket base url)
Watch the video below to get AWS_ACCESS_KEY_ID & AWS_SECRET_ACCESS_KEY
Now the bucket is configured and we have everything required to use it.
If you want to serve your bucket files via cloudfront CDN, Please follow the video below.
By watching this video, you can learn how to configure CloudFront for your S3 bucket & get the ITEM_BASE_URL